Flicker in AI Video: Causes and Solutions
Your AI video flickers between frames? Here are the real causes of flicker and a concrete method to fix it, at generation as much as at the edit.
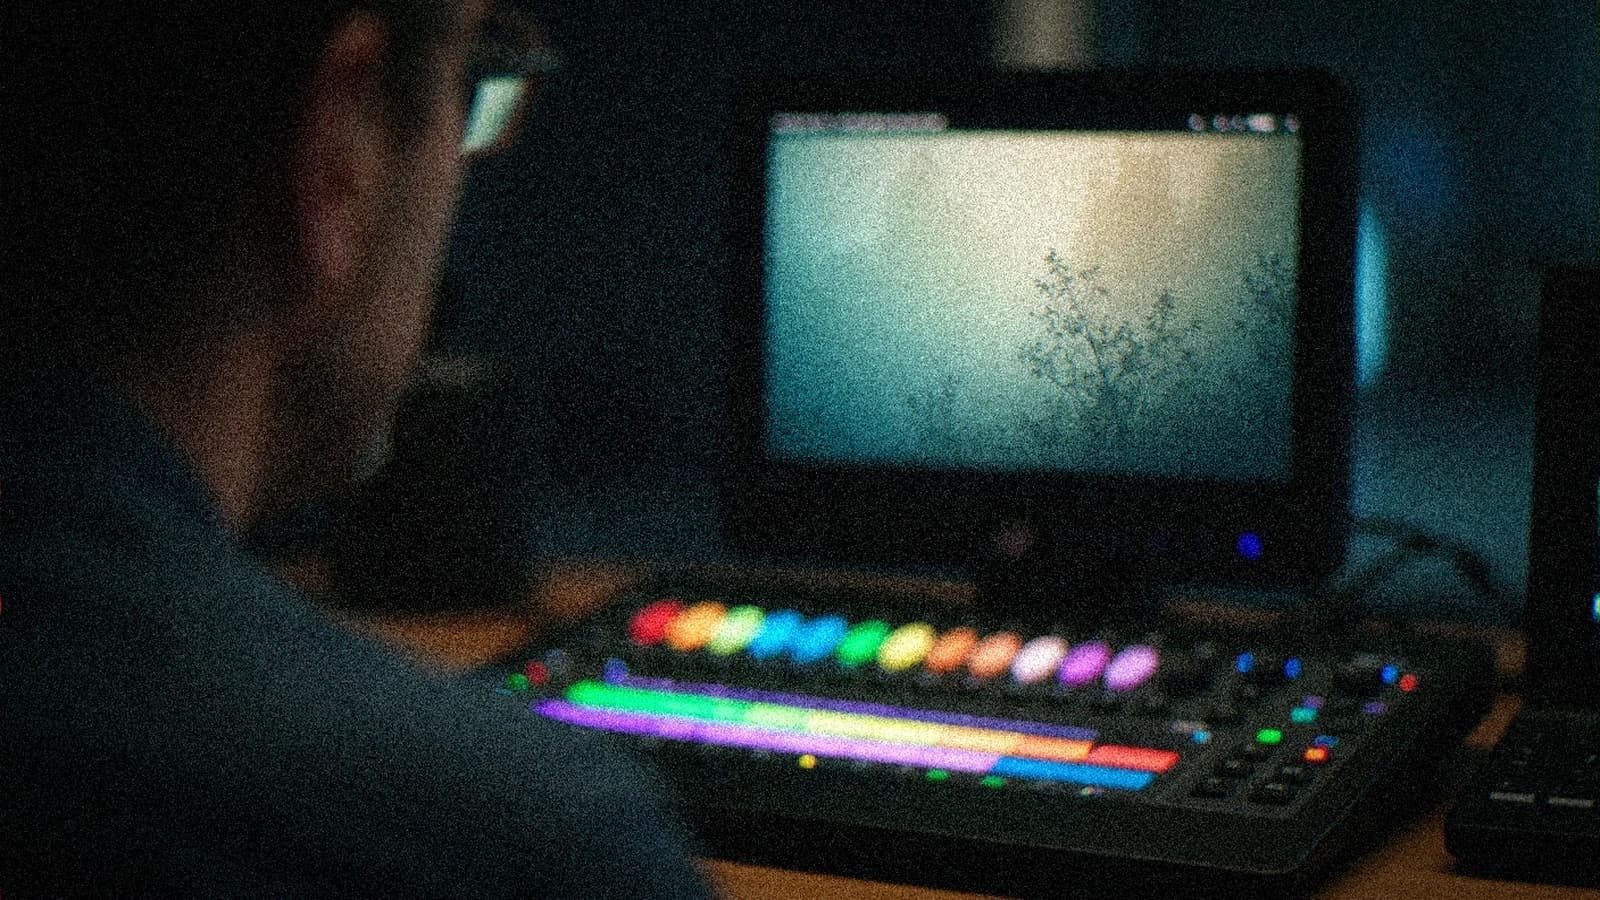
You generate an AI shot. The movement is correct, the frame holds, and yet something is off. The texture crawls. The light vibrates. The fine details, hair, fabric, foliage, seem recalculated at each image. It is the flicker. And it is probably the flaw that betrays an AI video the fastest, well before a movement problem.
You must distinguish two things that are often confused. Fluidity is the quality of the movement over time: does it move naturally. Flicker is something else: it is the instability of the material from one frame to the next, even when the movement is good. You can have a perfectly fluid shot that flickers, and a stable shot with a jerky movement. These are two different settings, two different fixes.
This article deals only with flicker. We are going to see where it really comes from, how to attack it from the generation, and how to catch it at the edit when it is already there.
What flicker really is
An AI video model does not film a continuous scene. It generates a series of images trying to keep a consistency between them. The flicker appears when this consistency breaks on the high frequencies: the small details, the textures, the reflections, the fine edges.
Concretely, the model re-decides at each frame how to draw a strand of hair, a grain of skin, a leaf. If these decisions vary slightly from one image to the next, the eye perceives a crawling. At 24 or 30 frames per second, these micro variations become a visible flicker.
The trap is that the flicker is seen above all in movement, at real speed. On a still image, your shot looks superb. It is in playback that the material starts to vibrate. Hence a simple rule: always judge an AI shot in looped playback, never on a freeze frame.
The real causes, in order
A scene too loaded with fine details
The more a scene contains high frequencies, the more the flicker risk rises. Detailed hair, a dense forest, a tight-pattern fabric, a glittering surface: these are flicker nests. The model has too many small elements to keep stable at the same time.
A too-high shot ambition
A long shot, with a lot of movement and a camera that moves on top of the subject, multiplies the occasions for drift. The more you ask the model to hold a complex material for a long time, the more it drifts.
A prompt that implicitly changes intention
If your description leaves too much freedom, the model reinterprets the scene along the way. A vague prompt on the light or the material is an open door to instability. The model fills the gaps, and it does not fill them the same way at each frame.
An inconsistent upscaling
A lot of flicker does not appear at the generation, but at the enlargement. An upscaler applied image by image, with no temporal consistency, invents different details on each frame. The low-resolution shot was stable, the enlarged version crawls.
The final compression
The last culprit, often forgotten. A too-aggressive codec on an already-fragile shot accentuates the crawling, especially in the dark zones and the gradients. What was passing on the edge becomes visible after export.
Fixing at the generation, where it counts the most
The flicker is fought first upstream. Once the shot is generated, you only limit the damage.
Simplify the scene. If an element is not essential, remove it. A slightly blurred background, an owned depth of field, a less chatty material: you mechanically reduce the number of details to stabilize. The depth of field is not only an aesthetic effect, it is an anti-flicker tool.
Shorten the shot. With a complex material, a short and clean shot is better than a long shot that drifts. The cutting discipline gains in stability. Three two-second stable shots beat a six-second shot that crawls.
Lock the intention in the prompt. Describe the light, the direction, the material, the goal precisely. The less freedom you leave on the high frequencies, the less the model improvises. A motivated and constant light is your best ally.
Anchor with a reference image. Starting from a strong still image and animating it often gives a more stable result than generating from the text alone. You give the model a visual support point for the whole sequence. It is exactly the logic of a mastered image-to-video pipeline.
Work the temporal consistency of your tool. Depending on the engine, you have settings that favor the continuity between frames. Increase the consistency even at the cost of losing a bit of raw detail. A shot a touch less sharp but stable is always more credible than a sharp shot that vibrates.
💡 Frank's cut: when a shot flickers, do not touch ten settings at once. Change one variable, regenerate, compare in playback. The flicker often has a dominant cause. You find it by isolating, not by stacking.
Catching up at the edit when the harm is done
You have a useful shot but one that flickers, and regenerating it would cost too much. Here is the order of the rescue.
First, the deflickering. Most editing and compositing software offer a flicker reduction treatment. It analyzes the luminance variations between frames and smooths them. Well dosed, it saves a lot of shots. Pushed too far, it bleeds and creates a parasitic motion blur. Raise the intensity in steps.
Then, the material stabilization by selective blur. A slight sharpness reduction on the zone that crawls, hair or foliage, can be enough to calm the eye without destroying the shot. You sacrifice a bit of sharpness to gain credibility.
Then the grading work. The flicker is seen above all in the dark zones and the hue transitions. A grading that closes the blacks a bit and softens the micro contrasts reduces the perception of the crawling. You do not remove the flaw, you make it less readable.
Finally, the export. Choose a codec and a bitrate that do not massacre an already-fragile shot. A good master does not save a bad shot, but a bad export can ruin a correct shot. It is the last line of defense, do not neglect it.
A three-pass sorting protocol
So as not to lose hours, judge your shots with a fixed method.
-
Playback pass. Watch the shot on a loop, at real speed, on a correct screen. The flicker reveals itself there, not on a freeze frame.
-
Diagnosis pass. Locate the source. Texture, light, upscaling, compression. A single question: where does it crawl first.
-
Decision pass. Regenerate, fix at the edit, or cut. If a shot demands too much catching up, it is often faster to regenerate it simpler than to fight over it.
This discipline avoids the classic trap: spending an hour saving a shot that a new prompt would have solved in two generations.
Where the flicker meets the rest of the craft
The flicker is not an isolated bug, it is a symptom. It almost always reveals a scene too ambitious for what the model can hold. The deep correction is therefore not a magic setting, it is a directing decision: frame tighter, cut shorter, motivate the light, own the depth of field.
It is the same logic as for the movement fluidity, but on another axis. If you want to work the movement continuity rather than the material stability, look at how to improve the fluidity of a generated video, it is a neighboring but distinct problem. To start on good bases from the animation of an image, the guide to turning an AI image into a fluid, credible video lays the pipeline. And if your flicker appears above all at the enlargement, see how to upscale a short film cleanly in 4K without inventing crawling.
Master these three axes, movement, material, enlargement, and you move from the fragile shot that impresses on a single image to the shot that holds in playback. It is exactly the border between an AI demo and a broadcastable shot.
FAQ
Foire aux questions
Réponses rapides aux questions les plus fréquentes sur cet article.
What is the difference between flicker and lack of fluidity?
These are two distinct flaws. The lack of fluidity concerns the movement: a jerky displacement, a failed interpolation, a rhythm that snags. The flicker concerns the material: a texture that vibrates, details recalculated from one frame to the next, even when the movement is perfect. You can have a fluid shot that flickers, and a stable but jerky shot. The confusion costs time, because the fixes are not the same. For the flicker, you work the material consistency and the simplicity of the scene. For the fluidity, you work the movement and the interpolation.
Why does my shot look perfect in a still image but flicker in playback?
Because the flicker is a temporal flaw, not a spatial one. On a freeze frame, you see a single frame, so a clean material. The problem is born from the variation between frames: the model redraws the fine details slightly differently at each image, and the eye perceives this crawling only in movement. That is why you must always judge an AI shot in looped playback at real speed, on a correct screen. Validating a shot on a still image is the beginner mistake that lets the flicker slip through to the final edit.
Is the edit's deflickering enough to fix everything?
No, it is a safety net, not a miracle solution. A deflickering treatment smooths the luminance variations between frames and saves many slightly unstable shots. But pushed too hard, it creates parasitic blur and crushes the detail. On a very unstable shot, no deflickering will make the result clean without distorting it. The real fix is at the generation: a simpler scene, a shorter shot, a motivated light, an anchor on a reference image. The edit catches the borderline cases, it does not transform a bad shot into a good shot.
Can upscaling create flicker that did not exist?
Yes, and it is a frequent cause we forget. An upscaler applied frame by frame, with no temporal consistency, invents slightly different details on each image. Your low-resolution shot was stable, its enlarged version crawls. If the flicker appears only after enlargement, the culprit is the upscaling, not the generation. The solution is to use an upscaling that takes the temporal dimension into account, or to enlarge in moderation, even at the cost of aiming for a lower but stable final resolution. A clean 1080p is better than a 4K that vibrates.
Should you always regenerate a shot that flickers or can you save it?
It depends on the cost and the severity. For a light flicker on a useful shot, the fix at the edit, measured deflickering, selective blur, grading that closes the blacks, is often enough. For a marked crawling, it is generally faster and cleaner to regenerate the shot by simplifying it: a lightened scene, a shorter shot, an owned depth of field. The reflex to avoid is the obstinacy: spending an hour catching up a shot that a new prompt would have solved in two generations. Decide fast, with your sorting pass, and move on.