Video upscaling: bring your old short film to 4K with AI
Field method to upscale an old short film to 4K with AI, preserve the cinema texture and avoid the artifacts that betray an amateur render.
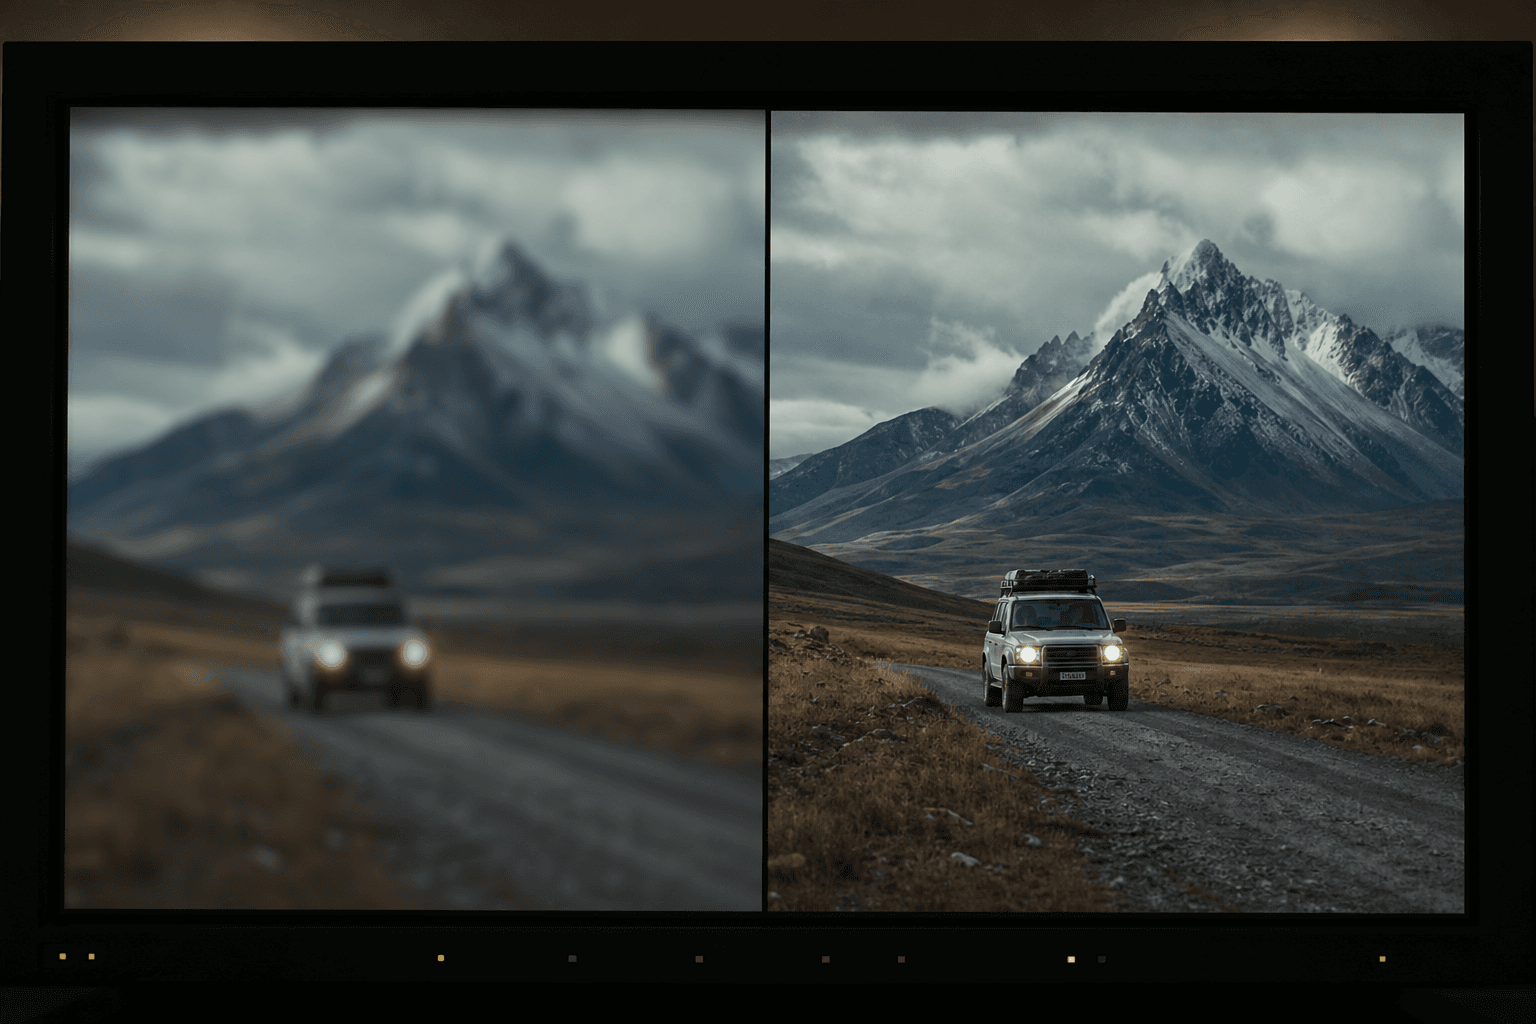
You shot a short film three years ago. You launch your master on a modern screen. And there it stings. The faces bleed, the edges shimmer, the night flats collapse into macroblocks, and your favorite shot looks like a compressed video out of an old phone. You tell yourself the AI will fix everything in one click. It is precisely there that many ruin their film.
I am going to be direct. 4K video upscaling with AI does not forgive shortcuts. If you throw a bad source file into a too-aggressive preset, you restore nothing. You manufacture an HD version of your defects. I made this mistake on a night sequence shot with a light camera, and I lost two days fixing halos I had created myself.
The good news is that there is a clear method. You are going to learn to do a clean technical audit, to choose a robust workflow, to set the parameters that really count, then to validate your result like a pro who prepares a real distribution. The goal is simple: get a credible, textured, cinematographic render, with no plastic effect that screams "AI processing".
Core concepts: what AI video upscaling really changes in the image
AI video upscaling is not a magic magnifier. It is a probabilistic reconstruction operation. The model observes the patterns of your image, then predicts plausible details to fill what is missing at the original resolution. The key word here is plausible. Not authentic. If you do not control your process, it invents seductive but inconsistent textures from one shot to the next.
For a beginner, the trap is to confuse perceived sharpness and narrative quality. An image can seem "sharper" and yet kill the emotion, because the skin becomes waxy, the grain disappears, or the micro-variations of light that made the scene alive are replaced by a uniform artificial noise. In ads and short fiction, this detail makes the difference between a premium render and a "technical demo" render.
You must also understand the notion of temporal consistency. The upscaling is evaluated in motion, not in pause. A fixed frame can seem perfect, then reveal shimmer around the eyes, edges that breathe, or wall textures that "pump" from one image to the next. It is exactly what destroys the credibility of a cinema shot, even when the thumbnail is superb.
On my projects, I treat the upscaling as a finishing step, not as a rescue patch. That means a strict pipeline: clean source, contextual settings, control passes, and multi-screen validation. If you apply this discipline, you can transform old rushes into usable material for YouTube 4K, a client pitch, and even a work screening.
The most important thing remains your staging intention. If you do not know what the viewer must feel, you are going to overprocess the secondary details. To solidify this artistic base before the technical step, reread our complete guide to go from an idea to a realistic AI film. It is the base to avoid delivering a clean but empty image.
| Real case | Typical source | 4K AI goal | Priority setting | Main risk | Effective fix |
|---|---|---|---|---|---|
| Old festival short film | 1080p H.264 8-bit | Clean UHD distribution | Moderate Denoise + low Recover Detail | Plastic skin | Reinject fine grain in post |
| Very compressed web clip | 720p heavily artifacted | Premium social version | Macroblock pre-cleaning + progressive upscale x1.5 then x1.33 | Edge over-accentuation | Lower Sharpen and smooth locally |
| Low-light fiction | 1080p noisy high ISO | Keep the night ambiance | Preserve low lights + soft upscale | Blocked or "oily" black | Luma curve + separate shadow texture |
| Archive interview | 1080p variable | Unify an episode series | Single base profile then shot-by-shot exceptions | Fine-detail flicker | Temporal control + targeted masks |
The trench workflow: step-by-step field method for a credible 4K upscale
Here is the routine I use when I take back shots too weak for a modern distribution. It is made for serious beginners who want to learn fast, with no locking themselves in a preset laboratory. You can run it on Topaz Video AI, DaVinci Resolve, or a mixed pipeline. What counts is the order of the decisions.
The first reflex is to lock your target result before touching the slightest slider. You must define platform, duration, output codec, noise tolerance, and final visual style. An ultra clean digital ad and a textured fiction short do not require the same compromises. If you ignore this step, you spend your time "improving" an image toward a vague goal.
Then, work in short iterations with strict versioning. I recommend a simple naming convention: film_shot012_v03_upscale-soft_4k. Yes, it is a detail. No, it is not technical fetishism. In real production, this discipline saves you when a client asks for "the slightly less sharp but more organic version" at 11pm.
Each iteration must be compared in the full timeline, not in isolated playback. You watch the entry of the shot, the shot itself, then its exit. Many artifacts only show at the transitions. It is there that beginners get trapped and think their render is clean when it jumps immediately in the edit.
Finally, keep a settings log. You note what breaks the image, what improves it, and in what context. After five sessions, you will have your own playbook. It is what makes a creator move from random tries to a repeatable professional workflow.
Scenario 1: restore a too-compressed 1080p short film with no plastic effect
Imagine a short shot in 2019, final master in H.264 1080p with a low bitrate. The first mistake would be to launch a direct x2 upscale with a "high detail" preset. You are going to amplify the compression blocks and create dirty edges around the faces. Here, the priority is not the sharpness. The priority is the structural cleanliness.
Start with a light pre-processing. You reduce the compression noise without smoothing the features. On Topaz, I deliberately stay conservative: low Denoise, low to medium Recover Original Detail, then a soft final sharpness. On Resolve, you can prepare with a moderate temporal noise reduction before upscale, then control the high frequencies on output.
When the material is clean, upscale in two steps if needed. A soft pass toward 1440p, then a second toward 2160p. It sometimes reduces the texture hallucinations you see on the brutal jumps. It is slower, yes. But in quality control, you gain time because you fix less damage.
Then test on three critical shots: a face in motion, a set texture, and low lights. If one of the three breaks, you adjust the model before batching the whole film. This step seems basic, but it is the real pro move. Batching too early is the guaranteed recipe to redo a whole night of rendering.
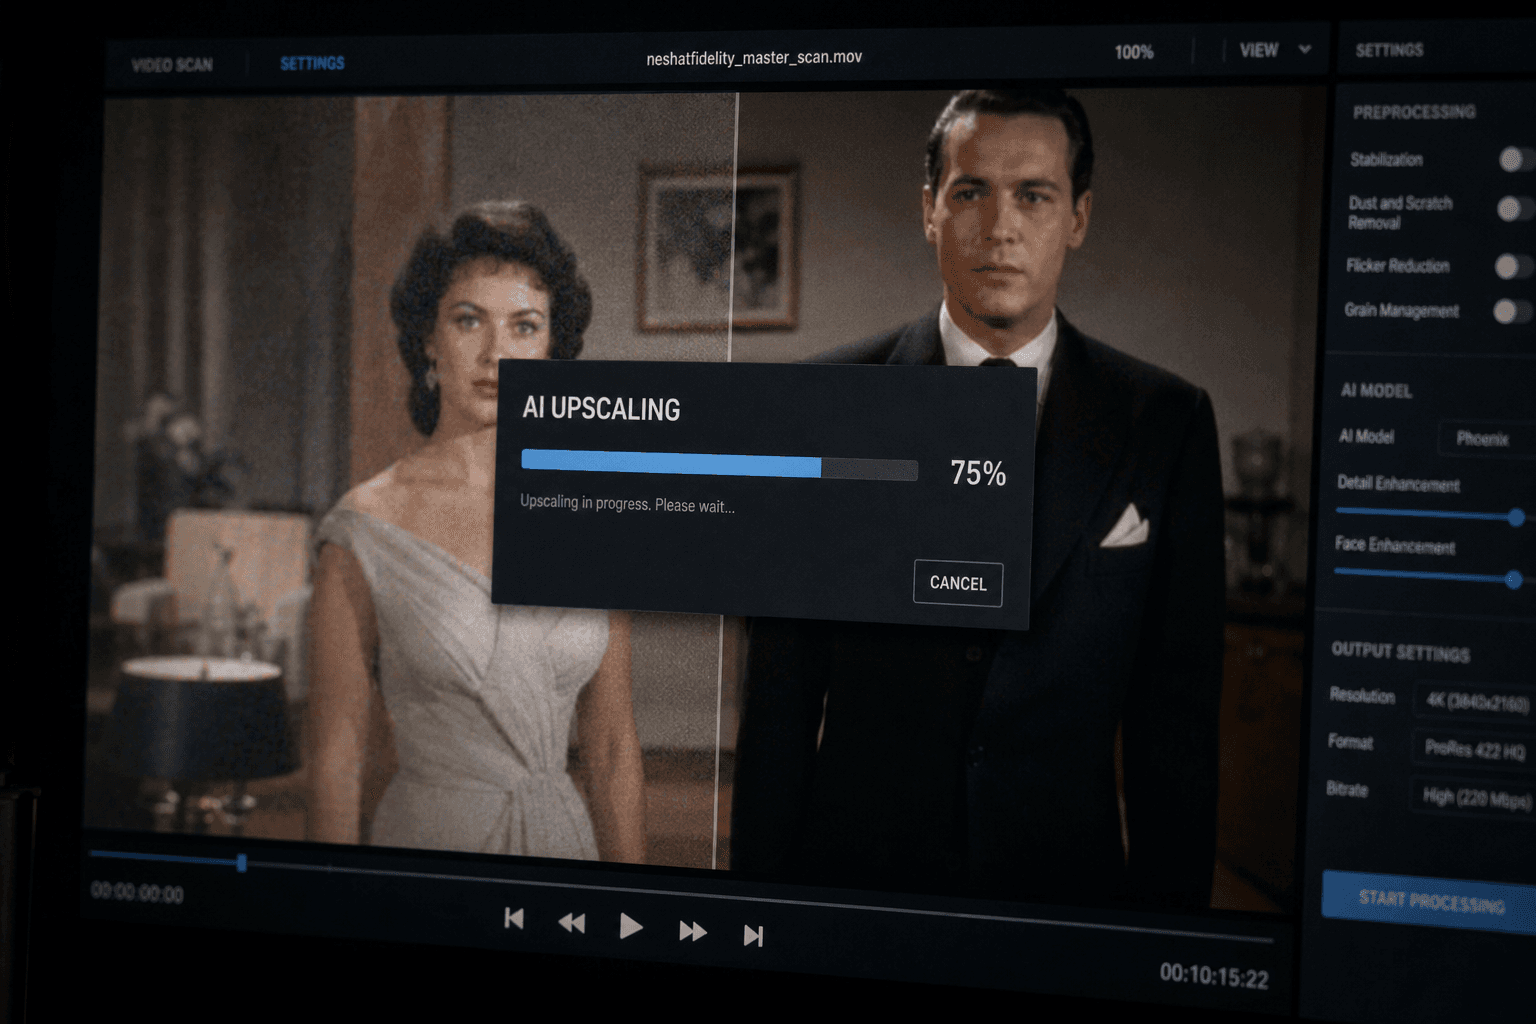
💡 Frank's Cut: when you hesitate between two versions, take the one that seems slightly less "impressive" in pause but more stable in playback. The viewer judges the fluidity and the consistency, not the detail overkill.
Scenario 2: save a noisy night scene without killing the cinema ambiance
The night scenes are the graveyard of the aggressive presets. You want to clean the noise, then you end up with a compact black, with no breathing, and a skin that looks like silicone. If you aim for a cinematographic render, you must keep some texture in the low lights. The "absolute clean" ruins the atmosphere.
I advise you to process the luma and the chroma separately when possible. In practice, you remove more color noise than luminance noise. Why? Because the luma noise can contribute to an organic feeling, while the chroma noise immediately dirties the image. Many beginners do the reverse, and it is there that the render becomes artificial.
On the night shots, also lock your contrast before the final upscale. If you leave a too-hard curve, the AI invents brutal transitions and halos in the dark zones. I prefer a softer base, then a precise rise of the contrast in post. It is more controllable and more faithful to the original intention of the shot.
The last key is the grain. Yes, you often have to put some back. But not an "instagram" grain. A fine, homogeneous grain, consistent with the light level. For that, go review our method to add a natural cinema grain on an AI image. This setting alone can make your render go from fake to credible.
Scenario 3: unify a film made of heterogeneous sources
Ultra common case among independent creators: a film edited with several cameras, several periods, and sometimes lost intermediate exports. You have clean shots, soft shots, too-contrasted shots, noisy shots. If you apply a single preset to the whole project, you manufacture a consistent catastrophe in failure.
The good approach is to create families of shots. For example: "day faces", "dark interiors", "wide exterior shots", "compressed archives". You define a base profile per family, then micro-adjustments shot by shot. It can seem longer at the start, but it is the only way to get a homogeneity that holds in a screening.
Also think about the framing during this phase. An upscale that accentuates secondary details can divert the gaze from the main subject. It is frequent on the wide shots. To fix, slightly readjust your local contrast and your sharpness around the attention zone. The guide how to frame an AI image like a cinema pro gives you the exact visual vocabulary for that.
At this stage, validate each family on a 20 to 30-second sequence, not on a single shot. If the visual continuity holds over this range, then you can launch the full renders. It is this discipline that transforms a disparate edit into a coherent film.
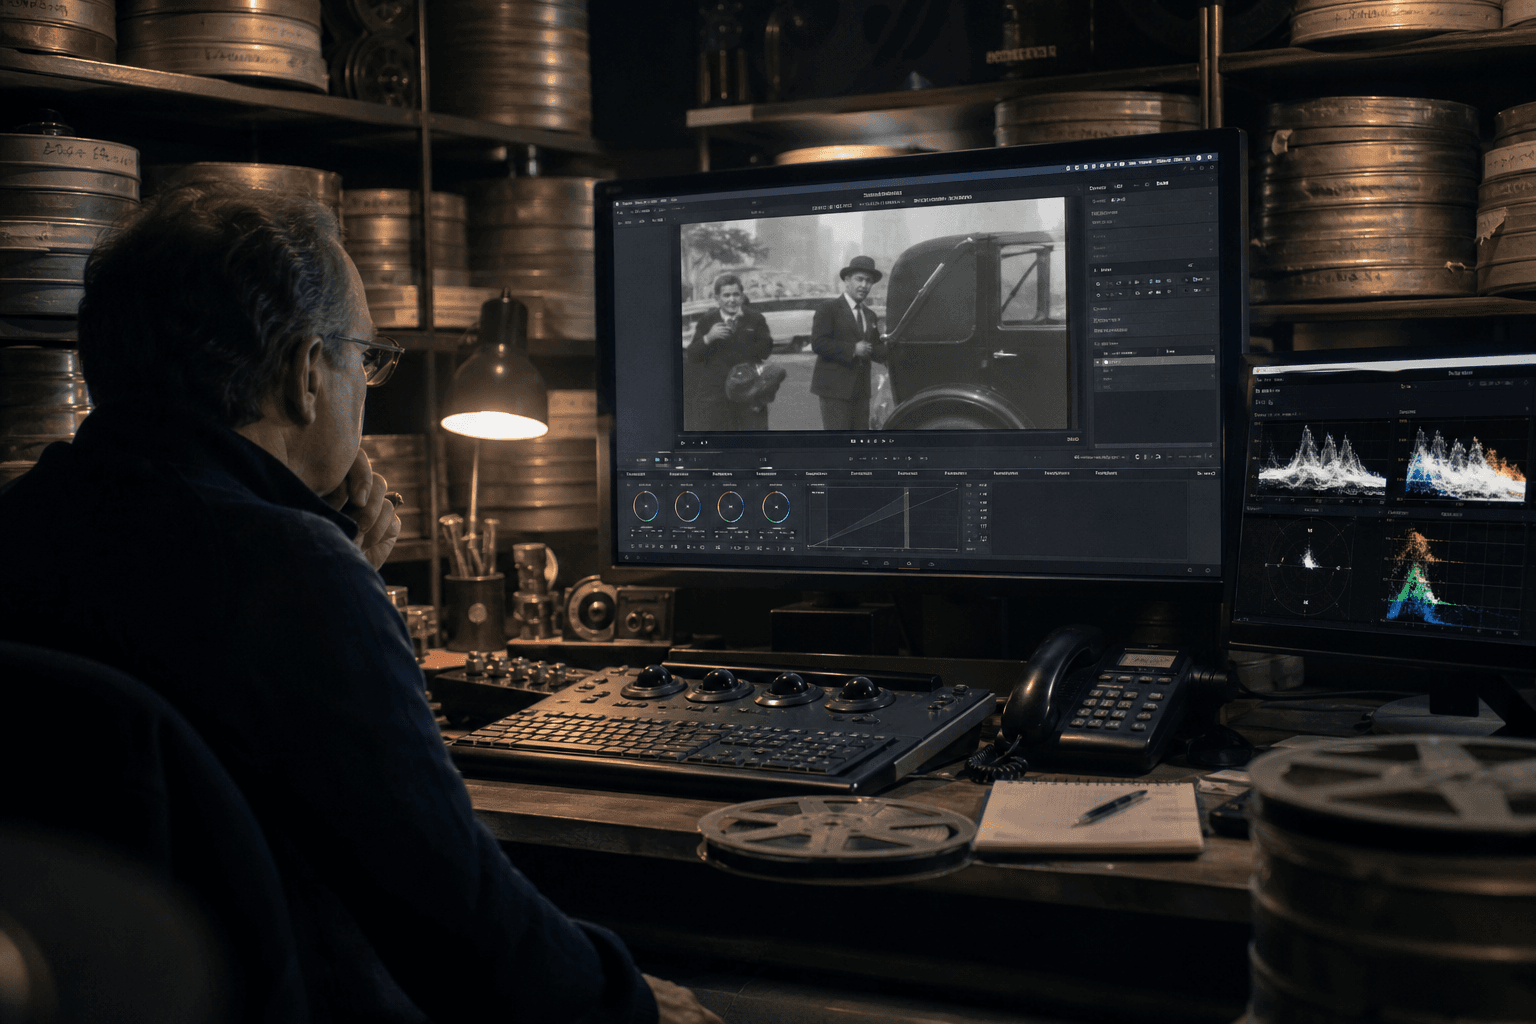
Troubleshooting: what beginners break and how to fix it fast
Bug number one is the edge over-accentuation. You launch a strong preset, everything becomes "sharp", and you think you won. In reality, the faces cut out artificially from the background, the hair shimmers, and the fine textures vibrate. The fix is simple: lower the global sharpness, then raise locally only on the zones useful to the story.
Second frequent break, the temporal flicker. In a fixed frame it passes. In playback, the details "breathe". The cause is often a model pushed too far or an inconsistent pre-processing between shots. Set a stable chain, avoid changing preset every ten minutes, and always validate in real motion. If the flicker persists, go back to a more conservative detail level.
Third mistake, the waxy skin. You clean too much, you lose the micro-variations, and the faces become synthetic material. To repair, raise some texture, reduce the denoise, and control your proximity contrast. If necessary, apply a differentiated processing on the faces via masks. A global setting is not always enough.
Fourth trap, the blocked blacks after upscale. It happens mostly on the night or underexposed sequences. You must fix the luminance curve before or just after the reconstruction, then check on a low-brightness screen. A shot "beautiful" in a bright room can become unreadable on mobile. The mobile test is not an option. It is an obligation.
Fifth critical point, the project consistency. Many beginners optimize shot by shot with no global vision. Result, each shot is defensible alone, but the whole tells an unstable aesthetic. Set up a review every 5 to 8 minutes of timeline, compare the adjacent sequences, and note the gaps of texture, contrast, and color before exporting.
Last reminder: it is not because a tool announces a "cinema quality" AI that your render becomes cinema automatically. The final render depends on your intention and your piloting. If you want to work the visual quality from the generation phase, not only in restoration, read our guide to write an ultra realistic cinematic prompt. You will save enormous downstream corrections.
💡 Frank's Cut: create a "distribution safety" preset a bit less ambitious, but ultra stable. When the deadline hits hard, it is this preset that protects you against last-minute surprises.
Useful and reliable external references
When you want to check the technical logic behind a setting, lean on solid sources instead of copying contradictory threads. The FFmpeg filters manual remains a serious base to understand the video processing chains. The official Topaz Video AI documentation is useful to read the model-by-model behaviors. And for the grading / finishing part, the DaVinci Resolve doc helps frame a pro postproduction pipeline.
"What separates an amateur render from a pro render is not the chosen tool. It is the ability to reproduce a clean result over several projects, under a time constraint."
FAQ: questions beginners ask before launching a 4K AI upscale
-
Do you absolutely need a very powerful machine to do 4K AI video upscaling?
You can start with no monstrous station, but you have to adapt your workflow. On a modest machine, work in short clips of 5 to 10 seconds to validate your settings, then launch segmented batches rather than a complete export. The real gain does not come only from the GPU, it comes from your test method. I have seen creators with high-end machines lose hours, while a simple and disciplined workflow on a medium config gave a better final result. Prioritize the stability of the settings before the raw speed. -
What is the best tool between Topaz, Resolve and FFmpeg to start?
There is no absolute best tool, only the best tool for your level and your goal. Topaz is often faster to get hold of to obtain a visible result, Resolve is excellent to integrate upscale, grading and finishing in one chain, FFmpeg is formidable to industrialize reproducible processings. If you are starting, begin with a visual tool, but keep a clear pipeline logic. The trap is to change tool on each video. The method consistency counts more than the brand of the software. -
Should I upscale the whole film at once or shot by shot?
First do a diagnosis by shot families, then process with consistent profiles. Upscaling everything at once can work on a very homogeneous project, but in real life the sources are often heterogeneous. In practice, I recommend testing three critical shots per family, validating the settings, then launching the corresponding batch. This approach limits the massive errors and guarantees a better visual continuity. Shot by shot only if a key shot breaks despite the family profile. Otherwise, you are going to drown in interminable micro-adjustments. -
How to avoid the "video game" effect after upscaling?
The "video game" effect often comes from a combination of excessive sharpening, too-hard contrast, and too-clean textures. To avoid it, keep some material in the low lights, limit the global accentuation, and reintroduce a fine grain consistent with the scene. Also think about the color: too-saturated skin tones and too-dense blacks quickly tip toward an artificial render. The decisive test remains the playback in motion. If the shot draws the attention to its processing instead of serving the story, you pushed too far. -
Why is my render clean on my screen but bad on mobile?
Because your validation workflow is incomplete. A calibrated work screen sometimes masks problems that explode on a smartphone, especially in the dark zones, the fine edges and the final platform compression. You must systematically test on at least three contexts: main screen, standard laptop, mobile. Also check the codec and the output bitrate, because an excellent master can be destroyed by a bad export. The simple rule: if the render stays readable and natural on mobile, it will pass much better everywhere. -
Should you keep some noise or clean everything before the upscale?
Cleaning everything is rarely a good idea. Some texture contributes to the natural perception of the image, especially in fiction. The goal is to remove the bothersome noise, not to sterilize the image. First remove the defects that disturb the narrative reading, like the colored artifacts or the compression blocks, then keep an organic base. Then, if necessary, add a controlled grain in finishing to harmonize the whole. This logic lets you avoid the plastic skin and the dead flats, while keeping a credible material feeling. -
How much time to plan to restore a 10-minute short film in 4K AI?
For a first serious project, count between half a day and two days depending on the state of the sources, the power of your machine, and your demand level. The time is played mostly in the validations, not only in the rendering. Plan a block for audit, a block for setting tests, a block for batch, then a block of quality control. If you try to go too fast, you are going to redo complete exports. The best accelerator is not the haste, it is a clear protocol executed with no improvisation. -
How to know if my upscale is really ready to publish?
Ask yourself three simple questions. Is it stable in motion, including on transitions? Is it consistent between adjacent shots? Is it readable on mobile with no obvious artifacts? If the answer is yes to all three, you already have a solid publication level. Then, take a break of a few hours and review the video cold. This distance reveals defects that your used-to eye no longer sees. In pro production, this last rereading avoids many "almost good" deliverables that then cost client feedback.
Related articles
Tutoriels
How to Write a Short Film Script from A to Z with AI
A complete masterclass to write a short film with AI, from the raw idea to a shootable script, with no artificial dialogue or shaky structure.
 Tutoriels
Creating a 100% AI Short Film With No Camera or Actors
Narrative structure, character consistency, honest limitations, and finishing to hold up at an online festival.
 Tutoriels
Managing Sonic Depth for an AI Short Film
A practical sound design method to give volume, distance and emotion to a generated scene.