Complete workflow to go from an idea to a realistic AI film
From the note on paper to the master, the chaining of the steps, the files, and the control points like in a studio.
It is two in the morning, your export just finished, and something is off before you even know what. The clip is sharp, clean, even a bit too clean. Your mother would say "it is beautiful", your brain screams "software demo". It is not a question of talent. It is a question of chain: you generated images, not a film decision.
This guide proposes a miniature studio method, the one you use when you have neither a team nor a budget, but you still want to finish. The goal is not to replace a real shoot, it is to produce a short coherent piece with clear control points, named files, and an ending that holds up when you watch it on a phone.
Sophie, a freelance graphic designer in Lille, spent three evenings on a twelve-second teaser without ever validating a "look". She changed model at each frustration. Karim, a film student in Montreal, wanted an ambitious single take in a glass corridor: the geometry rippled, he threw everything away. Léa, a creator for a small coffee brand, delivered an impeccable visual... in total silence, and the ad rang hollow. These three cases have the same denominator: no fixed brief, no pilot image, no sound laid down early.
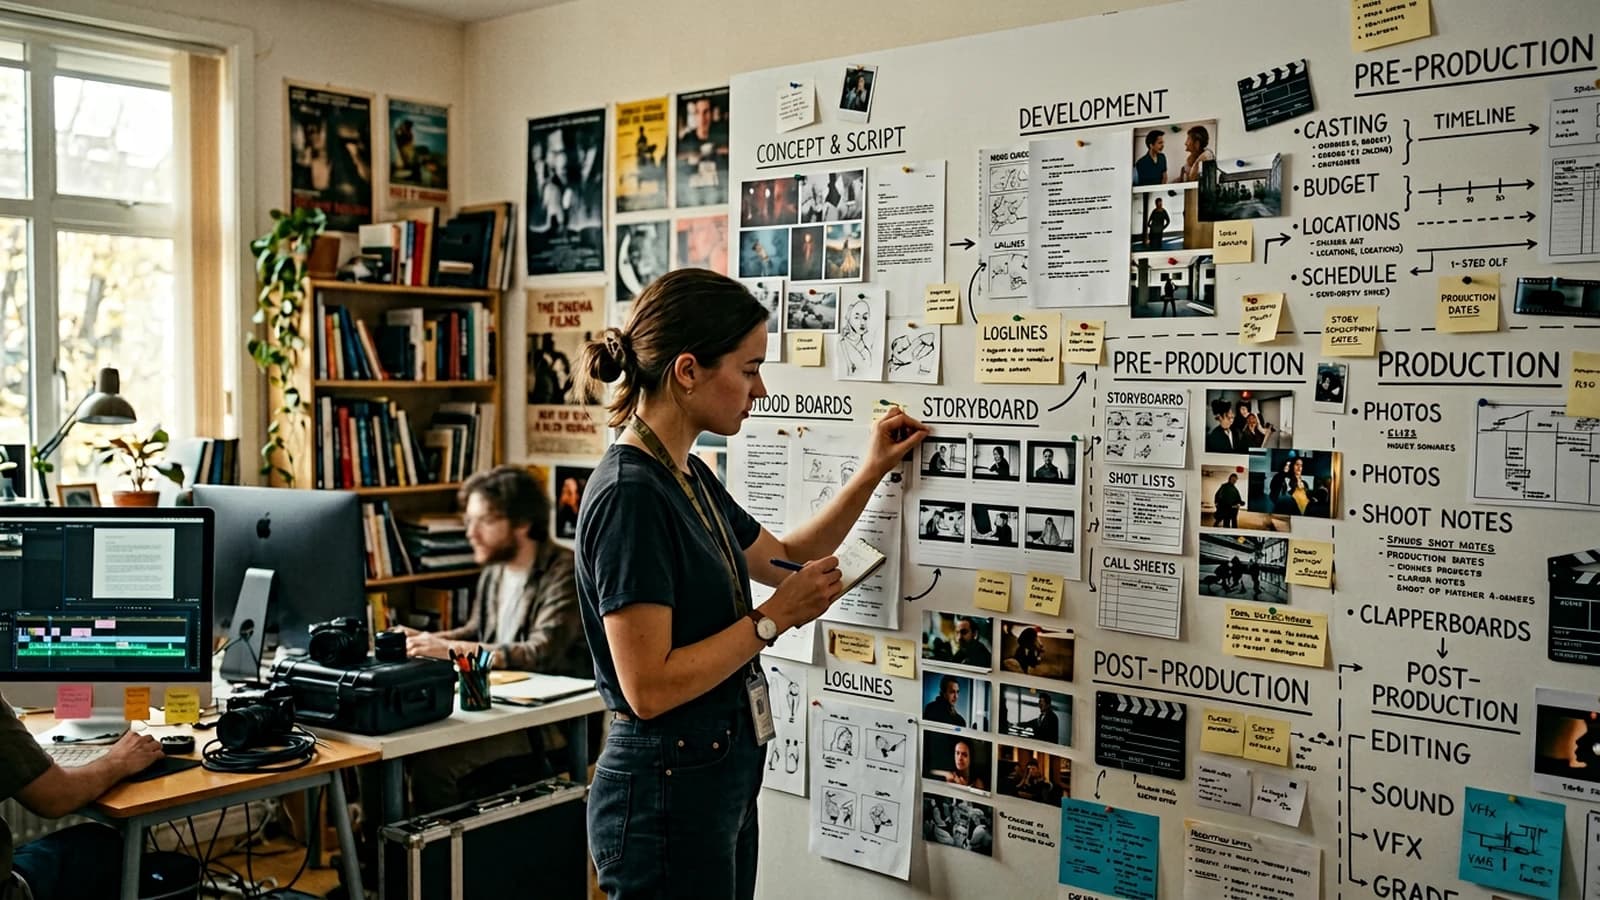
Classic film production cuts the work into phases that follow one another for a simple reason, to avoid the early improvisation becoming a technical debt at the end. You can read a reference entry on the usual steps of the trade on film production. In AI, the logic stays the same, only the tools change. What changes most for you is the speed of the attempts: with no discipline, you multiply the versions instead of advancing toward a stable master.
From the idea to the one-page brief
Before opening a generator, you write one page, not a novel. Line 1: who, where, when in the physical sense, not "a sad woman", rather "thirty-five-year-old woman, cream wool sweater, Nordic kitchen, rain behind the window, gray late afternoon". Line 2: one dominant emotion, a single strong word. Line 3: format and duration, 16:9, eight to fifteen seconds for a first cycle, not a three-minute clip. Line 4: three references of light and material, no empty titles, for example humid interiors and indirect neons, sand and haze, raw natural with no smoothed beauty. Line 5: explicit bans, no pink neon by default, no porcelain skin, no camera orbit.
If your starting text resembles what you already write to fix prompts that contradict each other, it is normal. The method to hierarchize the intention and the light is the same as the one detailed in the article on why your prompt does not work and how to fix it.
Pro tip: a brief readable aloud in less than forty seconds is a usable brief. If you choke, so does the model.
Minimal storyboard and character sheet
You draw three boxes with a pen, even ugly ones. Box A: entry into the scene, wide or cowboy shot. Box B: emotional information, medium or chest shot. Box C: detail or reaction, tight or symbolic object. Under each box, a camera movement note: push in 3%, very slow pan, short truck, never "dynamic camera" with no direction.
The character sheet fits in five lines: approximate age, clothing anchored in a material, realistic hairstyle, a rare accessory, a mark of time (three-day beard, stain on the sleeve). You copy it as is into each shot prompt, you do not add fifteen adjectives between two generations.
For the narrative continuity between the shots, a short and oral script helps more than a literary paragraph. The guide on how to write an effective script for an AI-generated video fits well with this step.
Pilot image: three lights, one truth
You generate three still images from the same prompt base, you change only one parameter of light or hour. Example of a base in a text block:
35mm spherical, eye level, medium shot, woman 35, cream wool sweater,
small kitchen north light window, rain on glass, soft side light, hard shadow under nose,
natural skin texture, visible pores, no beauty retouch, film grain fine,
shallow depth of field, background practical lamp warm bokeh
In your interface, you stay in a window of moderate guidance: if you see a CFG slider or equivalent, start toward the middle of the recommended range, go up a notch if the image is muddy, down a notch if the skin becomes plastic. For the iterations, you add or remove one line of light at a time, not five.
You compare at 100% zoom on the face triangle: eyes, mouth, sharp-to-blur transition. If the wall behind the subject is blurry like cream while it is close, you fix it by describing the camera-to-subject distance and the subject-to-background distance, even approximate.
Video step: modest movement, consistency first
When the pilot is validated, you export a clean PNG or you keep the frame in the tool that chains toward the video. For a detailed workflow on two precise engines, see the HaiLuo and MiniMax short-film workflow. You describe a simple movement: slow push in, gentle pan, short lateral truck. You avoid the 360° orbit and the long tracking in a corridor loaded with vertical lines at the start.
If the tool proposes a movement strength in percentage, test between 20% and 45% on a four-to-six-second clip before going higher. If you have a source-image fidelity slider, raise it by steps until the hands stay stable on two consecutive tries.
The image-to-clip transition deserves a thoughtful chain: how to turn an AI image into a fluid and credible video sums up the traps of the interpolation and the flicker.
Pro tip: generate longer than necessary, then cut hard in the edit. The cut gives the intention, the dissolve often hides a geometry that does not fit.
Sound and edit: half of the realism
You lay down an ambiance track before freezing the visual master, even raw: kitchen room tone, distant street, rain, ventilation. You import the clip into your usual editing software, you slightly recrop to break the "perfect" framing, you apply a soft curve: light lowering of the highlights, modest rise of the midtones on the face if needed.
Typical session: ninety minutes, clicks included
Minute 0 to 10, you open a text document, you copy the five-line brief template, you read it aloud. If you stumble on the place or the hour, you complete before any generation.
Minute 10 to 25, you draw three boxes on paper, you write under each box the shot type and the movement. You take a photo of the paper with your phone, you slip it into the project folder, even if it is ugly. This photo becomes your anchor when you have twenty tabs open.
Minute 25 to 55, pilot generation. You launch the first image with the prompt base, you note in prompts.txt the exact version and the settings visible on the screen. You duplicate the scene or the session depending on the tool, you change only the weather line or the light temperature, you regenerate, you repeat a third time. You choose the pilot by zooming on the sweater texture and the skin-to-shadow transition under the nose.
Minute 55 to 75, video step. You load the chosen image, you activate the image-to-video mode if available, you set the duration to six seconds for the test, you lower the movement intensity to the lower quarter of the range, you launch two previews. You compare on a loop: if the wall breathes, you simplify the set in the prompt or you shorten the movement.
Minute 75 to 90, sound and export. You lay down an ambiance track at minus eighteen to minus fourteen LUFS approximate to leave room for a future voice, you export preview_v01.mp4, you send it to your phone, you mark three defects on a note. The session stops there, with no panic regeneration five minutes before the end.
You add a fine grain overlay, light 35mm or 16mm depending on your taste, you avoid the global sharpen on the skin. You export an H.264 preview, you watch on the phone and on a calibrated screen if you have one.
For the structure of the ideas in sequences, the reading of how to structure an AI video like a real film helps avoid the interminable single clip.
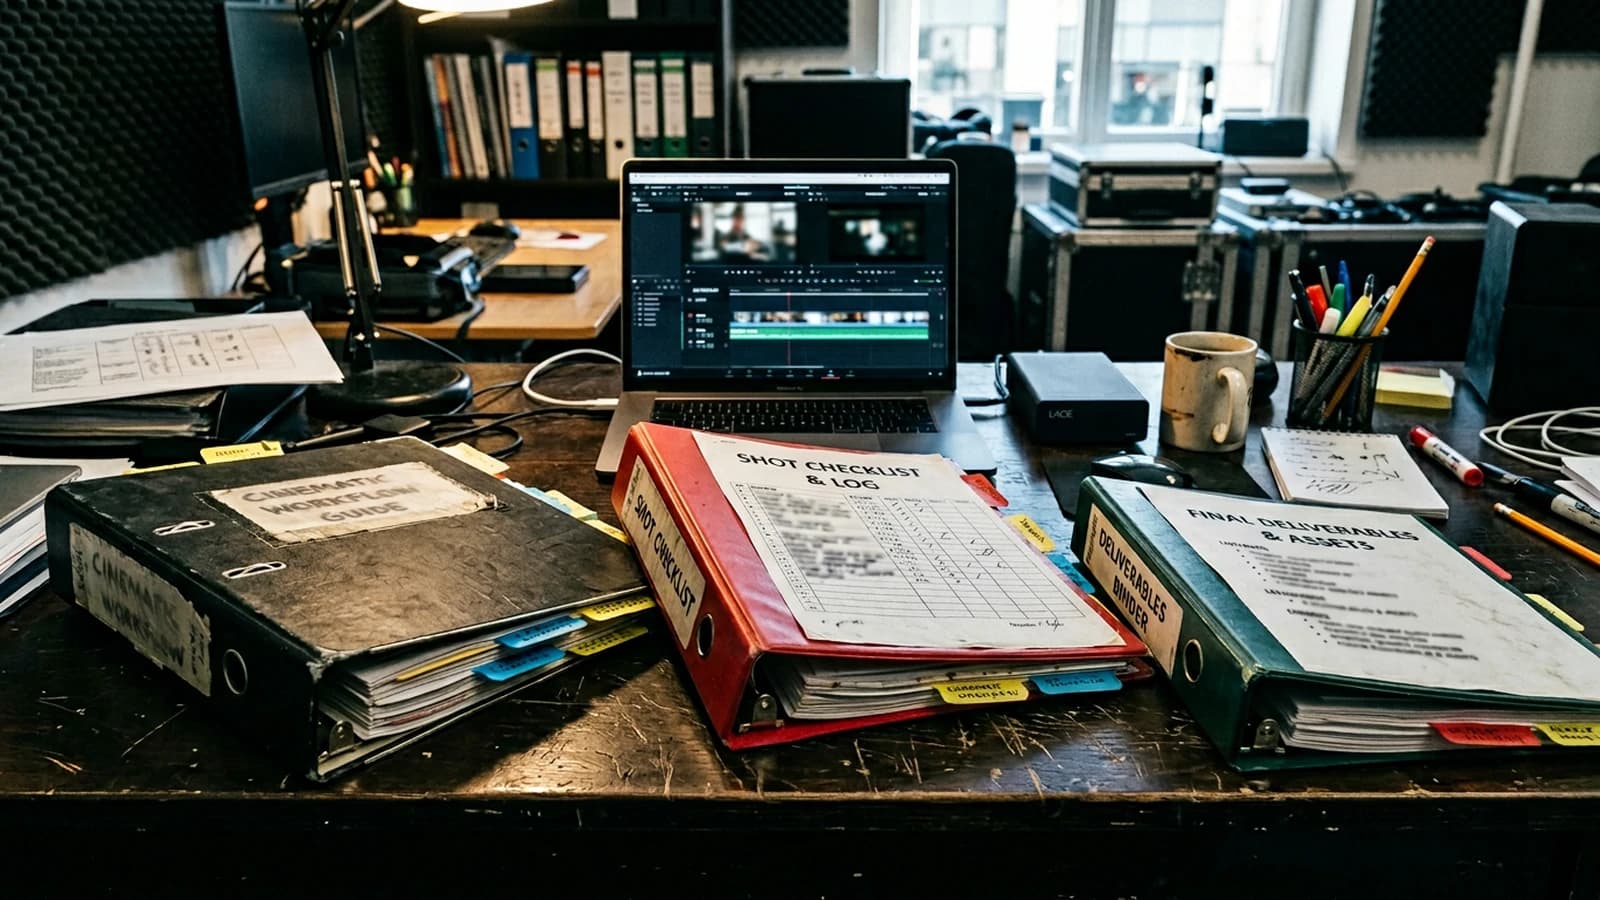
Table: phases, deliverables, validation criteria
| Phase | Deliverable | Concrete action | "Yes" criterion |
|---|---|---|---|
| Brief | 1 page | 5 lines + bans | readable in 40 s |
| Storyboard | 3 boxes | pen + camera notes | you see the cuts |
| Pilot | 3 images | one light variable | credible skin at zoom |
| Video | 1 test clip | movement 20 to 45% | hands stable 2 tries |
| Sound | ambiance + voice-over | room tone before master | no more total silence |
| Master | export | grain + curve | readable on phone |
Pro tip: name your files
PROJECT_sc01_sh01_v03.png, keep aprompts.txtfile next to them. Your future self does not have the memory of a server.
To calibrate the eye on movement, study credible camera-movement breakdowns with the sound off and name each shot aloud.
Trench warfare: what beginners miss, and how to fix it
You think the problem is the resolution while it is the light hierarchy. You ask for "cinematic" with no focal length or camera height, you get a wallpaper. You push the guidance to the maximum because "stronger must be better", you get plastic. You add twenty generic negatives, they fight each other.
You want a wide shot because "it looks like film", the AI shows a ceiling, five windows, and a wall that breathes. Tighten the frame, remove what does not serve the emotion. You want hands in the foreground in wide angle, the fingers stretch like chewing gum. Switch to a longer focal length or pull the virtual camera back and bring the subject closer otherwise.
You forget the sound until the end, you wonder why the image seems fake while it is clean. The absolute silence is a demo signal. You dissolve between two different images because "it is softer", you mix two geometries. Hard cut, let the sound assume the continuity.
You change the seed at each frustration. The seed reproduces, it does not save a false direction. You first fix the light and the framing, you lock the seed when you approach the goal.
You deliver with no documentation: for a client or a team, note what is generated, retouched, upscaled. The technique does not replace the legal frame, it lives next to it.
You treat the teal and orange like a single filter on the whole frame, the faces go to burnt orange. Isolate the skin with a soft mask in grading, bring back a credible blood tint in the reds, then only do you push the look on the environment.
You export hyper sharp for social, the platform recompresses and your image "jumps". Plan a light grain, a highlight control before upload, test a version on the target network privately before the public publication.
You want to speak and show at the same time on a single long shot: the face melts, the lips slide. Cut into a dialogue shot and a reaction shot, or hide a part of the face if the tool weakens on the mouth in motion.
You confuse contrast and saturation: you raise the colors to hide a flat image, you get a 1990s TV ad. Work the curve first, blacks that do not fall into mud, highlights that do not burn the skin, then adjust the saturation sparingly.
Pro tip: in a quick critique, three defects maximum per pass. Consistency first, cosmetics next. An impossible hand beats a small light stain.
Pro tip: keep a screenshot of the settings at each winning version. When a client says "let us go back to Tuesday's", you will know which Tuesday.
Foire aux questions
Réponses rapides aux questions les plus fréquentes sur cet article.
How much time to plan for a first credible cycle?
Plan several short sessions over two to three evenings rather than a marathon. One session for the brief and the storyboard, one for the pilot image, one for the test clip and the sound. Sleep is a correction tool: what seems acceptable to you at midnight often falls through the next morning.
Do I absolutely have to work in 4K from the start?
No. Iterate at a resolution where a generation or a batch stays fast, then upscale or regenerate high when the composition and the light are frozen. Otherwise you optimize errors in very high definition.
The movement distorts everything, what to do?
Reduce the amplitude, shorten the duration, simplify the set, or start again from a corrected still image. Avoid the orbits and the long trackings in loaded environments as long as you do not have a stable practice.
How to know if my brief is precise enough?
If it fits in five physical lines and it contains bans, it probably holds up. If it only talks about emotion with no geometry or light, the model will invent a neon to help you.
Is the sound really mandatory?
For a credible render online, yes. Even a low ambiance changes the judgment on the image. The total silence makes a clip pass for a software demo loop.
Can I deliver this type of work to a client?
Technically yes if the quality follows, legally it depends on the contracts, the usage rights of the tools, and what the brand accepts. Document your production chain and the retouches.
My characters change between the shots, why?
Identity and light are not locked. Keep a short stable sheet, the same clothing materials, the same light sources, and avoid mixing contradictory styles in the same shot.
Where to learn the camera vocabulary with no long course?
Watch excerpts with the sound off, name each shot aloud, copy the terms into your prompts: shot, focal length, height, distance, key, fill, rim. The precision comes from the repetition, not from the jargon.
Related articles
 Tutoriels
HaiLuo / MiniMax Workflow for a Realistic AI Short Film
A complete HaiLuo and MiniMax chain: brief, pilot, modest movement, QA and post for a credible short film with no demo look.
 Tutoriels
Kling 3 workflow for a fluid and realistic animation
Kling 3 pipeline from A to Z: pilot image, movement control, temporal QA and post for fluid and credible animations, with no demo effect.
 Tutoriels
How to Generate a Realistic Scene with Depth of Field
Plane separation, consistent bokeh, subject-set distance, and post to soften the transitions.