How to Write an Effective Script for an AI-Generated Video
Page format, beats, usable visual descriptions, and dialogues that survive the generation.
You are here for: How to write an effective script for an AI-generated video. Good. We are going to avoid two traps right away.
The first trap is believing that a single magic setting fixes everything. The second is accumulating tutorials without ever finishing a mini project. Choose a short duration, eight to fifteen seconds or a single image, and go all the way with a method.
What I propose here is a field reading. Not a promise. You are going to understand why some images "pass" and others instantly trigger the "AI" reflex in the viewer. Often it is not the resolution. It is the lying light, the skin too smooth, the inconsistent bokeh, or a movement that defies physics.
Three mini scenarios. A creator wants beautiful with no constraint: he gets generic. Another wants detail everywhere: he gets plastic. A third wants cinema with no sound: he gets a showroom.
For How to write an effective script for an AI-generated video, keep a simple rule. One strong decision is worth three compromises. One clear light source is worth ten adjectives. One export with a clean file history is worth a night of chaos.
Let us go down into the concrete. Note with a pen what you did before, apply a single modification today, compare tomorrow. If you do not see the difference, it is fine, you will at least have one more criterion. The eye trains like a muscle, with honest repetitions.
Key concepts (what you must remember before clicking everywhere)
Copyrights and client ethics are not a paragraph at the end. If you work for a brand, document what is generated, what is retouched, what is stock. The technique here does not replace the legal framework. It lives next to it.
Framings that are too centered give a poster, not a scene. Shift the subject, leave space in the direction of the gaze. The rule of thirds is not a law, it is a tool to avoid the default symmetric postcard.
The AI sequence shot is appealing and rarely clean. If you want one, isolate a simple set, a clear action, a slow movement. Otherwise cut into three shots, the viewer will prefer three truths to one lying sequence.
Contrast is not saturation. Pushing the colors to hide a flat image gives a 90s TV ad. First work the curve: blacks that do not fall into mud, highlights that do not burn the skin. When the curve holds, saturation needs much less.
Dialogue sequences in AI need reaction shots. Even if you have no real actor, think cut, reverse cut, silence. The edit carries the dialogue, not a single shot that talks for thirty seconds.
Shots that are too wide in AI reveal the geometry. If you do not need the ceiling and five windows, tighten. Fewer things in the frame, fewer chances that a wall breathes. Framing is a director's decision, not a sensor defect.
Set notes, details that change everything
Intermediate resolution is your lab. Work where you can iterate in ten minutes, not in three hours. When a sequence holds, upscaling or regenerating high makes sense. Otherwise you optimize a perfect pixel in a fake scene.
"Cinema" AI transitions are often demo transitions. Real cinema cuts. If you use an AI dissolve between two different images, you mix two geometries. Prefer a hard cut with a sound that chains them. The ear makes the continuity, not the dissolve.
Prompts that list twenty aesthetic adjectives with no geometry produce wallpapers. Replace half the adjectives with physical data: distance, focal length, camera height, time of day, dominant material.
Cast shadows that are too black with no transition give a collage look. Add a very light fill or a credible indirect reflection. AI loves easy contrast. You have to bring back the ambient light that exists in a real room.
The "porcelain" skin render often comes from a too-high mix of detail plus a hard frontal light. Tilt the light, add a soft shadow under the nose, lower the clarity on the high frequencies of the skin in post. Skin has pores, not a grid.
The fear of black pushes beginners to lift the shadows up to gray. Keep real black, especially in cinema. Black gives volume. Gray gives the demo.
"Ultra detailed" prompts often contradict themselves. Adding five different styles in the same paragraph is asking the model to cheat. One dominant style, one concession, one prohibition. Three layers, not fifteen.
Practical workflow, like on a real shoot (but with AI)
Step 1: brief in one page, with no hollow poetry
Open a doc. Write five lines.
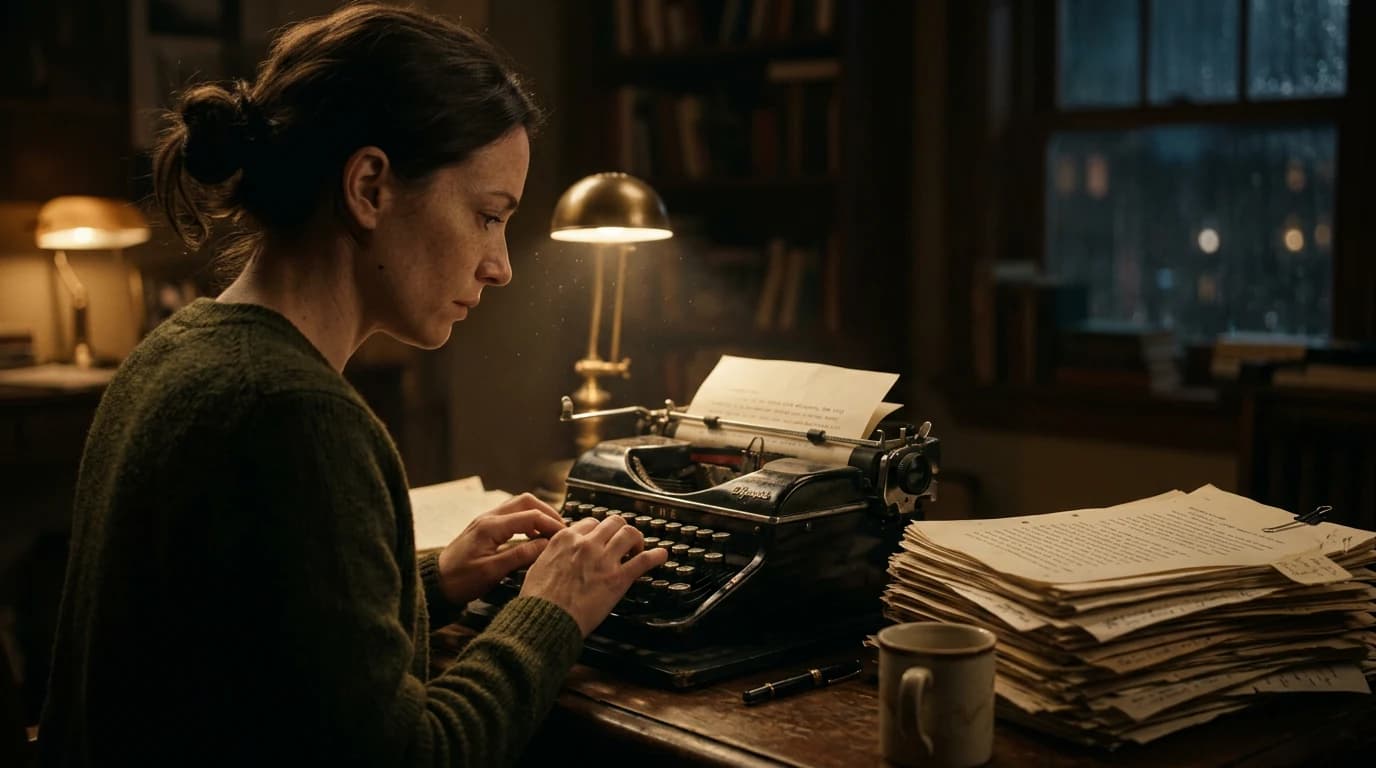
Line 1: the subject, physical, located in a precise place. Not "a woman", but "a woman in wool, near a north window, rain outside".
Line 2: the dominant emotion. Fear, relief, desire, tiredness. A single strong word.
Line 3: the target duration and the format. 12 seconds, 16:9, voice-over or not.
Line 4: three human visual references. Films, not words. "Blade Runner 2049 interiors", "Dune sand and haze", "Winter's Bone natural".
Line 5: prohibitions. "No neon", "no smooth skin", "no extreme motion blur".
Save this doc. It is your contract with yourself.
Step 2: quick moodboard, three still images
Generate three still images with the same base prompt, changing only the light or the time of day. Compare at zoom. Choose the one that holds the skin and the fabrics. It is your pilot.
Typical settings on the image side: start with a photorealistic model, avoid the "fantasy" presets. Steps or equivalent strength: enough for the texture, not enough for hyper-sharpness. CFG or guidance: middle of the range, not the max, otherwise you get plastic.
Step 3: minimal movement, like a human operator
Move to video only when the pilot is validated. Describe a simple camera movement. Slow truck, very slow pan, discreet push-in. Avoid 360° and orbits at the start, that is where the geometry explodes.
If your tool offers a movement strength, stay between 20% and 45% at the start. Above, you pay in deformation. If you have a consistency setting with the source image, raise it slightly until the hands stay stable.
Step 4: sound and ambience, right away
Do not finish the visual before laying an ambience track. Even a bad one. The brain associates the sound with realism. Room noise, ventilation, a distant street, rain. Then voice if needed, treated with a bit of room.
Step 5: editing, reframing, grain
Import into your favorite NLE. Reframe slightly to break the "perfect AI framing" effect. Add a soft curve, lower the highlights a bit, raise the midtones slightly to keep the face. Add grain as an overlay, a light 8mm or a fine 35mm depending on your look.
Export a first version in medium quality, watch on a phone and on a calibrated screen. Correct, loop back.
Step 6: critique in five minutes
Set a timer. Note three defects maximum. Correct the ones that touch the consistency before the ones that touch the cosmetic detail. A weird hand beats a debatable light spot.
Micro settings before freezing a sequence
Image upsampling is not always your friend. More steps can crystallize skin textures into stucco. Look for the level where the pores become suggested again rather than drawn. It is often a little before the maximum the interface proudly offers you.
Framings that are too centered give a poster, not a scene. Shift the subject, leave space in the direction of the gaze. The rule of thirds is not a law, it is a tool to avoid the default symmetric postcard.
The lateral tracking shot in AI often requires a simplified set. The more vertical lines there are, the more the model will have to hold them straight during the movement. If you see walls ripple, reduce the tracking distance or add a light motion blur in post to mask without lying too much.
Monitoring on a phone is not optional. Half your audience will see your clip on a small, bright screen. If your grain disappears and your contrast explodes, you have to rebalance. Modern cinema is dual-target, cinema and pocket.
A clean project folder is worth all the viral workflow promises. Name your files, keep a screenshot of the settings, copy the prompt into a txt. In two weeks, you will thank yourself when a client says "let us go back to version 2".
"Ultra detailed" prompts often contradict themselves. Adding five different styles in the same paragraph is asking the model to cheat. One dominant style, one concession, one prohibition. Three layers, not fifteen.
Global sharpening is the enemy. If you want sharpness, mask the face and sharpen very little on the fabrics or the distant details. Never on the foreground skin, unless you are deliberately after a 2000s ad look.
The viewer looks at the eyes first, then the mouth. If the eyes are sharp but the mouth melts, it is over. Prioritize sharpness on the face triangle, let the rest breathe in optical blur. That is also how many real lenses work.
The vertical format imposes a different reading. A horizontal wide shot tells the environment. A vertical demands a clear subject, a strong line, few parasitic elements on the edges. If you reframe a horizontal into a vertical without rethinking the composition, you get cut-off heads and hands that enter by surprise.
Eyes that are too bright and too blue are a classic AI signal. Lower the saturation on the whites of the eyes, add a micro shadow under the eyelid, avoid the perfect double-symmetric catchlight. The human eye is slightly imperfect, exploit that.
Copyrights and client ethics are not a paragraph at the end. If you work for a brand, document what is generated, what is retouched, what is stock. The technique here does not replace the legal framework. It lives next to it.
A tool's limit is not a personal insult. If a model does not hold the hands, work around it. If another does not hold profile faces, change the angle. The professional studio chooses the tool for the task, not the reverse.
Quick decision table
| Phase | Goal | Lever | Quick test |
|---|---|---|---|
| Brief | clarify | 5 lines max | readable aloud |
| Pilot | look | 16:9 still image | skin and fabric zoom |
| Movement | credibility | 20 to 45% amplitude | stable hands |
| Sound | anchoring | room tone | no absolute silence |
| Master | distribution | grain + curve | reading on a phone |
A prompt is a list of decisions. If you do not make them, the model will make them for you, and you will not like its taste.
Trench warfare: what beginners miss, and how to fix it
The lateral tracking shot in AI often requires a simplified set. The more vertical lines there are, the more the model will have to hold them straight during the movement. If you see walls ripple, reduce the tracking distance or add a light motion blur in post to mask without lying too much.
Sound is half of the realism. A visually clean AI clip with absolute silence looks like a showroom. Add a room, a distant street, a fridge, a light wind. Then compress slightly to fit the social media. Lay the ambience before freezing the video master, otherwise you tell yourself stories about the quality.
The one-sentence brief never works. In three honest sentences, often yes. Sentence 1: who, where, what time. Sentence 2: what the viewer must feel at the end. Sentence 3: what is visually forbidden. The prohibitions save you from the default sci-fi neon pack.
Hands and teeth are lie detectors. If you do not need the hands, put them off-frame or in distant blur. If you need them, plan a tight reframe on the face and leave the hands out of frame. This is not cowardice, it is craft.
Intermediate resolution is your lab. Work where you can iterate in ten minutes, not in three hours. When a sequence holds, upscaling or regenerating high makes sense. Otherwise you optimize a perfect pixel in a fake scene.
When you talk about cinema to a model, think physical camera. A 35mm indoors is not the same thing as an 18mm in the same spot. The 35mm brings the face closer without distorting the shoulders. The 18mm stretches the hands toward the camera and turns a simple gesture into a geometric catastrophe. If your character has hands in the foreground, choose a longer focal length or pull the virtual camera back.
Skin colors under neon must stay in a credible family. The neon tints, yes, but leave a part of blood in the cheeks. If everything goes magenta, lower the selective saturation on the skin reds, raise the luminance slightly.
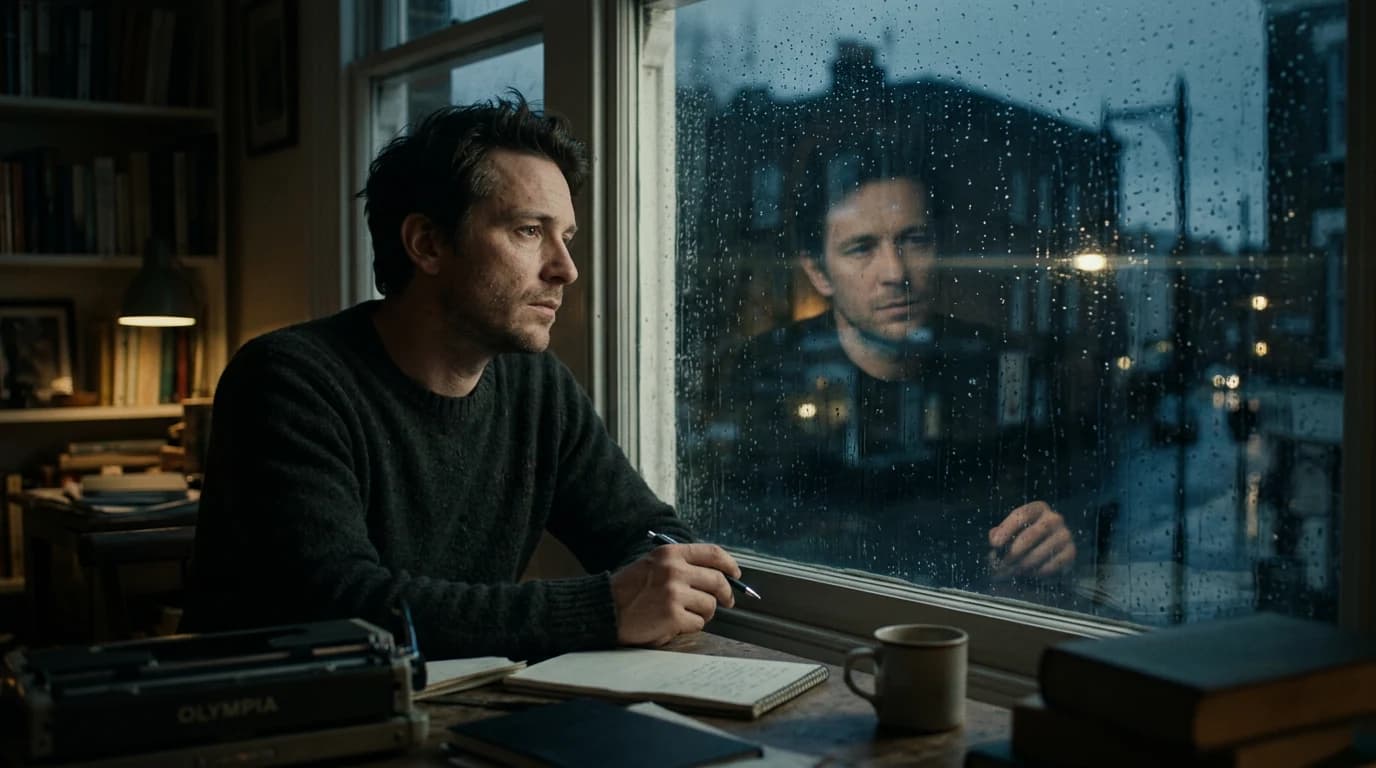
Reflective objects, glasses, windows, screens, are traps. If you do not need them, remove them. If you need them, plan a camera angle where the reflection does not show an impossible set. Simplify the reflection before complicating the set.
Useful links in the AI Studio series
- Creating a 100% AI short film with no camera or actors
- How to structure an AI video like a real film
- How to write an ultra-realistic cinematic prompt for AI
- How to create consistent scenes with several shots in AI
FAQ
Foire aux questions
Réponses rapides aux questions les plus fréquentes sur cet article.
The movement deforms everything, what do I do?
First reduce the amplitude and the duration of the shot, because those are the most profitable levers to find stability again. Then simplify the set and avoid complex interactions in the same take. If the starting frame is already shaky, restart from a corrected still image before re-animating.
I am losing motivation?
Reduce the goal immediately: a short finalized clip is better for progress than a long abandoned project. Split the work into closed steps (brief, pilot, movement, sound, export) to materialize the wins. This discipline protects your energy and improves the quality.
Is sound optional?
No, sound is structural, not decorative. A simple room or street ambience already changes the perception of the rhythm, the gravity of the gestures and the continuity between cuts. Without sound, you risk validating shots that look fake from the first viewing.
Which software do I start with?
The one that gives you a stable, usable pilot image the fastest on your real case. The useful criterion is the rate of editable shots per hour, not the marketing promise. If a tool systematically fails on your subject, pivot early instead of insisting.
Is it usable for a client?
Yes technically, but the client viability depends on the rights, the tools' terms of service and the delivery contract. Document clearly what is generated, retouched and edited to avoid ambiguities. This transparency protects the commercial relationship as much as the quality of the render.
My characters change between shots, why?
Because the continuity core is not locked enough between the shots. Keep a stable character sheet, a consistent dominant light, and visual references reinjected at each variation. Avoid modifying style, angle and action at the same time.
Handheld, how do I do it without breaking the geometry?
Stay on a low amplitude and readable movements, especially at the start. Choose a simpler set, with fewer critical lines and reflections, to limit the ripples. If needed, add a very light motion blur in post on the background rather than on the face.
Editorial compliance section
Useful internal links: