Stable Diffusion in 2026: A Complete Guide to Create Images Locally
Understand stable diffusion, install a solid local workflow, exploit SDXL, compare with Midjourney, and produce credible images with no plastic render.
Stable Diffusion in 2026: A Complete Guide to Create Images Locally
You want to create images locally, you type stable diffusion, you install three things, and it breaks on the first launch. Or worse, it works, but your images have that famous "generic AI" look that no one dares say frankly. I speak from experience. I crashed installations, lost models, and delivered tests too clean to be credible. This guide is here to save you from this tunnel. We are going to talk for real: hardware, workflow, quality, mistakes, business, and above all a method to move from random attempts to a clean production.
The keyword stable diffusion attracts a lot of beginners because it promises control, freedom, and local generation. The promise is real. But with no discipline, you quickly find yourself with a confused stack, badly documented checkpoints, and inconsistent renders from one day to another. The goal here is to give you a robust frame you can keep over the long term, even when the versions change.
What is Stable Diffusion?
Stable Diffusion is an image-generation model that turns text into a visual through an iterative denoising process. Simply put: it starts from random noise and progressively reconstructs an image guided by your prompt. The apparent magic actually hides a very concrete mechanic, and it is good news. A mechanic is steerable.
When we say stable diffusion ai, we do not talk only about a single model. We talk about an ecosystem: base models, variants, interfaces, LoRA, embeddings, upscalers, workflows. It is this modularity that makes its strength in local. You can adapt the chain to your style and your hardware, instead of depending on a closed service.
The big advantage for a creative is the reproducibility. You can keep your versions, your settings, your seeds, and recreate a visual direction several weeks later. In serious production, this capacity is worth gold. It lets you align a team, ensure a style continuity, and limit the version surprises.
But let's be honest: freedom has a price. If you document nothing, you quickly get lost. The beginner installs, tests, adds an extension, changes model, then forgets what caused the improvement. Result: slow progression and frustration. Stable Diffusion rewards the methodical profiles. It is precisely what we are going to structure together.
Stable Diffusion AI: how it works
The engine rests on three main blocks: text encoder, latent space, and denoising network. Your prompt is encoded into a mathematical representation. The model compares this representation to a noisy latent image. Then it reduces the noise step by step to converge toward an image that matches the textual intention.
The key parameters influence this convergence path. The number of steps controls the reconstruction finesse. The CFG Scale sets the strength of fidelity to the prompt. The sampler determines the denoising trajectory. The seed conditions the random base. It is not jargon to look pro. They are your concrete control levers.
Example of a robust base to start:
- Moderate resolution consistent with your GPU.
- Steps between 25 and 35 for a first pass.
- CFG Scale 4.5 to 6.5 according to the model.
- A fixed seed to compare the variations.
- A single change per iteration.
When beginners "break" the quality, it is often because they push everything too high. Too much CFG, too much sharpen, too many forced details. The render becomes artificial and rigid. The real realism comes from a balance. A credible light and consistent materials are worth more than an aggressive detail level.
If you want to improve the structure of your prompts before touching ten technical settings, review our method to fix a prompt that does not work. It is the best shortcut when your renders stagnate.
SDXL: what this model really changes
sdxl changed the game for many creatives because it improves the global scene understanding and the richness of certain textures, especially when the prompt is well structured. You often get a cleaner base on complex compositions than on older generations.
The trap is to believe that SDXL corrects everything automatically. No. It also amplifies your imprecisions. If your intention is fuzzy, you get an "impressive" but barely usable image. On the other hand, if your brief is precise, SDXL gives you a very solid material for a pro finish.
In the field, I use SDXL when I want a credible base quickly, then I refine with a light retouch and a strict sorting. I first look at the readability in mobile thumbnail, then the material consistency in full screen. This double validation avoids delivering beautiful but fragile images.
The best angle to start SDXL: a subject, an action, a light atmosphere, a material constraint, and targeted negatives. It is simple, but extremely efficient. You resist the temptation of the encyclopedic prompt, and you regain a real control over the final render.
Installing Stable Diffusion locally
The local installation is the point that scares people, but it becomes simple if you advance by steps. First, choose your interface. Then, stabilize your environment. Then install a single base model. Finally, do a reproducible test generation. As long as this base is not stable, do not add exotic plugins.
For the interfaces, you will often see ComfyUI, Forge, A1111 or variants. They each have their logic. If you are a beginner, choose the one that lets you understand what you do, not the one that promises "1000 ultra-advanced nodes". The technical ambition too early slows the learning.
Simple procedure I recommend:
- Create a dedicated project folder.
- Note the installed versions in a text file.
- Install the chosen interface and validate the first launch.
- Add a single checkpoint and test.
- Save the configuration that works.
Only then do you explore LoRA, ControlNet, upscale, or complex workflows. This sequencing avoids the domino effect where a single incompatibility makes you lose the day. For a step-by-step guided startup, you can also consult our Stable Diffusion beginner installation guide.
Who Stable Diffusion suits best
Stable Diffusion suits the creatives who want fine control, technical autonomy, and a steerable pipeline. If you work on consistent series, product variations, or long-term brand universes, the local becomes a strategic advantage. You are not dependent on an interface that changes with no warning.
It also suits the profiles who like to experiment methodically. You can test a model, compare samplers, measure the impact of a LoRA, then document what works for your style. This level of granularity is precious when you have to deliver with consistency.
On the other hand, if you just want to quickly generate a few visuals with no worrying about the pipeline, a hosted tool can be simpler at the start. There is no shame in that. The important thing is to align the tool with your real goal, not with a "pro" posture.
My direct advice: if you plan to produce regularly over 6 to 12 months, investing in a local workflow is largely worth the initial learning effort. You gain creative sovereignty, project memory, and quality control. It is exactly what beginners underestimate.
Stable Diffusion vs Midjourney
The comparison stable diffusion vs midjourney comes back in a loop. Midjourney often gives you a fast visual impact with a strong signature. Stable Diffusion gives you a modular and reproducible workshop. It is not just a difference of tool. It is a difference of production philosophy.
If you want an immediate "wow" render to explore an art direction, Midjourney can go fast. If you want to build a stable, versioned, and technically adjustable chain, Stable Diffusion has a huge advantage. On long projects, this control often becomes decisive.
In practice, many pros use both. Fast creative research on one side, mastered local pipeline on the other. The trap is to look for "the absolute best tool". The right choice depends on the type of deliverable, your deadline, and your reproducibility requirement.
If you want to compare the realistic renders between models more finely, complement with our Flux vs SDXL analysis on image realism. It will help you choose according to your target render rather than according to the trends.
| Criterion | Stable Diffusion | Midjourney |
|---|---|---|
| Technical control | very high (local, modular) | more guided, less granular |
| Reproducibility | excellent with seed/versioning | good, depends on the flow and the updates |
| Learning curve | steeper | softer at the start |
| Team pipeline | powerful if documented | fast for ideation and explorations |
| Long-term cost | optimizable according to hardware | subscription/service dependent |
For the official information on the open-source foundation and the ecosystem, consult Stability AI. For the good practices of model distribution and licenses, also watch the pages of community platforms like Hugging Face.
The Trench Workflow: from prompt to pro image locally
You want a concrete protocol. Here is mine in six phases, used in production when I have to deliver fast without sacrificing the visual credibility. Phase 1: define the intention. Phase 2: create a skeleton prompt. Phase 3: launch a short batch. Phase 4: score objectively. Phase 5: correct one variable. Phase 6: finalize and archive.
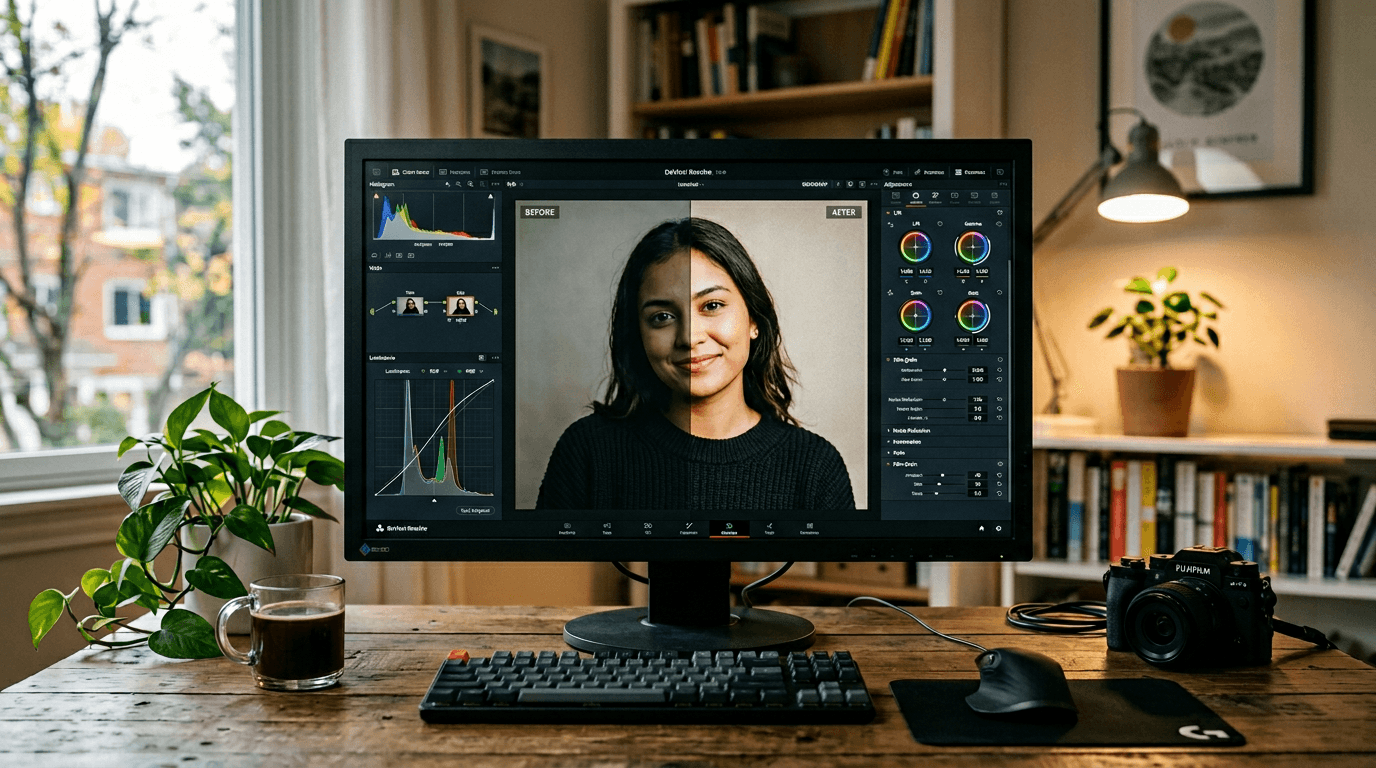
Scenario A, editorial portrait. Clean initial prompt, but skin too smooth. Correction 1: anti-smoothing negatives. Correction 2: lower CFG slightly. Correction 3: very light local retouch of the highlights. Result: a more human face, less "generated image".
Scenario B, cosmetic product. First render too glossy. Correction 1: specify the packaging material (textured matte plastic). Correction 2: add realistic micro-scratches. Correction 3: adjust the main light to limit the specular reflections. Result: a more premium visual, less artificial.
Scenario C, urban rain scene. First render beautiful but inconsistent on the reflections. Correction 1: reduce the number of light sources requested. Correction 2: keep a dominant light axis. Correction 3: reinforce the useful shadow zones. Result: a more credible atmosphere and a more readable narration.
The key of this workflow is the measurement. I evaluate each image on five criteria: subject readability, light consistency, material credibility, emotion, business usability. If an image is superb but barely usable, it leaves. It is this filter that creates a stable professional level.
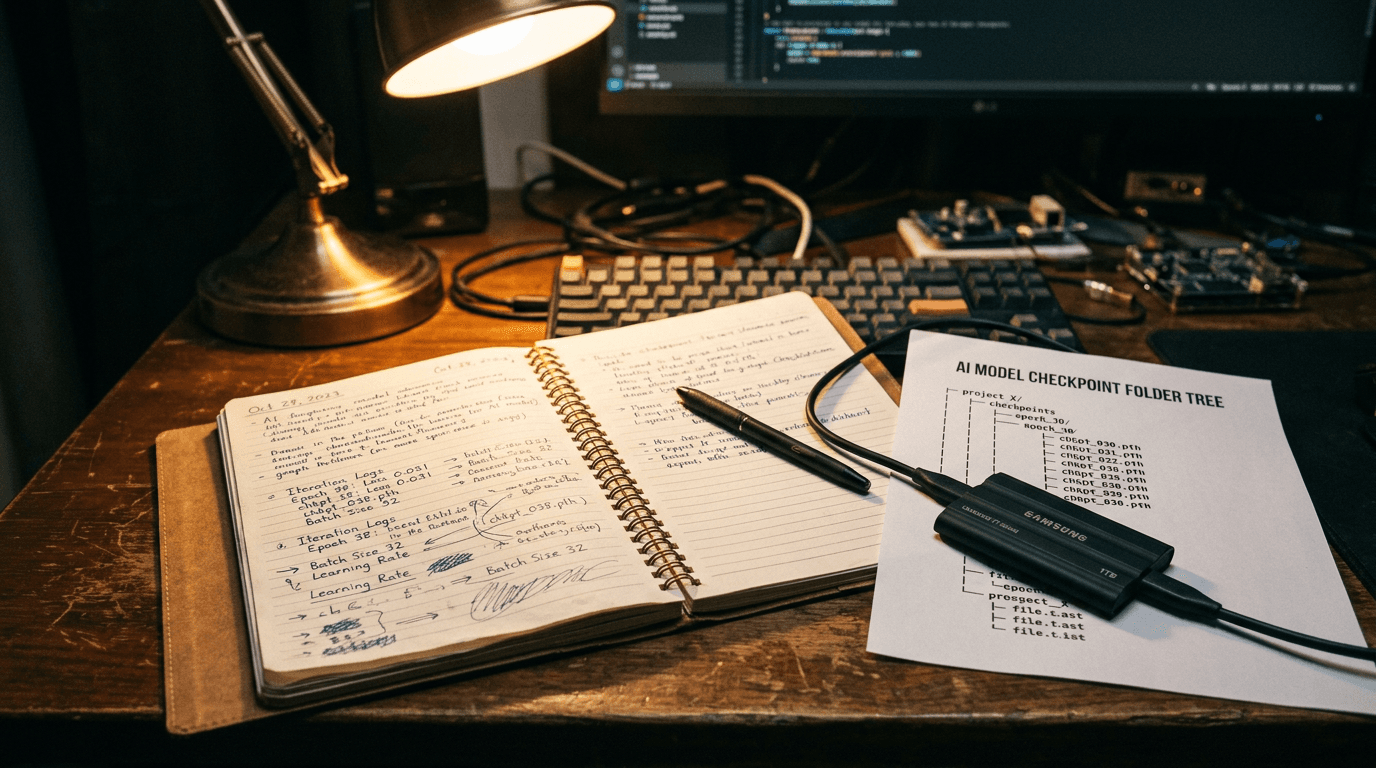
💡 Frank's Cut: systematically note the model, seed, sampler and interface version in a project file. This mini journal saves you when a client asks "can we redo version 2 with a minor change?".
Troubleshooting - What Beginners Break
Problem 1: "Out of memory" at the wrong moment. The correction is pragmatic: lower the resolution, close the heavy apps, adjust the batch size, activate the memory optimizations of your interface. Many blocks are solved with no changing machine, just with a better resource management.
Problem 2: too-artificial render despite "pro" prompts. Frequent cause: you force the details too much. Lower CFG slightly, simplify the adjectives, and give the real materials room again. A credible image is not an over-accentuated image.
Problem 3: inconsistency from one day to another. You forgot to lock your technical context. Interface version, model, seed, sampler, VAE. If a single element changes with no trace, your comparison no longer has value. It is the number-one source of confusion among beginners.
Problem 4: unstable hands and anatomy. You can limit it by framing intelligently, by choosing more natural actions, and by avoiding certain complex poses at the start. The visual direction also includes what you decide not to show.
Problem 5: copied prompts that do not work for you. It is normal. The same prompt reacts differently according to the model, LoRA, sampler, and version. Use these prompts as a structure, not as a magic recipe. Adapt to the exact context of your local chain.
Problem 6: obsession with the tool, forgetting the message. You spend hours optimizing a render without knowing what the image must tell. Come back to the intention in one sentence. It is your most powerful guardrail.
Core Concepts of local production
The first concept is reproducibility. In local, you can lock your environment and recreate a render. It is a huge business advantage. You move from an opportunistic creation to an industrializable creation. The brands love it because the consistency becomes measurable.
The second concept is modularity. You can compose your chain: base model, LoRA, structural control, upscale, finish. This architecture lets you precisely adjust the quality according to the need. You are no longer the prisoner of a single platform behavior.
The third concept is traceability. Noting your decisions, your versions, and your results is not "administrative". It is what lets you progress fast and defend your choices in front of a client or a team. With no traceability, you improvise on each session.
The fourth concept is the creative technical debt. Each extension added with no plan increases the future complexity. Keep a sober and reliable stack. A simple chain that works is worth more than an unstable monster full of options you do not exploit.
The fifth concept is the tool-goal fit. Stable Diffusion is fantastic, but not for everything nor right away. Your level rises when you choose the tool to serve the intention, not to follow the hype.
FAQ (PAA Optimization)
-
Is Stable Diffusion really suited to beginners in 2026?
Yes, provided you accept an installation and method phase. Stable Diffusion can seem more technical than hosted tools, but it becomes very accessible if you advance by steps and you document your settings. The big advantage for a serious beginner is that you learn the real generation mechanics, not only buttons. This understanding makes you more autonomous in the long term. If you look for an instant result with no learning, it is not the simplest option. If you want to progress fast and durably, it is an excellent base. -
What minimum configuration do you need to run stable diffusion locally?
The answer depends on your visual requirement level and your production pace. A modest machine can be enough to learn, but a dedicated graphics card brings a huge comfort in speed and stability. The essential is to calibrate your expectations: resolution, batch size, and workflow complexity. Many beginners believe you need an extreme machine to start. In reality, you can start with a reasonable frame and optimize progressively. The real gain comes from a clean and documented configuration, more than from an immediate race to high-end hardware. -
Is SDXL mandatory or can you stay on other models?
SDXL is not mandatory, but it is often very relevant to get a quality base on complex scenes. That said, other models can be more efficient according to your goal, your style, and your hardware. The mistake would be to follow a fad without testing your real use case. I recommend comparing two or three options on the same brief, with a stable evaluation grid. You will quickly see what holds up better for you. The best model is the one that gives you usable images in a consistent way. -
How to avoid the "plastic" render in stable diffusion ai?
Start by reducing the too-aggressive sharpness and detail instructions. Then, specify the real material of the important elements: skin, fabric, metal, glass. Add targeted negative constraints against the excessive smoothing and the artificial reflections. Also check your light balance, because many "plastic" effects come from an inconsistent illumination, not from the model itself. Finally, validate on mobile and full screen. This double check quickly reveals the too-clean or too-digital zones. The credibility comes from a set of micro-adjustments, not from a miracle keyword. -
Stable Diffusion vs Midjourney: which to choose for a client project?
Choose according to the type of deliverable and the duration of the project. For a fast visual exploration, Midjourney can go very fast. For a reproducible production with fine control and version memory, Stable Diffusion is often more solid. Many high-performing teams combine both: ideation on one side, local pipeline on the other. The bad reflex is to look for a universal winner. The good reflex is to define what you have to deliver, within what deadline, with what level of consistency. The tool then becomes a strategic decision, not an emotional one. -
Can you save time without losing quality with a local workflow?
Yes, but only if your workflow is structured. A disorganized local pipeline is slow and frustrating. A documented pipeline is fast and reliable. The difference plays on a few habits: a written intention, a stable base prompt, a short test, iterations one variable at a time, and a minimal version archive. With this discipline, you strongly reduce the useless attempts. You save time because each generation answers a clear hypothesis. It is exactly what turns AI generation into a real professional creative process. -
Should you learn ComfyUI immediately when you are a beginner?
Not necessarily. ComfyUI is powerful, but its logic can slow a beginner who has not yet understood the fundamentals of prompt, light and material. You can start with a more direct interface to build your markers, then move to ComfyUI when you need more complex and reproducible pipelines. This progression is often more efficient than learning everything at once. The goal is not to use the most "advanced" tool as early as possible. The goal is to deliver solid images with a method you really master.
The local gives you freedom. The method gives you quality. With no method, freedom becomes noise. With method, it becomes a competitive advantage.