How to Create a Film-Worthy AI Portrait
Focal length, catchlights, depth, imperfection and gaze direction for a believable shot.
A "film-worthy" portrait is not a smoothed selfie with a cinema filter, nor a demo 3D render where the skin looks like resin and the eyes like marbles. It is a shot where light has a direction, where focal length tells the story of distance, where the gaze carries an intention, where imperfections are measured, and where the viewer forgets to hunt for AI mistakes. This guide brings together scenarios, a workflow, a table, a trench-warfare section, reference links, four internal links, and an FAQ.
Scenario A. A creator wants a dramatic close-up. They get porcelain skin and eyes that are too bright. They add "8K detail". The problem was never resolution, it was the key and the sharpening.
Scenario B. A photographer wants a cinematic 85mm. She does not note the subject-to-background distance. The bokeh ends up looking like a Gaussian blur with no geometry.
Scenario C. A director wants an anamorphic portrait. He forgets the trade-offs. The blur turns dirty, with no structure.
What cinema does differently from a cosplay photo studio
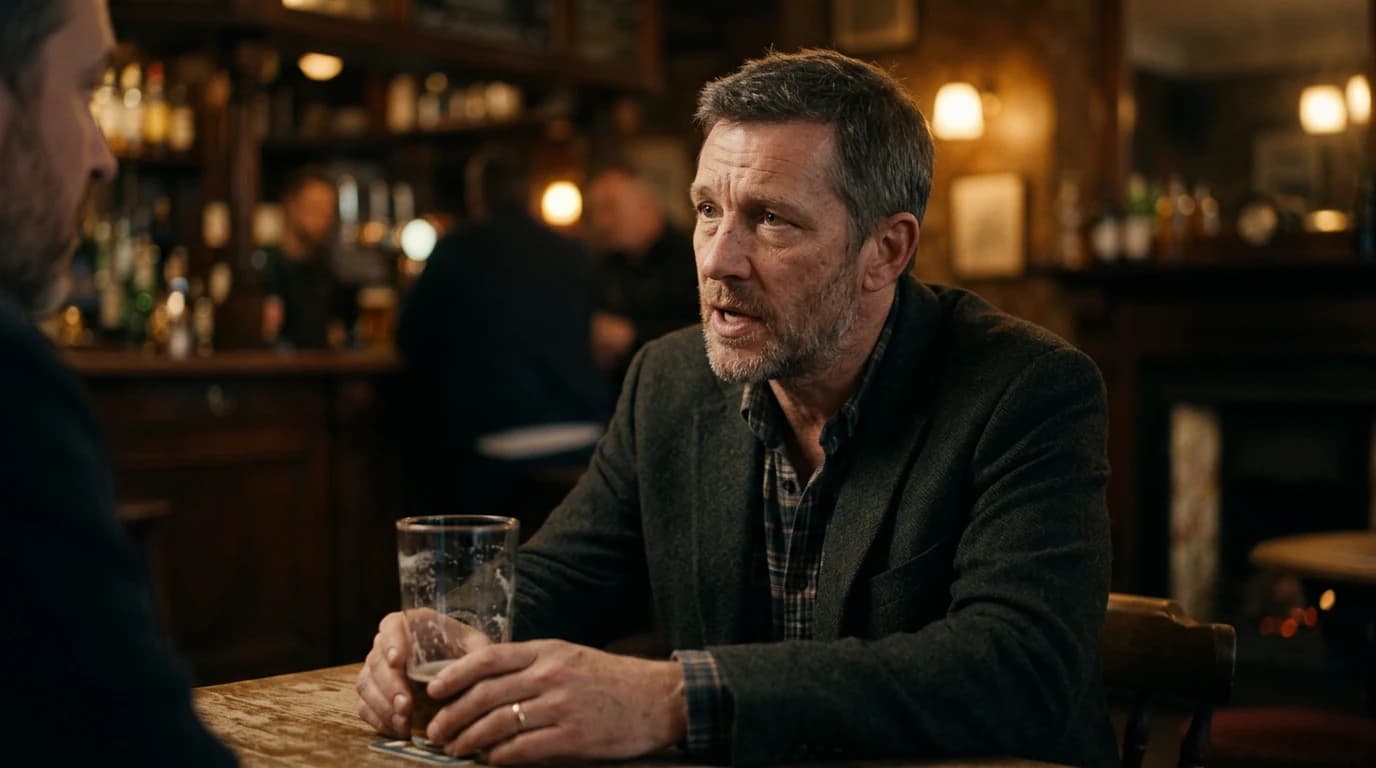
In cinema, a portrait lives inside a duration and a scene. Even in a still image, the viewer guesses whether the character is in a hallway, a car, a kitchen. The light has to belong to the place, not just to the face. A "film" portrait with a key that could not exist in the set you are showing breaks the suspension of disbelief before we even start talking about pores.
Implied movement. A filmed portrait often has a micro fall-off of light on the cheek as the head turns. In a still, you can suggest that life with a soft shadow-to-light transition on the skin, not with a heavy Photoshop gradient slapped on an isolated cheek.
Costume and world. A coat collar, a jacket shoulder, the texture of a sweater all contribute to the portrait as much as the eyes do. Oversimplify the clothing and you get a floating catalog head.
Focal length, distance, and what the viewer believes
Around 35mm for a portrait with shoulder context and a readable set. 50mm for a sober, natural full-frame feel. 85mm for a gentle compression of the background. Longer when you want to isolate the face from a distant set.
Long lenses and space. The longer you go, the more you usually have to physically step back in real life. In a prompt, if you write 135mm but describe a tight frame on the face with a visible arm reaching toward the camera, the geometry can lie. Harmonize frame and focal length as a single decision.
Write the camera-to-subject distance in plain words: close, arm's length, three meters away. Even when it is approximate, it helps the blur stay consistent.
The mouth close-up is high risk. Prefer a chest or shoulder shot if you have no retouching. If you must go tight, keep a side key for the modeling.
Cinema looks at the eyes, then the mouth. If either one is fake, the portrait falls apart.
Portrait lighting, three useful lines
Line 1, main source: side window, large softbox, low sun through shutters.
Line 2, fill or no fill: floor bounce, light wall, or an owned, deliberate shadow.
Line 3, separation from the background: darker backdrop, a light rim, a warm practical in the distance.
The catchlights must match the source. A window on the left means one consistent reflection in the eye, not two suns.
Nose and mouth shadow. Under a soft side key, the nose shadow should not cut across the lip like a sticker. If your model produces that hard cut, lower the perceived hardness by describing a larger source or add a very light bounce from the opposite side. Under a deliberately hard key, the cut can be beautiful, but it must stay consistent with the direction you announced.
Teeth and smiles. A wide smile in extreme close-up is a stress test. Go for an almost closed mouth, a slight gap between the lips, or a wider shot. If you show teeth, plan for local retouching.
Makeup and the digital look. Generative tools love "perfect" makeup. For contemporary cinema, ask for a real application, micro finishes, not a billboard surface. Cheeks should keep a blood undertone.
Neck and shoulders. The light on the neck has to extend the key from the face. If the neck is flat while the face is sculpted, the portrait turns into a glued mask. A sentence about shadow continuity down the neck helps.
Hair against the sky or a light wall. Separate the hair with a light rim or a backdrop slightly darker than the hair, otherwise you get a cut-out halo.
Gaze, intention, and the line of the soul
Gaze direction: toward the lens, toward a precise off-screen point, downward in introspection. Avoid "looking somewhere" with no precision; the model picks at random and breaks the emotional read.
Facial asymmetry. Human faces are asymmetrical. A slight, controlled asymmetry in the prompt, or accepted in post, looks more real than doll symmetry. Do not confuse it with errors like eyes of different sizes; that is a bug to fix.
Psychological distance. A tight 85mm with a soft key creates intimacy. A 35mm with a hard key can create documentary tension. Choose the focal length plus lighting pairing the way a director chooses a scene.
An eight-step workflow
Step 1: intention and framing
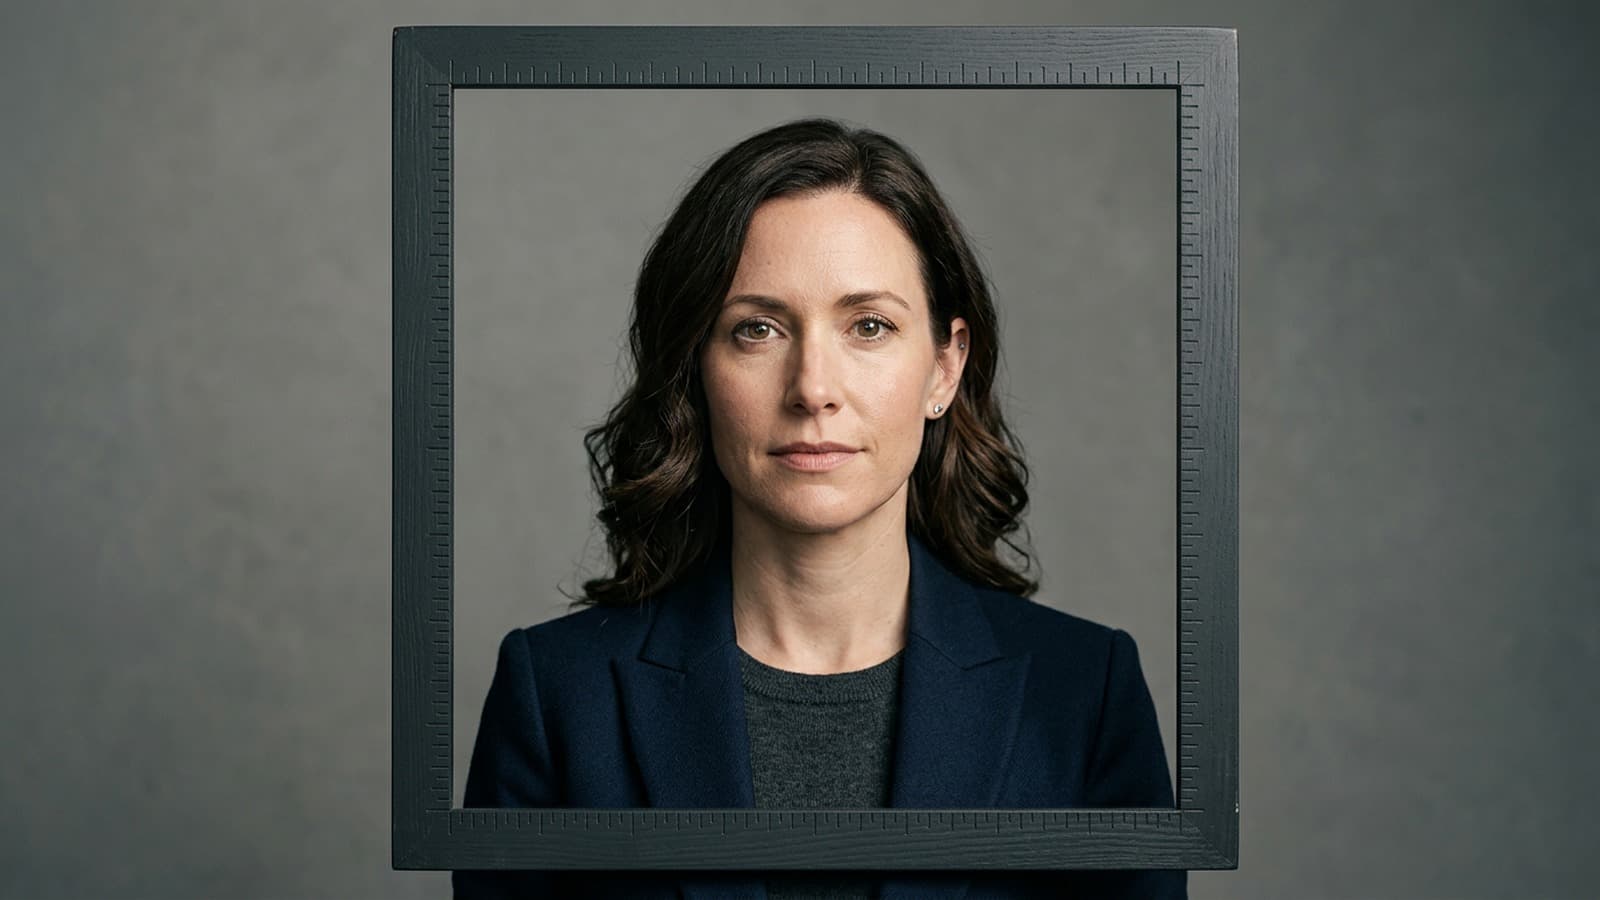
Dominant emotion, negative space for the gaze. Note whether the portrait must leave room for a client headline in post.
Step 2: light written like a DP
Key, fill, background, in short sentences. Add the relative temperature between foreground and background if the background is a window or a street.
Step 3: focal length and distance
Step 4: believable skin
Suggested texture, not drawn-on pores. Forbid "plastic skin" and "wax" if your tool understands those tags.
Step 5: eyes
Simple catchlights, not pure total white. Iris with tonal variation, and rein in the oversaturated default blue.
Step 6: clothing and hair
Stable anchors, matte material if you want less AI specular. Avoid microscopic patterns that turn into aliasing noise.
Step 7: light grain
Match the grain to the film stock or sensor you are simulating: fine for clean digital, heavier for film.
Step 8: curve before saturation in post
Note the zones to protect before any aggressive LUT: skin, black hair, light textiles.
Step 9: review at thumbnail size
Shrink the image to YouTube thumbnail size. If the read falls apart, the global contrast or the gaze is not carrying. Modern cinema goes through thumbnails too.
Step 10: a version with no sharpening for video
If you animate afterward, keep a variant with no aggressive skin sharpening to avoid artifacts in motion.
Honest post-production for a portrait that stays human
Curve to set the blacks in the hair and the highlights on the forehead without clipping. Selective saturation, protecting skin reds if you push a look. A very light dodge and burn over the volume of the face can replace a prompt that vaguely asks for "dimensional".
Frequency separation if you know it: work the texture on a high-frequency layer without touching the global colors. It is often cleaner than a prompt that begs for "extreme skin detail".
Optical vignette, light, versus an aggressive AI vignette. Prefer a vignette that follows a real lens, with corners darkening gradually, not a black circle centered on the nose.
Portrait table
| Problem | Lead | Fix |
|---|---|---|
| Plastic skin | global sharpening | face mask, curve |
| AI eyes | symmetrical catchlights | slight asymmetry |
| Ears | profile close-up | recrop or soft shadow |
| Hands | in the foreground | off-screen |
| Background | too sharp | written focal length or distance |
Film genres and typical portraits
Political thriller: hard side key, shadows under the eyes but no caricature, a neutral institutional background. Bright comedy: soft key, more present fill, warm colors with no ketchup saturation. Science fiction can be believable if the light stays geometric, neon with motivation, not seven sources with no hierarchy.
You do not have to name a genre in the prompt. You do have to be compatible with the genre you are showing the client. If the brief says "interior drama", avoid the perfect three-point beauty look of a cosmetics ad, unless you are after deliberate dissonance.
A film portrait is a scene cut at the wrong moment, not a poorly framed festival poster.
Iterations: one aesthetic layer per pass
Pass A, geometry and light only, an acceptable but not perfect face. Pass B, expression and gaze. Pass C, skin and hair texture. Mix everything from the start and you will not know what to replicate on the next portrait in a series.
When an image is good, freeze the prompt and the settings in a file. The next portrait in a visual casting for a pitch must be reproducible without improvisation.
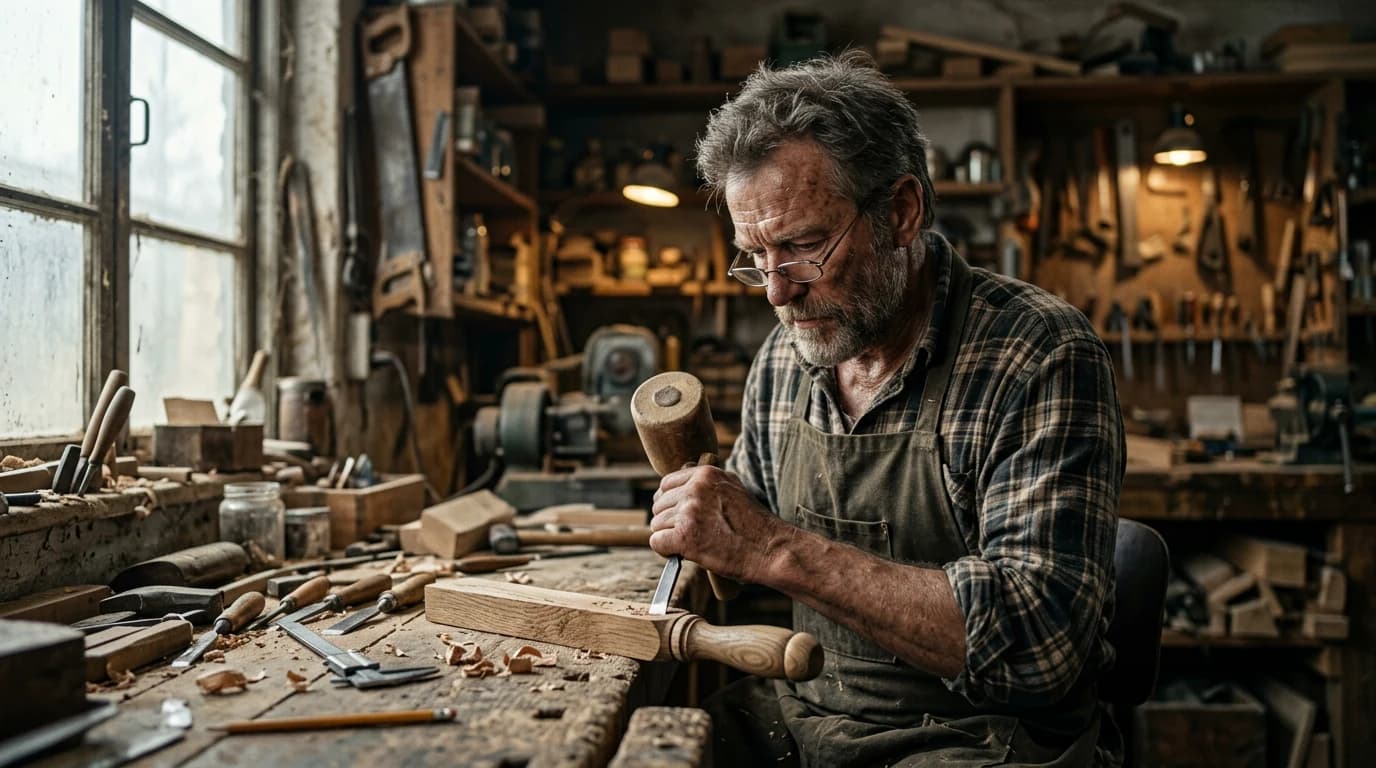
Props, hands, and everyday objects
Mug, phone, pen. If the object touches the hands, plan a shot where the fingers are simple, or part of the hand out of focus. If the object is in the background, check that it does not warp with an impossible perspective.
Jewelry. Pinpoint reflections on a ring can be gorgeous or fake. A simple watch with a readable dial risks absurd numbers, so prefer plain watches with no text.
Portraits and platform compression
Before delivering for LinkedIn, Instagram, or a site banner, export with headroom on the highlights. Compression will eat the fine grain and can create banding in a background sky. If the portrait has a soft gradient background, check for banding after a test encode.
Light-ratio controls, even when approximate
You can write "key about three times stronger than the fill" or "minimal fill, one or two stops under the key" even if the model does not compute in stops. What matters is forcing a hierarchy rather than an HDR flattening. AI portraits love flattening because it maximizes detail everywhere, which ends up looking like advertising.
Skin and highlights. On the forehead and the nose, keep recoverable detail. On the cheeks, accept a soft transition into shadow. That reads more like film than a hard, video-game contour.
Color and skin under several lights
Neon plus tungsten plus daylight. If you mix them, write which one wins on the face. Otherwise you get a magenta/cyan patchwork on the cheeks. For a nighttime urban portrait, pick one dominant tone on the skin and leave the others as a distant rim.
Creative white balance. You can push cool into the shadows and warm into the highlights if it is controlled. Note the intention in your file so you can reproduce it on the next portrait of the same character.
Working with a makeup artist or a real actor as reference
If you have a legal reference photo of the talent, use it as an img2img guide rather than describing twenty traits. If you have no real talent, avoid copying a celebrity. Build an archetype with strong costume decisions.
Trench warfare
A mental beauty dish with no real beauty dish. Name the size of the source.
HDR on the face. Compress the highlights on the skin.
Neglecting the direction of the neck. The neck gives away the light if the face is retouched on its own.
Over-detailing pores in the prompt. You get stucco. Suggest, do not engrave.
The AI studio's default double catchlights. Fix them by prompt or in post on the eyes.
Forgetting the white balance of the clothing. A white shirt that pulls magenta wrecks the skin.
Systematically centering the portrait. Cinema uses off-screen space and offset. Try the rule of thirds.
Combining extreme bokeh with a loaded narrative background. If the set must be read, the bokeh must stay moderate.
For portrait photography, see portrait photography. For depth, see depth of field. For bokeh, see bokeh. For framing and shot vocabulary, see shot (filmmaking).
Useful links in the AI Studio series
- How to describe light like a director of photography in a prompt
- How to write a prompt for a realistic, consistent character
- How to generate photorealistic AI images without the plastic look
- How to simulate an anamorphic lens in AI generation
FAQ
Foire aux questions
Réponses rapides aux questions les plus fréquentes sur cet article.
Anamorphic for a portrait?
Possible, but own the blur and the oval bokeh. Otherwise stay spherical.
Black and white?
Converting in post is often better than the prompt alone; you control the reds that carry the skin.
Glasses?
Use angles that simplify reflections, or a thin matte frame.
Diversity and respect?
Avoid stereotypes, brief the human, aim for responsible representation.
How many words in the prompt?
Few, if they are prioritized: one line of light, one line of camera, one line of bans.
RAW?
Export clean for post, PNG or TIFF depending on your pipeline.
Skin retouching?
Local, not global, and preserve the shadow-to-light transitions.
Vertical format?
Compose for the crop, place the gaze in the upper third if there is mobile UI.
Profile portrait?
Demanding on the ear and the jawline, so test or recrop.
Dark skin under hard light?
Add a described bounce or indirect fill, otherwise the shadows block up.
Should there be a screen reflection on the face?
Only if the scene motivates it, otherwise remove the screens.
How do I avoid the AI "glow" on edges?
Lower local contrast and sharpening, and check for a halo against a dark background.
Same character across two portraits?
A stable sheet, the same light prefix, references if possible.
Does it always need a blurred background?
No. A slightly defined background can anchor the film. Extreme blur is a choice, not an aesthetic obligation.
How do I handle beard and stubble?
Ask for a soft skin-to-hair transition, avoid the sharp mask. Light post if needed.
Duo portraits?
Two short sheets, one shared key, written relative positions.
Is it different for children or older people?
Yes, in features and skin texture. Adapt the prompts and avoid aggressive smoothing on wrinkles if you want to be respectful.
Should I name a vintage lens?
Useful if you know its rendering, otherwise stick to simple equivalents, 50mm, 85mm.
Can I mix stylized and photorealistic?
Yes if you own it, otherwise the middle ground reads as "AI".
How do I deliver to a colorist?
A flat master with headroom, light notes attached, not eight LUTs already baked in.
Portraits with a hat or a cap?
Useful to reduce the skin area exposed to errors if your tool is temperamental; keep a believable shadow on the forehead.
Do I always need a rim?
No. The rim is a signature, not an obligation. A portrait can be readable with a dark background and a soft key, no rim.
How do I test a new checkpoint?
Same prompt, three seeds, compare eyes and teeth before committing to a client series.
Back or three-quarter-back portraits?
Demanding on the hairstyle and the shoulders, useful to vary a sequence without a close-up of the face; think about the visible costume.
Should I calibrate my screen?
Yes if you are judging skin tones for delivery, otherwise you deliver surprises on other people's machines.
Editorial compliance section
Useful internal links:
- /en/blog/comment-ecrire-prompt-cinematic-ultra-realiste-ia
- /en/blog/comment-structurer-video-ia-comme-vrai-film