How to Generate Photorealistic AI Images Without the Plastic Look
A field method to get a realistic, textured, credible image, with no waxy skin or artificial render.

You can have a clean prompt, a powerful model, a beautiful idea. If the texture is false, your image sounds fake in two seconds.
The plastic render almost always comes from a mix of bad signals, too much sharpness, too much smoothing, unmotivated light, a decorative prompt. To avoid that, build your image like a shooting plan. Start with the light logic, then material, then composition. You can lean on how to describe light like a director of photography in a prompt before attacking the skin details.
A simple and reliable workflow
- Define the real context, time, place, dominant source.
- Write the scene as a filmable shot, not in adjectives.
- Add skin texture and natural imperfections.
- Limit the sharpness and the "perfect" type words.
- Test A/B with a single variation.
Strict template
MISSION: [wide|medium|tight] shot, emotion [one line]
PLACE: interior/exterior, time, implicit weather
LIGHT: dominant source + direction + contrast (motivated)
SUBJECT: visible action, state of tiredness, clothing (material)
CAMERA: felt height, felt focal length, distance
MATERIAL: skin with discreet pores, fabric with folds, metal with micro scratches if present
DEPTH: subject/background separation with no fake cartoon bokeh
PROHIBITIONS: perfect skin, ultra sharp global, mental HDR
FORMAT: final ratio
Mistakes that create the plastic effect
perfect skin,ultra clean,insane details- uniform frontal light
- skin over-sharpened in post
- too many contradictory negatives
- absence of subject/background distance
To correct prompts that are too artificial, link this guide directly to the prompt mistakes that make an AI image look artificial.
| Symptom | Cause | Fix |
|---|---|---|
| Waxy skin | implicit smoothing | add texture + micro defects |
| "Marble" eyes | uncontrolled highlights | single source + consistent catchlight |
| Fake fabrics | global sharpness | described material + reduced sharp |
| CGI set | style too clean | controlled local imperfection |
Trench warfare, beginner mistakes
- wanting to correct the texture in a LUT
- stacking grain on a false base
- neglecting the secondary materials (walls, clothes, hands)
- forcing the saturation to "make it cinema"
- forgetting that realism comes from a coherent whole
If you want to stabilize this render across several shots, continue with how to create consistent scenes with several shots in AI.
Hook, the frustration we see in production
You work hard. You test prompts. You launch local renders for hours. And in the end, you feel it does not hold like a real film.
The problem is not your general level. The problem is more precise: generating photorealistic AI images without the plastic look. As long as this brick is not solid, everything else stays fragile.
Here we are going to settle this concretely, set-oriented, edit-oriented, results-oriented.
Core concepts, what to lock before generating
Here is the minimal foundation to lock:
- emotional intention per shot
- clear visual hierarchy
- material and light continuity
- rhythm consistency between shots
- a consequence logic at the end of the scene
If a single one of these bases is missing, the credibility drops immediately. Even with a clean render.
Pro insight What makes it pro is not the complexity of the setup, it is the consistency of decision from start to finish.
3 detailed beginner scenarios
Scenario 1
A beauty portrait that looks like a wax-mannequin ad. This case happens very often when you try to compensate for a vague intention with more style.
What breaks:
- no explicit shot mission
- too many parameters moving at the same time
- purely aesthetic validation
What fixes it:
- one mission sentence per shot
- one variable modified at a time
- a reading test with an external person
Scenario 2
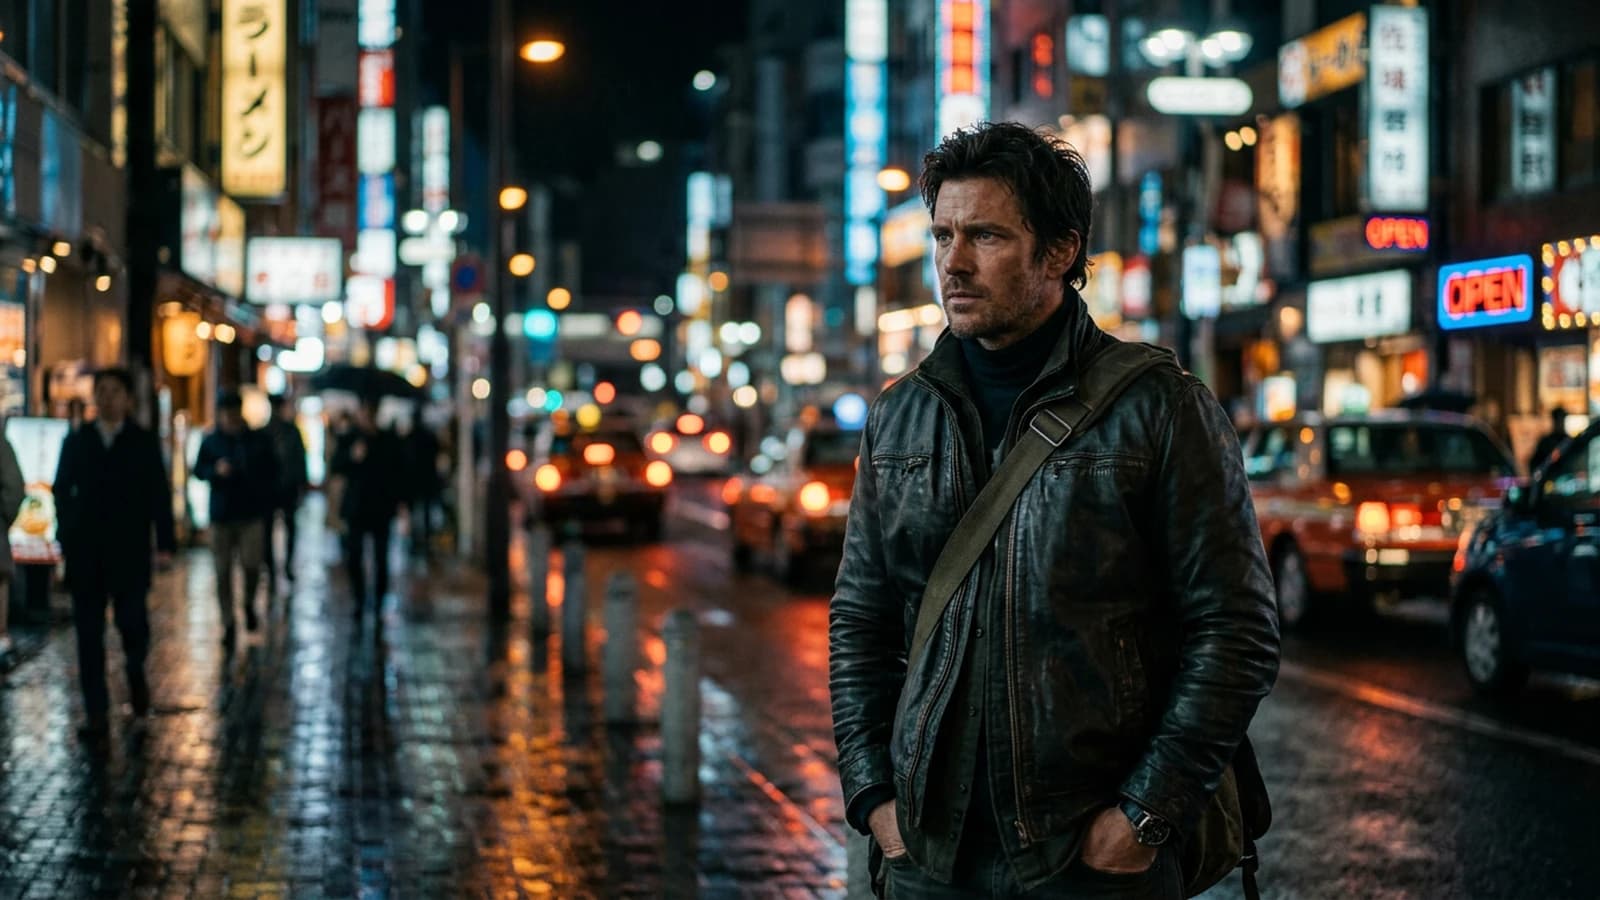
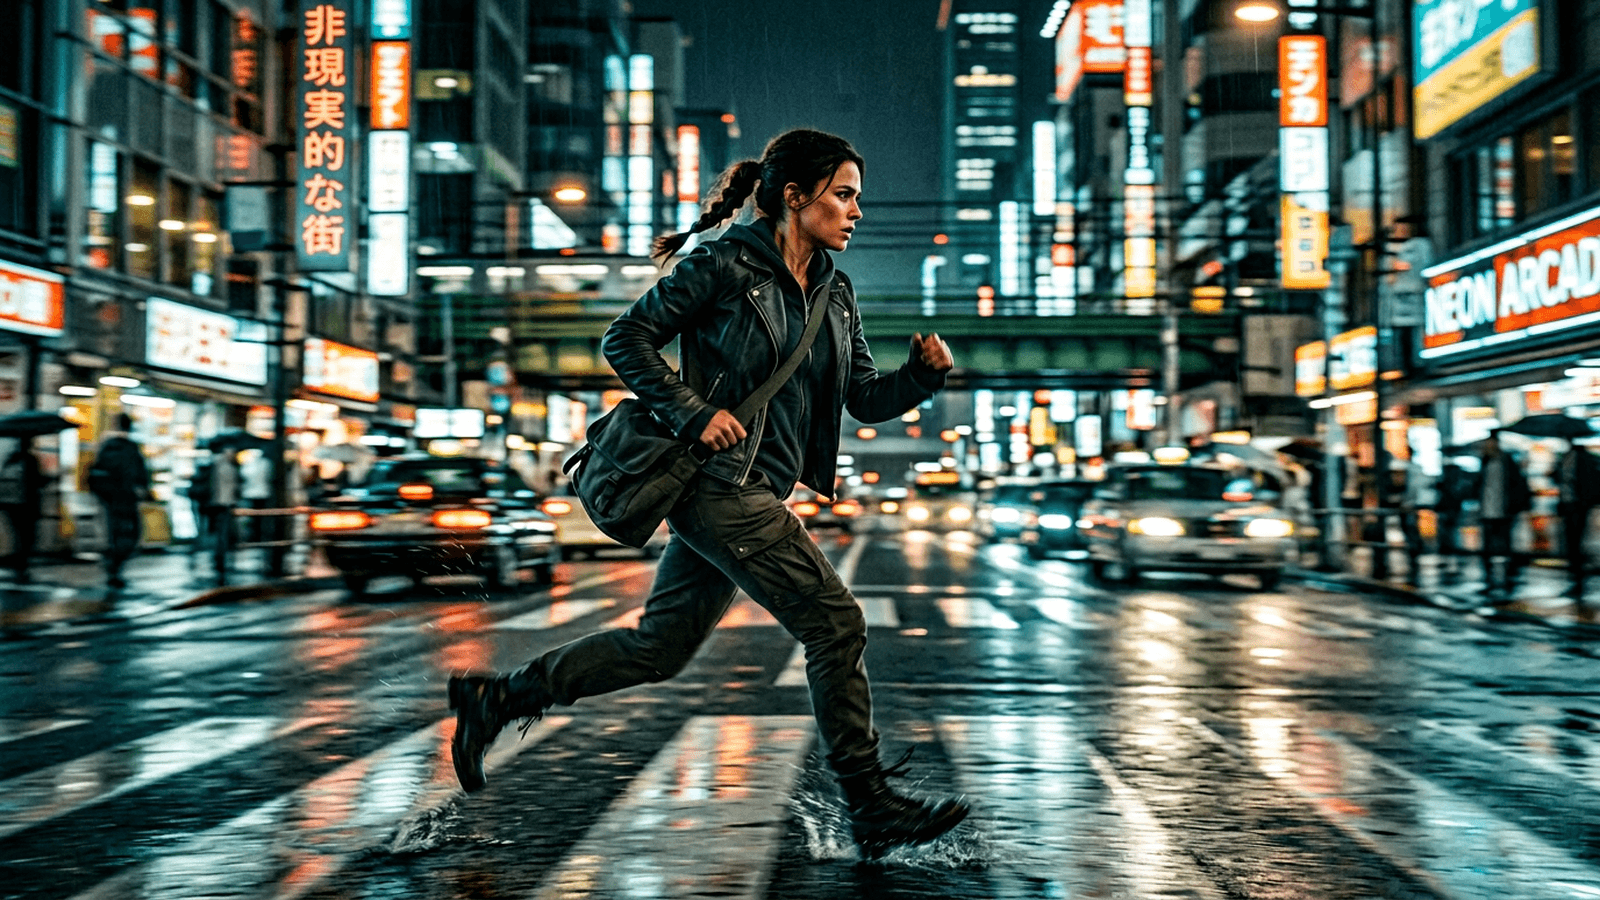
A night street shot too sharp that looks like a 3D render. Here, the defect is not only technical, it is narrative.
What breaks:
- absent emotional progression
- inconsistent cuts
- loss of focal point
What fixes it:
- a wide-to-tight progression
- controlled gaze and light matches
- a radical simplification of the secondary elements
Scenario 3
A product image too smooth with artificial materials. The render may seem ambitious, but the viewer quickly feels the fabrication.
What breaks:
- texture too clean
- aggressive contrast
- movement or angle with no motivation
What fixes it:
- realistic material and micro imperfections
- sober grading
- a story-oriented shot choice
Practical workflow, ultra-granular method
Step 1, scene brief in 5 lines
Write:
- who acts
- what they want
- what stops them
- what shifts
- what changes at the end
Without this brief, no generation.
Step 2, fixed visual charter
Set from the start:
- 16:9 ratio
- dominant light logic
- grain level
- detail density
- material consistency
Step 3, recommended starting settings
| Parameter | Starting value | Why |
|---|---|---|
| Resolution | 1536x864 | balance of quality and speed |
| Steps | 28 to 42 | useful detail with no drift |
| CFG | 4.5 to 6.5 | strong but natural guidance |
| Seed | fixed per shot | reproducibility |
| Denoise img2img | 0.25 to 0.45 | controlled iteration |
| Upscale | x1.5 to x2 | clean finishing |
Step 4, production in passes
Pass 1, pure readability. Pass 2, emotion. Pass 3, material finishing. Pass 4, cut verification.
Step 5, quick human test
Show the sequence to someone who does not know your process. Ask three questions:
- what did you understand first
- which moment seemed fake to you
- what did you feel at the end
You adjust according to these answers, not according to your attachment to a shot.
Step 6, stabilization pass
- remove the beautiful but useless shots
- realign the weak shots with the intention
- harmonize the material
- tighten the rhythm
Step 7, final check
Checklist:
- readable with no sound
- credible at normal speed
- consistent frame by frame
- clean on mobile and on a large screen
Trench Warfare, what beginners do wrong and how to fix it
- Generating too fast, correcting too late. Fix, write the intention before launching the slightest render.
- Chasing a style instead of a story. Fix, each shot serves a narrative verb.
- Too many variations at the same time. Fix, one variable per iteration.
- Keeping weak shots because they are pretty. Fix, cold elimination.
- Forgetting the edges of the frame. Fix, a systematic edge-to-edge scan.
- Inconsistent lighting. Fix, a stable main source.
- Artificial skin or fabric material. Fix, material prompts and subtle post.
- Contrast pushed too far. Fix, come back to a realistic curve.
- A clip editing rhythm. Fix, cut on intention.
- No final emotional consequence. Fix, the last shot must transform something.
- No settings log. Fix, record seed, cfg, steps.
- Solo validation only. Fix, a short external test.
- A set too cluttered. Fix, remove the visual competitors.
- Monotonous shot scale. Fix, a structured progression.
- Neglected eye-line match. Fix, a gaze map before export.
- Inconsistent focal lengths. Fix, a scene focal charter.
- Too much post to save a weak shot. Fix, correct at the source.
- Overloading the prompts. Fix, dense, prioritized sentences.
- Forgetting the sound narrative. Fix, ambience and narrative accents from the pre-edit.
- Not reviewing the render the next day. Fix, mandatory cold validation.
Foire aux questions
Réponses rapides aux questions les plus fréquentes sur cet article.
Do I have to be an expert to apply this method
No. You mostly have to be rigorous. The method is designed for motivated beginners. If you apply the steps in order, you will quickly produce more readable and more credible results.
Why do my renders stay fake despite good local models
Because credibility does not come from the model alone. It comes from the intention, the consistency of choices, the material, and the cuts. A powerful model amplifies your qualities as much as your mistakes.
How long does it take to see real progress
With short, disciplined daily practice, often in one to two weeks you see a clear jump. The secret is to repeat comparable cases and to note what works.
How do I avoid getting lost in the settings
Set a base preset then touch a single variable per pass. It is the fastest way to understand the real effects of your choices.
What simple test guarantees better readability
The 2-second test. You show a shot very briefly, then you ask what the person saw and felt. If the answer is not aligned, your shot must be simplified.
Should I favor realism or style
You must favor readability then consistency, and only then style. Without readability, style looks like a filter. With readability, style becomes a signature.
Advanced workshop, neutralizing the plastic render
You want to get out of the waxy render once and for all. This workshop is designed to train your eye on material, skin, fabric, micro contrasts, until you get a truly filmic feeling.
Module 1, strict preparation
Duration, 30 minutes.
You write a single scene sheet with:
- the main emotional goal
- the secondary stake
- the expected progression
- the fixed technical constraints
- the non-negotiable failure criteria
This document must stay visible during the whole work. As soon as you deviate, you go back to the sheet.
Module 2, controlled batch production
Duration, 90 minutes.
You produce short batches, never uncontrolled marathons.
- batch A, a sober version
- batch B, a more tense version
- batch C, a more intimate version
You compare according to a single grid, not according to the impression of the moment.
Module 3, cold review
Duration, 20 minutes.
You step away from the screen for five minutes, then you come back with this checklist:
- instant readability
- material consistency
- visual continuity
- emotional progression
- overall feeling of naturalness
If two criteria fall, you do not finalize.
Module 4, test delivery
Duration, 15 minutes.
You export a short cut and have an external person watch it. You note their feedback word for word, with no arguing.
Only then do you correct.
Quick decision table
| Situation | Beginner reaction | Pro reaction |
|---|---|---|
| A shot is beautiful but inconsistent | keep it | delete it |
| The render is too clean | add effects | correct material and light |
| The narrative is vague | generate more | simplify the structure |
| The edit is soft | speed up everywhere | reinforce the shift points |
| The emotion does not come through | push the grading | correct the shot direction |
Complementary trench warfare, 10 silent mistakes
- You validate too fast when it is pretty. Fix, a mandatory comprehension test.
- You adjust the color instead of the meaning. Fix, correct the intention first.
- You accumulate versions without deciding. Fix, the rule of 3 variants max.
- You forget the mobile effect. Fix, check on a small screen too.
- You use vague words in the prompts. Fix, concrete, visible verbs.
- You confuse density and disorder. Fix, prioritize the elements.
- You do not note the winning settings. Fix, a minimum production log.
- You correct in post what should be corrected in generation. Fix, go back to the source.
- You ignore decision fatigue. Fix, short sessions and clear goals.
- You deliver with no break. Fix, cold validation the next morning.
FAQ
How do I know I am really ready to publish
When the sequence is understandable with no explanation, visually stable, and emotionally readable by an external person. If you have to explain your intention a lot, the render is not ready yet.
I am short on time, what is the minimal version of the method
Do three things, a 5-line brief, production in 3 batches maximum, a 2-minute external test. This trio is already enough to avoid the most costly mistakes.
How do I keep a personal signature without falling into cliché
The signature comes from the coherent repetition of useful decisions, not from an aggressive visual effect. Choose a light register, a rhythm, a way of framing, then hold it across several projects.
The biggest lever to progress in 30 days
The review discipline. Produce less, observe better, correct precisely. It is less spectacular in the moment, but it is what gives you a real, durable level.
Last anti-plastic pass, 12-minute protocol
When an image seems almost good but keeps an artificial render, launch this short protocol before regenerating your whole batch.
Minute 1 to 3, 100 percent zoom:
- check the pores, skin micro texture, shadow-light transition
- check the fabric and metallic material
- spot the zones that are too smoothed
Minute 4 to 6, overall view:
- control the visual hierarchy
- check if the background steals the attention
- validate the natural depth of field
Minute 7 to 9, color consistency:
- neutralize the excessive casts
- reduce the aggressive highlights
- rebalance the crushed blacks
Minute 10 to 12, decision:
- keep it as is
- correct in light post
- reject and regenerate with a more precise material prompt
This protocol seems simple. It saves you an enormous amount of time, and above all it breaks the habit of delivering an image clean in appearance but false in feeling.
Core addendum: skin as a system, not as a filter
Plastic often arrives when you treat the skin as an effect to add at the end of the prompt. In reality, skin is a system: micro geometry, perceived subsurface, redness variation, pores visible but not caricatural, and a relationship to the light. If your light is soft and frontal, no texture will save the portrait: you will get clean and dead skin. Start with a modest side source, then describe the shadow-light transition on the cheek as a director's sentence, not as a list of adjectives.
For tight shots, avoid double contradictory catchlights. An eye that announces two different studios kills the realism before the texture. For wide shots, the skin counts less than the material context: clothing, dust in the air, plausible dirt on the surfaces. These elements anchor the viewer in a physical world. To go further on skin in generation, link this guide to our article on improving skin texture in an AI image.
Troubleshooting addendum: five studio cases and their fix
Case 1, waxy skin under soft light. You are afraid of contrast, so you flatten, so the model smooths. Correct by reintroducing a moderate local contrast and a localized imperfection (small redness, light texture).
Case 2, eyes too sharp, face too soft. The implicit sharpening targets the eyes. Correct by asking for an optical sharpness consistent with the focal length, not a digital sharpness.
Case 3, helmet hair. Add gravity, a rebel strand, friction with the ear, light that cuts some strands. Perfect hair reads as 3D render.
Case 4, fabric with no folds in the right place. Describe the weight of the fabric and the tension point (shoulder, elbow, belt). Textile is a proof of gravity.
Case 5, hyper-detailed background that eats the subject. Reduce the complexity of the background in the prompt, not the saturation. The hierarchy takes priority.
To choose a model suited to photorealism, our Flux and SDXL comparison helps calibrate expectations and constraints. To avoid the AI image effect at the composition level, our guide to fixing a bad visual composition complements the framing part.
Useful external references
The perception of depth and pictorial cues is documented accessibly on Wikipedia: Depth perception. For color and contrast in photography, Cambridge in Colour stays a stable base to understand, with no useless jargon, what your image does to the eyes.
How do I integrate this realism into an AI video?
A photorealistic image often serves as a first frame or a palette reference. If you move to movement, you have to anticipate the motion blur and the grain consistency. Otherwise, your credible static shot becomes a shimmer or plastic video. Keep a simple light bible and repeat it between keyframes. For a video chain, our guide to structuring an AI video like a real film avoids breaking the realism in the edit.
💡 Frank's Cut: if you cannot explain the main light source in one simple sentence, your plastic image is not an accident. It is a consequence.
Should I always add grain?
No. Grain is a binder, not a magic wand. It sometimes masks material errors, but it does not replace motivated light. Use it when the chain is already coherent, to bring sources or too-clean renders closer. Otherwise you add noise on fake.
What is the biggest beginner mistake on photorealism?
Confusing detail and proof. Details everywhere look like a catalog. The proof is localized: a scratch, a seam, dust, a correct cast shadow. Choose two strong proofs per shot, not twenty.
Related articles
 Tutoriels
Treating Skin and Faces in AI Video Post Without the Plastic Look
A delicate post workflow to fix AI faces without falling into a smooth, artificial render.
 Tutoriels
How to Generate a Realistic Scene with Depth of Field
Plane separation, consistent bokeh, subject-set distance, and post to soften the transitions.
 Tutoriels
Luma Dream Machine / Kling: How to Generate Fluid Videos
A complete method to get fluid AI videos with Luma Dream Machine and Kling, with no artifacts or artificial render.