How to Improve Skin Texture in an AI Image
Side light, frequencies, local retouching and export for video or print.
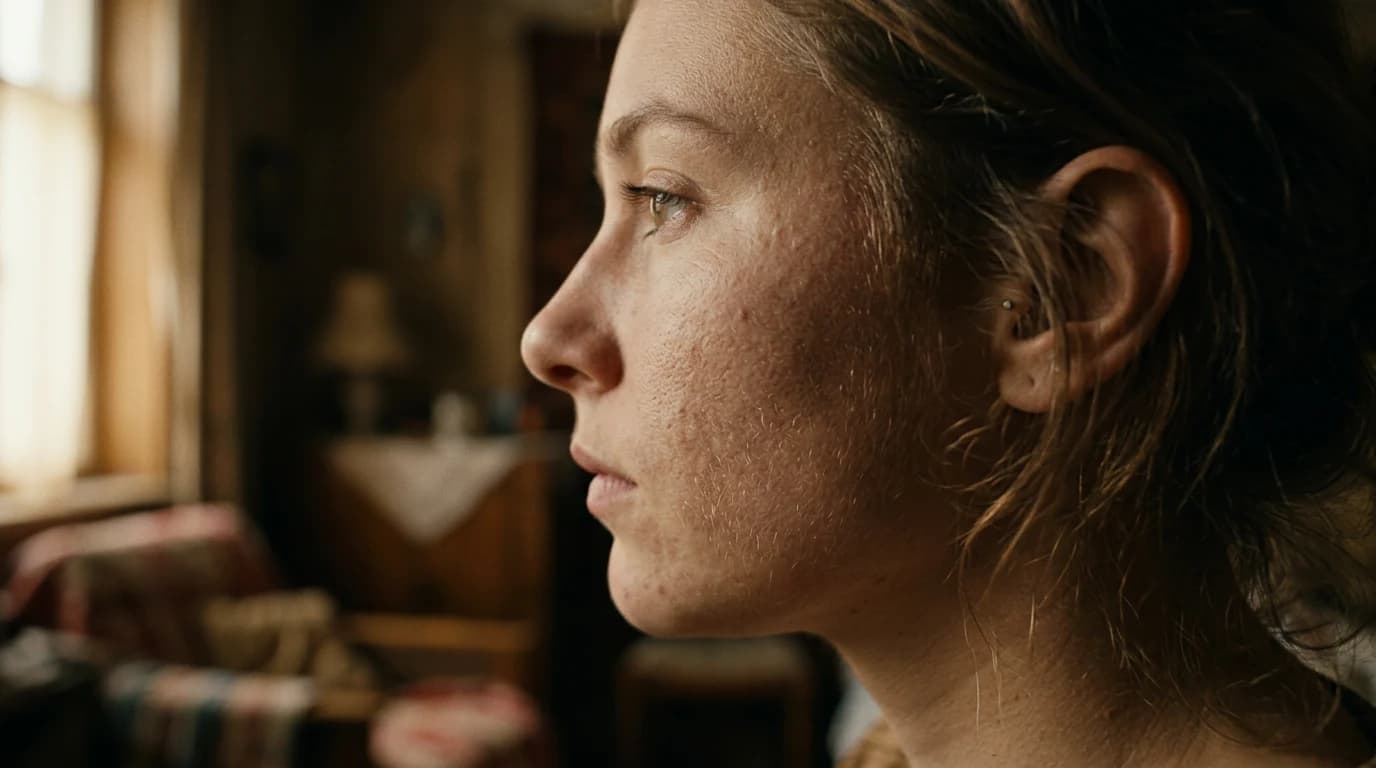
You zoom to two hundred percent on a generated portrait and you see neither pores nor story: a surface that recalls porcelain or the phone beauty filter. It is not "because AI cannot do skin"; it is almost always a cocktail of flat light, guidance that is too aggressive and post-processing that smooths everything before you have seen the real material. Photographed human skin is a zone of mixed frequencies: smoother zones (a young cheek, soft light) and more textured zones (the contour of the nose, pores visible under a raking light). When the model standardizes this complexity, the eye triggers the "synthetic" reflex in a fraction of a second.
This guide sets a field method: light first, frequencies next, local retouching rather than total regeneration, export thought out for what follows (video, print, social). We avoid the race for resolution as long as the geometry of the shadows on the face is wrong: enlarging an error only makes a big error. You will also have landmarks for Flux, SDXL and neighboring pipelines with no dogma: test on your subject, note what lies the least, document. The goal is not "perfect" skin in the skincare sense, but credible skin in the cinema sense: readable, consistent with the light, and surviving the skeptical viewer's zoom.
I start from three real situations. Élodie delivers portraits for a campaign: the images are sharp everywhere, the skin becomes plastic. Hugo inpaints the eyes on a loop without ever touching the light: the texture comes back five seconds then falls into mush at the next export. Sarah maxes out the steps because the interface suggests it: the pores become a drawn grid. The steps below get you out of these dead ends.
Short commitment. Choose one portrait to carry to the end (final export + settings note). Training the eye goes through complete round trips, not through twenty abandoned session starts.
Three mini scenarios with pivots
"Natural" beauty campaign. The client wants "authenticity" but refuses dark circles and visible pores. Pivot: texture suggested rather than raw documentary: soft side light, no sharp on the face, retention of a micro irregularity on a cheek to avoid the doll.
Dramatic portrait with hard shadow. You push the contrast: the skin cracks into dead zones or halos. Pivot: a softer roll-off on the shadow-light transitions, a very light fill not visible as "studio", or reframe so a part of the face stays in a readable exposure zone.
Series of three ages (same lighting). The young model is smooth, the older model becomes caricaturally wrinkled. Pivot: an instruction of felt age + a real photo reference for the skin grain of each bracket; avoid the vague "old" adjectives that activate the dataset clichés.
Key concepts: what the skin asks of the pipeline
Side light reveals, frontal light masks. A key light that grazes the cheek gives a reading of relief; a wide, close frontal source flattens the volumes. It is not a textbook lesson: it is a lever to make the model place micro-shadows where the skin must exist. If you want soft, keep the source wide but tilt it slightly: you avoid the dead mask of the face flash.
Guidance (CFG) and plastic. A guidance too high forces the model to "satisfy" all the tags at the same time, often at the price of a smoothed surface. A guidance too low gives mud. Look for a window in the middle, note it for your checkpoint and your subject. Same instruction for the steps: beyond a level, you no longer gain truth, you crystallize skin artifacts.
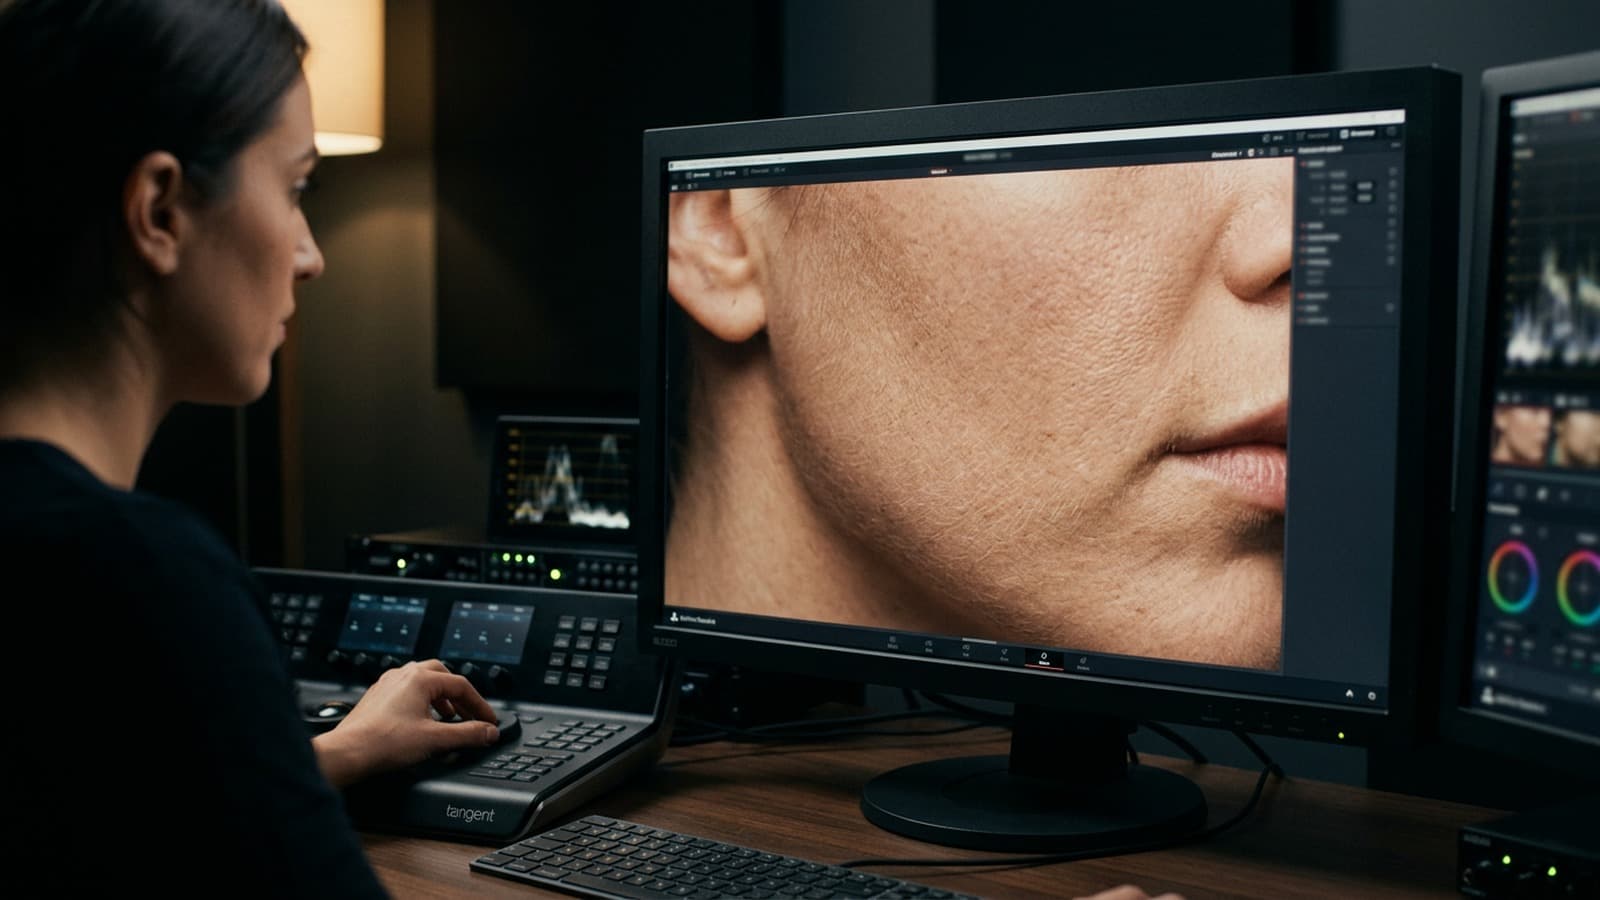
High frequencies in post. Once the image is almost good, a retouch on the high frequencies only on chosen zones (cheeks, forehead) can give back suggestion without redoing the whole scene. Conversely, a global sharpen on the face screams cheap retouching. Think masks and low opacities.
Skin / clothing separation. Sweaters and fabrics often betray the plastic before the skin. If the wool looks like resin, lower the local clarity on the fabric, add a micro-texture or a knit reference photo in your mental moodboard. Credible skin next to a toy garment breaks things just as much as the reverse.
Eyes and mouth as landmarks. The face triangle (eyes, nose, mouth) concentrates the attention. If the eyes are hyper sharp and the mouth melted, the brain rejects the image. Prioritize the consistency of the triangle before refining the ear in the background. For the frequent deformations, cross-reference with how to avoid distorted faces in AI generation.
Set notes: details that change the reading of the skin
Catchlights. Perfectly symmetric reflections on both eyes read as "AI studio". A slight asymmetry, moderate saturation on the white of the eye, a micro-shadow under the eyelid: small gestures that re-anchor the portrait in reality.
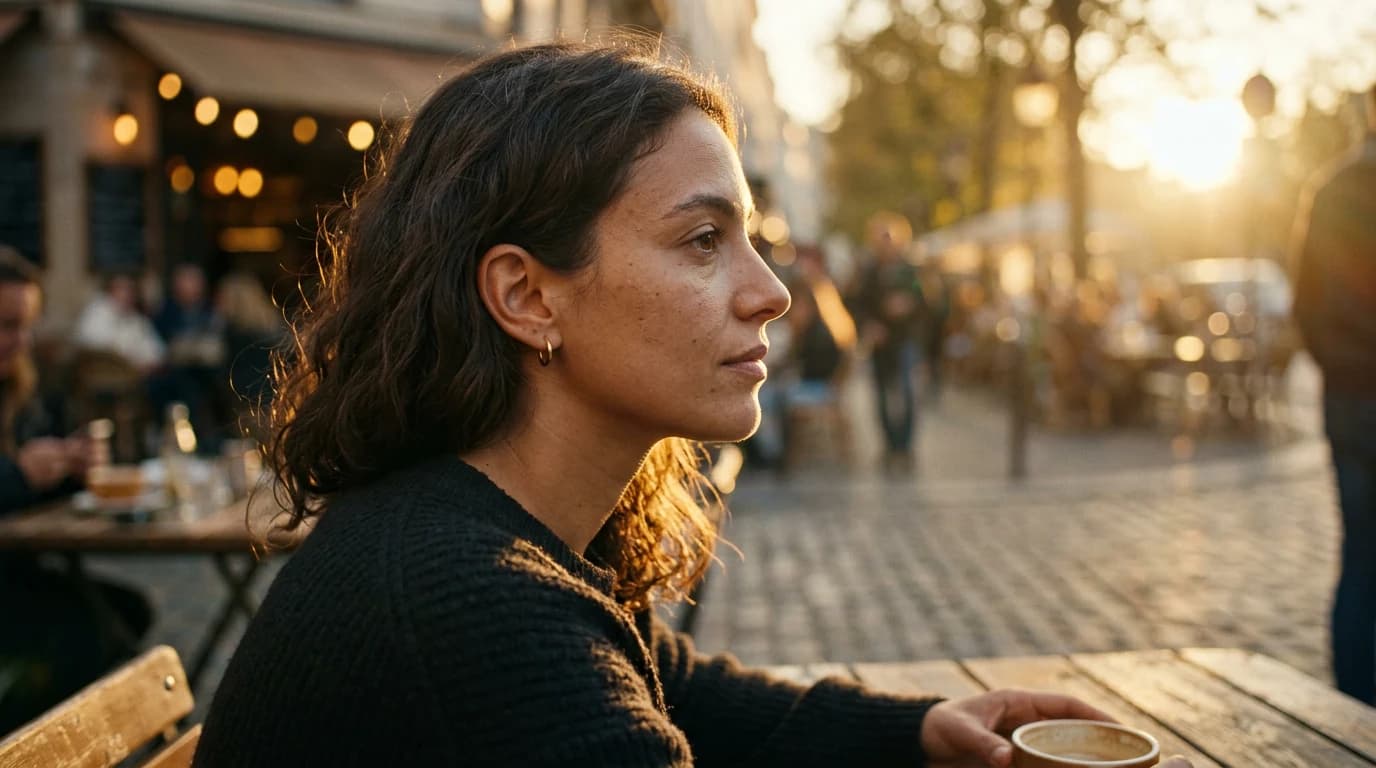
Skin under neon or tungsten. The skin color must stay in a credible family even under a strong tint. Neon colors it; it must not turn the face into a monochrome object. In post, isolate the skin reds, lower the saturation if everything goes magenta, raise the luminance a bit to keep "blood" in the cheeks.
Depth of field and texture. If the nose is sharp and the wall at fifty centimeters is blurred like cream, the brain screams. Describe the subject-camera and subject-background distance, even approximately. See how to generate a realistic scene with real depth of field.
Working resolution. Work where you can iterate fast; only upscale when the composition and the light are frozen. Otherwise you spend hours on pores in a scene where the nose shadow is in the wrong place.
Honest brief in three sentences. Who, where, what time; what the viewer must feel; what is visually forbidden (e.g. no porcelain skin, no global sharp). The prohibitions avoid the default "sci-fi neon" pack.
Social media compression. An image too clean then undergoes the platform's codec; you can get bubbling around the contours of the face. A light controlled grain and uncrushed highlights often stabilize the render after upload: same principle as for the clips in why my AI videos look fake (and how to make them realistic).
Legal / client documentation. If you deliver for a brand, trace what is generated, retouched, upscaled. The technique does not replace the contractual framework; it lives next to it.
Practical workflow: from generation to a clean export
Step 1: choose the engine for your portrait
Flux often excels on material and dense scenes; SDXL offers an enormous ecosystem (LoRA, ControlNet, ComfyUI). Rule: same short prompt, two engines, same test resolution. Keep the one that lies the least on hands and teeth if they are visible, and on the sharp-blur transition of the face.
Step 2: ratio and framing before "beauty"
Work in the final ratio (16:9, 2:3, etc.). Reframing afterward to "save" an already-false skin only recenters the problem.
Step 3: prompt: face geometry then light
Shot (close-up, chest), camera height, direction of the source, hardness (wide window = soft, direct sun = hard). Add one line on the desired texture: natural skin texture, subtle pores, not plastic skin: adapt to the language that works on your model.
Step 4: steps, guidance, scheduler: looking for the level
Raise the steps until the texture appears, then stop before over-definition. Note the winning (steps, guidance) couple in a text file. The scheduler and the sampler sometimes change the "perceived texture" at equal settings: if you are stuck on a checkpoint, do one series of A/B tests on two schedulers, not ten simultaneous changes. To go further on the wording mistakes, see the prompt mistakes that make an AI image look artificial.
Step 5: skin in two steps
Step 1: generation with plausible light and a shadow under the nose. Step 2: inpainting or local retouching on the eyes / mouth if necessary. Avoid regenerating the whole scene for a micro-zone.
Step 6: grain and visual gluing
A light cinema grain as an overlay afterward often binds the too-clean zones to the rest of the frame better than "film grain" repeated with no measure in the prompt. Dedicated guide: how to add cinema grain to an AI image.
Step 7: curve and saturation
Curve first (blacks that do not fall into mud, highlights that do not burn the skin), saturation next. If you push a teal-orange look, isolate the skin so you do not burn the reds.
Step 8: export for what follows
A clean PNG or TIFF for a pilot image; a variant with grain if you chain to video. A .txt file next to it: implicit focal length, light direction, settings: the video will thank you. Bridge with how to turn an AI image into fluid, credible video.
Step 9: check on two screens
Consumer laptop: the grain disappears, you risk adding too much. A more faithful or calibrated screen: the grain comes back as mud. Test both before the master, ideally on a phone too.
Quick decision table
| Choice | Criterion | Flux | SDXL |
|---|---|---|---|
| Skin portrait | credible texture | often very good | specialized LoRA / checkpoints |
| Complex scene | objects + face | often strong | depends on the setup |
| Fine control | hands, pose | to test | rich tool ecosystem |
| Post grain | fine control | prompt + overlay | same |
| Iteration speed | VRAM / time | depending on the machine | various optimizations |
Realism is not maximum sharpness. It is a series of small variations consistent with the physics, with the real light, and with what your eye accepts as human.
Trench warfare: traps and fixes
Frontal light + sharp + max steps. You get a 3D mannequin. Correct in this order: light angle, guidance, steps, sharp as a last resort and never global on the skin.
Inpainting with no physical instruction. "Redo the skin" gives another skin, not a better light. Write: "same side light, keep the shadow under the nose, suggested pore texture, not smooth".
Neglecting the hands at the edge of the frame. If they enter, they must be credible or off-frame. Reframe or mask if the tool weakens: it is not a defeat, it is framing.
Teal-orange with no skin mask. Brick-orange faces. Isolate the reds, bring a realistic blood tint back.
Comparing to a 2000s skincare ad. That look is deliberately smooth. If you aim for documentary or contemporary cinema, aim for controlled irregularity, not total polish.
Forgetting the neck and the ears. The face is good but the neck is a plastic zone or a different color. Extend the retouching or the texture instruction to the extended triangle (neck, visible part of the ears) or reframe tighter.
Abuse of automatic denoising. Some upscalers "clean" the skin. Disable the aggressive denoising or reinject a fine grain afterward to find the material again.
Useful links in the AI Studio series
- How to add cinema grain to an AI image
- How to create an AI portrait worthy of a film
- How to simulate an anamorphic lens in AI generation
- Complete workflow to go from an idea to a realistic AI film
FAQ
Foire aux questions
Réponses rapides aux questions les plus fréquentes sur cet article.
Why is my skin plastic?
Because several factors add up: guidance too high, flat frontal light, steps pushed too far and global sharpness in post. Start by correcting the light, then adjust guidance/steps, and keep the sharp as a local last resort. This workflow avoids "polishing" a structural defect.
Should I max out the steps?
No, because beyond a certain threshold the skin texture becomes artificial and repetitive. Look for the level where the pores are suggested without being engraved, then document that setting for your model. Consistency always beats the theoretical maximum.
Inpainting or total regeneration?
Inpaint when the problem is local and the lighting structure already holds. If the main shadow is wrong or the volume of the face does not work, restart from a complete generation. Locally correcting an inconsistent global light wastes time.
SDXL or Flux for portraits?
Test both under the same conditions (prompt, ratio, iteration time) to compare cleanly. Judge above all the skin/light transition, the mouth and the hands if visible. The best choice is the one that requires the fewest retouches for your real brief.
Does anamorphic help the skin?
Indirectly: it changes the falloff of sharpness and the bokeh; the skin must stay consistent with this lens. Do not confuse "lens look" and "dermal texture".
How do I keep the skin across several images of a series?
Lock a visual pilot and reuse exactly the same core of light, texture and post-processing across the whole series. Change only one variable per image (pose, framing, action) to avoid drift. A control grid in thumbnails helps you quickly detect the gaps.
Is dark skin harder?
Yes, some datasets and pipelines handle the exposure of dark skin badly and quickly crush the low lights. Compensate with a more accurate exposure at generation, then protect the shadows in post without drowning the details. Check on several screens to avoid biased corrections.
I am printing large format: when do I upscale?
After locking the light and the texture at working resolution. Upscaling early is upscaling the errors.
Does it replace pro beauty retouching?
No for a "perfect" cosmetic-style skin campaign. Yes for cinema or documentary where the imperfections are assets.
English or French in the prompt?
Often the English photo tags are more stable; test and keep what works on your stack.
Does the hair detail eat the skin?
Yes if the prompt overloads both. Prioritize the face triangle; simplify the hairstyle or reframe if the model divides its attention "tokens" badly.
Skin and heavy makeup?
Describe soft transitions between zones (eye, cheek); otherwise you get sharp "stuck-on" masks. In post, slightly blend the edges of the colored zones.
I want an extreme close-up.
Expect more errors on pores and lips. Test a slightly wider framing then reframe after a stable generation.
Does the white balance change between two images?
Lock the color temperature in the prompt and in post with an eyedropper on a neutral gray zone of the set or a virtual gray card.
I am working with a recurring character.
Align with how to write a prompt for a realistic, consistent character: stable skin often comes from a stable costume and lighting sheet, not only from a "same face" tag.
Editorial compliance section
Useful internal links: