Why Do My AI Videos Look Fake, and How to Make Them Realistic
The signals that betray AI, from plastic to geometry, and concrete corrections for a credible render.
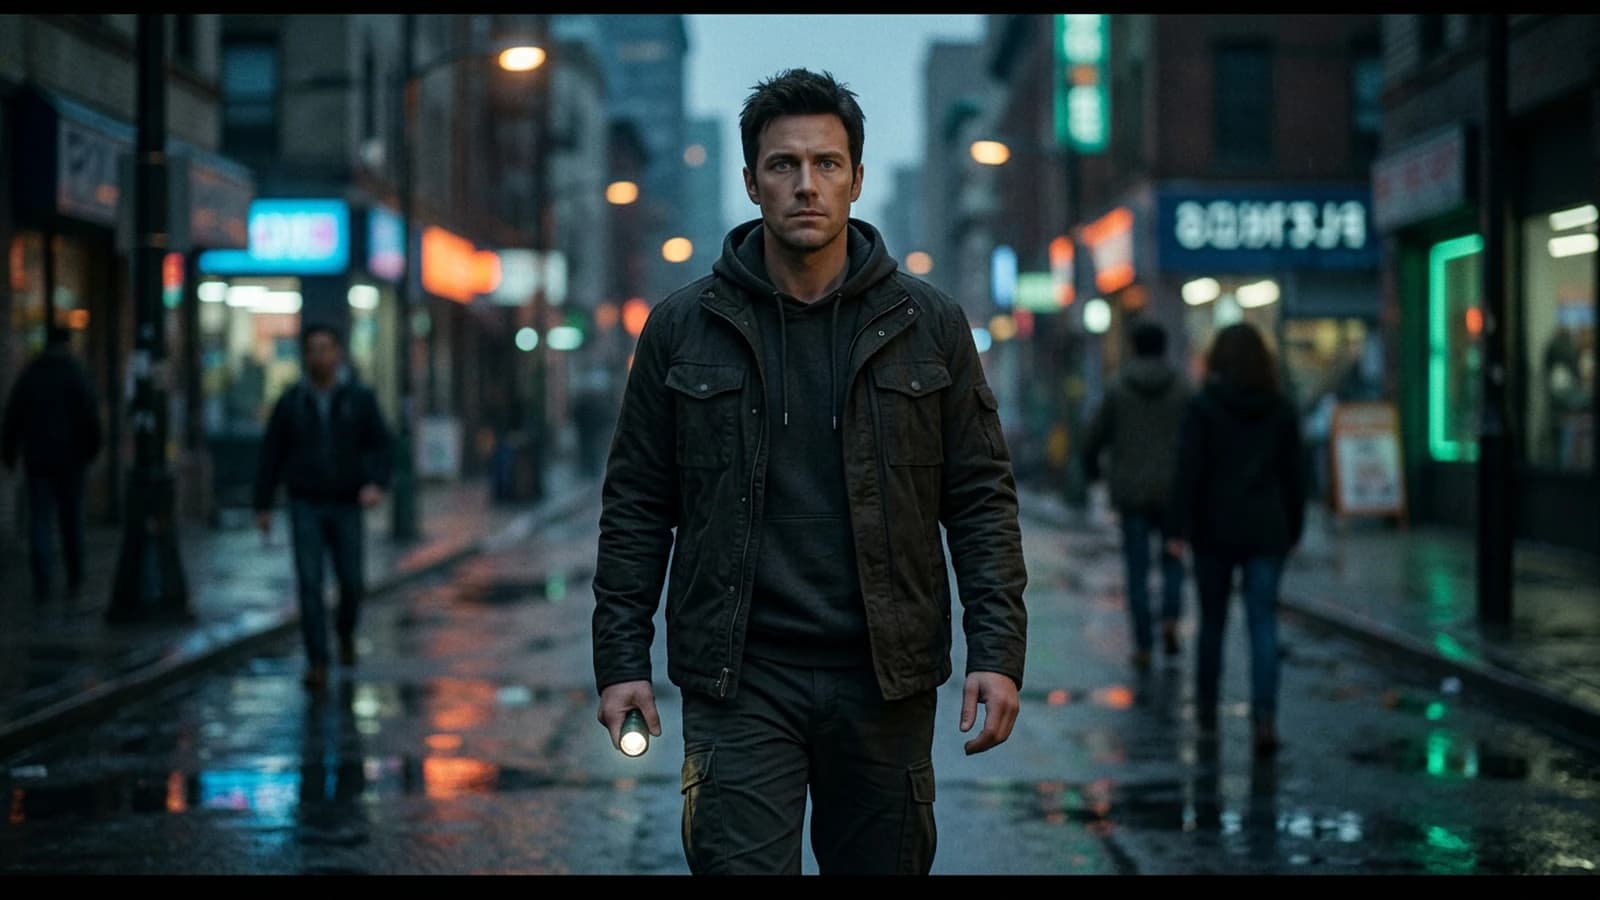
You post a clip, the comments say "nice" with an awkward smile. You, you see the skin that undulates, the wall that breathes, the sky that burns in neon. It is not the shame of the "generate" button, it is a set of perceptual signals that your brain learned to read by watching real cinema for years.
This text lists these signals and proposes actionable corrections, with no promising you a software miracle. We start from three real portraits. Élodie in Toulouse was filming a talking portrait for LinkedIn: the lips slipped, she lowered the movement intensity and recropped on the bust. Marc in Geneva wanted a travelling in a station: the pillars undulated, he cut the travelling into three fixed shots with a false sound match. Hiba in Algiers was delivering a product ad: the image was clean but mute, the addition of a low room tone moved the judgment from "demo" to "acceptable ad".
The synthesis of moving images stays a form of generated or interpolated animation. To situate the technical context with no useless jargon, the article on computer animation reminds us that the credibility often comes from the spatio-temporal consistency, not the number of pixels. What you correct therefore is not "the beauty", it is the stability over time: does the same room stay the same room for six seconds, does the same jacket keep the same weave, does the light keep coming from the same side without changing its mind.
Reading the clip like a tired viewer
Before correcting, watch once in full screen with the sound at a realistic volume, then a second time on a phone with a basic earbud. The defects are not the same: the big screen reveals the texture, the small screen reveals the contrast and the framing. Note three timestamps maximum per viewing, otherwise you dilute your energy on details no one will see in a scroll.
If you present to a client, first send a version with a discreet watermark and a short duration. Less exposed surface, less risk that the eye goes to a hand at the edge of the frame.
The five most frequent "fake" signals
Unstable skin texture. The pores appear and disappear between the frames. Often: movement too strong, guidance too high on the video, or face too big in the frame.
Soft geometry. Walls, windows, perspective lines that dance. Often: long travelling, wide angle, setting loaded with vertical repetitions.
Lying light. Reflections in the eyes that correspond to no source in the setting. Often: fuzzy prompt on the key direction.
Gratuitous HDR. Saturated sky, dramatic clouds, face still lit like in studio. Often: absence of exposure hierarchy.
Silence or generic music. The brain associates the sound with the real. With no atmosphere, even a beautiful image becomes a showroom.
These signals combine: an unstable skin with an HDR sky and silence, that is the "AI demo" triptych your audience recognizes in one second. You do not need to be an expert to see it, you have already felt it on other clips.
For a complete chain from brief to master, the guide complete workflow to go from an idea to a realistic AI film gives steps aligned with what you are going to read here.
Pro tip: watch your clip sped up x2 with the sound off. The texture defects jump to the eye before you name them.
Pilot-image then minimal-movement workflow
Step 1, validate a frame. You only move to video with an image where the skin, the close setting, and the light hold up at zoom. If the frame lies, the video will lie in a loop.
Step 2, modest movement. Push in 3 to 5% over six seconds, very slow pan, or light truck. You avoid orbit and 360° until you have some respite on simple settings.
Step 3, movement strength. If the tool exposes a percentage, start between 20% and 45%. Go up only if the hands and the chin stay stable over two attempts.
Step 4, source consistency. Activate the fidelity to the starting image if available, go up by steps until the "liquid background" disappears without freezing everything into wax.
Step 5, duration. Test short first, four to six seconds. When it is stable, lengthen.
Twenty-minute calibration session
Open your tool, create a calib_movement folder. Import your validated pilot frame. Set the duration on six seconds for all the tests of the session. Test A: movement 15%, note the test number in a text file. Test B: 30%, same setting, same movement prompt. Test C: 45%. Watch each export in a loop: as soon as the chin or a door line undulates, you mark the ceiling for this setting.
If your interface offers "camera path" with vague words, translate them into a percentage of displacement or a relative distance in the prompt: "camera moves inches, not meters". The absolute words with no scale often fool the model.
Example of movement description in a text block:
Very slow push in 3 percent over 6 seconds, locked horizon,
minimal parallax, shallow depth of field, no orbit, no warp
The transition from a fixed image deserves a dedicated reading: how to transform an AI image into a fluid and credible video.
Sound, edit, and finishing
You import the clip into your NLE, you lay the room tone under the track from the first minute of work, even if it is not the final mix. You add credible atmosphere noises for the place: fridge, ventilation, distant street, rain on the window.
For a generated voice, read the text aloud before generation, cut the too-long sentences, insert periods for the pauses. If you run out of breath, the viewer too. Place the voice with a slight EQ to remove the aggressive sibilance, compress gently so it sits in the mix without crushing the atmosphere.
You recrop slightly to break the "perfect" symmetry of the generators. You apply a soft curve: lower the highs on the sky if needed, light support of the midtones on the face. You add a fine grain in overlay to glue the too-clean zones to the textured zones.
For the narrative structure and the rhythm, how to structure an AI video like a real film avoids the single clip that runs out of breath.
Table: problem, lever, action order
| Visible problem | Main lever | Order |
|---|---|---|
| Skin that moves | movement amplitude | lower % before all |
| Undulating walls | setting / angle | simplify or cut |
| HDR sky | light / post | highs curve before saturation |
| Lips that slip | framing / duration | less oral close-up |
| Demo feeling | sound | room tone before master |
| Texture flicker | consistency / video steps | raise fidelity by steps |
Pro tip: export an H.264 preview, watch on a phone in a bus or a corridor. The partial attention reveals the fake your calibrated screen masked.
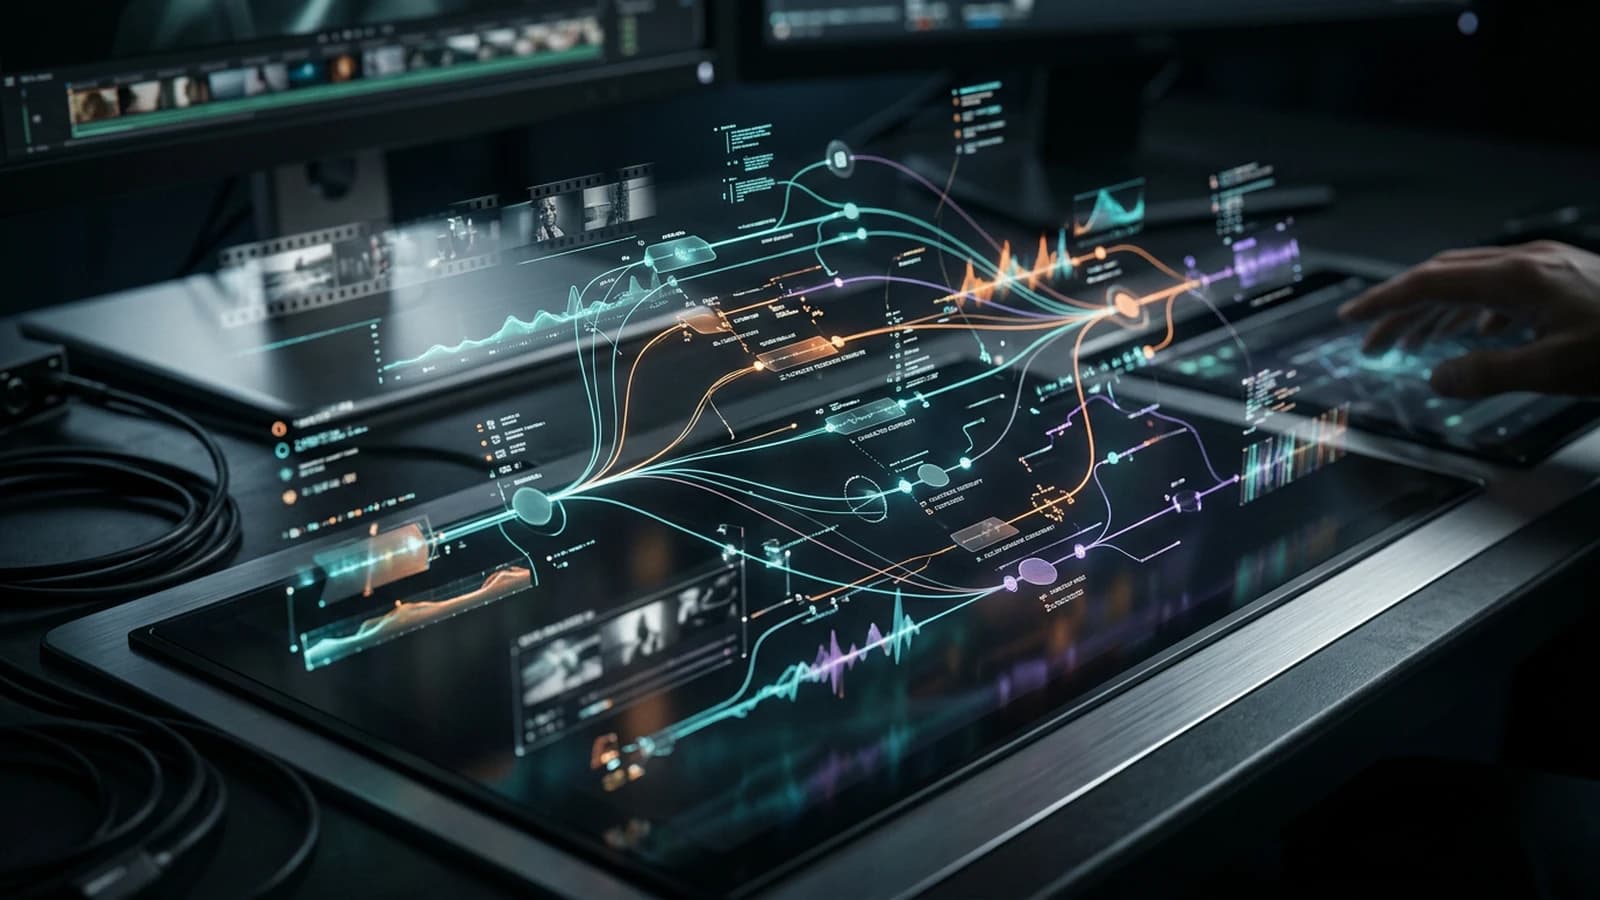
Trench warfare: what beginners miss, and how to repair it
You want handheld "like Netflix" by pushing the amplitude to the max in the generator. You get an earthquake. Modest handheld or tremor added in post on the environment only, not on the face if the model distorts it.
You chain AI fades between two different images because it is more "cinema". You mix two geometries. Hard cut, let a sound punctuate the transition.
You believe 4K will save a false scene. You amplify the artifacts. Resolution after the right direction, not before.
You forget the network compression. You export too clean, the platform adds its layer. Plan a light grain and a control of the highs before upload, test privately.
You want to talk ten seconds in a row in close-up on a pipeline that weakens on the oral. Cut into shots, or slightly move the framing away.
You ask for a wide shot because "it breathes". The AI shows too many people in the frame, everything moves. Tighten, show less to say as much.
You copy settings from a tutorial with no the same model. The percentages are not universal. Recalibrate on your tool with short tests.
Pro tip: note the timecode of the defects on the timeline before regenerating. Otherwise you redo everything to correct two seconds.
Pro tip: if you hesitate between two exports, choose the one with the worse "first image" but the better stability in the middle of the clip. Viewers stay longer than three seconds.
Pro tip: if the setting is complex, leave the subject more static and suggest the movement with a leaf, a curtain, a steam, not with a crazy camera.
For a fully generated project with no classic shooting, creating a 100% AI short film with no camera or actors extends this logic over time.
You believe the defect is local while it is global: a too-hard key on the face makes the skin unstable as soon as the movement starts. Soften the shadow-light transition in the prompt or in post on a light face mask before sacrificing the whole clip.
You want slow motion with no high-frequency footage: digital slow motion on AI exposes the interpolations. Generate already at the desired rhythm or accept shorter shots with no extreme slow motion.
You compare your work to professional music clips that mix real shooting and effects. Compare rather to similar constraints, fully generated or almost, otherwise you judge with a double-edged sword.
You add "epic" music on an intimate scene because the sound bank offers you that first. The brain associates this motif with the product demo. Choose music that leaves silences, lower the volume under the important sentences, let the atmosphere breathe between two strong notes.
You forget the internal rhythm of the clip: even with a stable image, a single twelve-second shot with no sound or tension variation tells little. Cut, add a sound detail, recrop slightly mid-shot, or insert a reaction in insert if your story allows it.
Foire aux questions
Réponses rapides aux questions les plus fréquentes sur cet article.
Why does my clip look like a nineties TV ad?
Often too much saturation, too much global sharpness, too much frontal light. Lower the local clarity on the skin, tilt the key, add fine grain, work the curve before the colors.
The movement distorts everything, where to start?
Lower the intensity, shorten the duration, simplify the setting. If nothing works, start again from a corrected frame and retry with a weaker movement. The geometry is almost always the first link to secure.
My skies are too HDR, what to do?
Curve or reduction of the highlights before saturating. Also describe in the prompt a duller sky if you want gray urban realism, not an epic sunset by default.
How long for a first clean clip?
Several short sessions beat a one-night marathon. Sleep is a corrector: what seems acceptable to you tired often falls after a night.
Is the sound really a priority?
For the human judgment, yes as much as the light. Even a low atmosphere changes the perception of the texture. The total silence is a demo marker.
Should I use the same tool for the image and the video?
Not mandatory, but keep a documented pipeline: pilot PNG, focal length and light noted in a text file, consistent import. Changing tool in the middle with no metadata is inviting the flicker.
Why do my videos lose quality on social media?
Compression and small screens. Plan a "social" pass with light grain and mastered highs, test in a private upload before publication.
Which software do I start with?
The one that gives you a stable pilot image on your subject, not the one with the noisiest marketing trailer. The stability of the first link comes first.
How to handle reflections on glasses or screens?
Avoid the frontal angle that forces the model to invent a whole setting in the glass. Switch to three-quarter, slightly darken the reflection zone in post, or replace the reflection with a credible blurry shape. If the scene does not need glasses, remove them: fewer specular surfaces, fewer lies per frame.
Why does my clip "flicker" subtly?
Often grain or sharpness inconsistency between frames, sometimes too much detail added late in the chain. Harmonize with a global grain overlay in post, avoid frame-by-frame sharpen, and if you chain several tools, keep the same logical resolution between the steps.
Can I save an already-failed shot in the edit?
Sometimes yes: tight recrop to remove the zone that undulates, light directional blur on the background only, or cut into two shots with a transition sound. It is not cheating, it is classic editing applied to a new material.
How to avoid the "different character" effect between two clips?
Same character sheet, same base light, same clothes material, and avoid changing image model between the shots of the same scene. Document the seed or image reference if your pipeline allows it. If you have to change tool, keep a reference still visible on your second screen during the next generation.
Does 60 fps make the result more real?
Not automatically. On generated material, more frames per second can expose more artifacts if the interpolation is weak. Test 24 fps cinema first, go up only if the movement stays stable and your tool holds the cadence with no smear.
To go further without getting lost
When you have stabilized a six-second clip, duplicate the project and try a "night" or "rain" variant by changing only the weather layer in the frame prompt, not the whole geometry. You thus learn to isolate the variables that break the temporal consistency. Keep a one-line journal per session: date, tool, winning movement percentage, note on the sound. After a month, you have a small personal manual more useful than ten generic tutorials.
Related articles
 Tutoriels
Why Do My AI Videos Lack Realism
Inconsistent light, slipping texture, implausible camera movement, and disconnected sound: the most frequent causes.
 Tutoriels
Why Your AI Images Lack Contrast, and How to Fix It
Histogram, curves, selective saturation, and shadow-highlight ratio cinema style.
 Business
Why Fake AI UGC Testimonials Are Forbidden and How to Sell Legally
A practical frame to use synthetic UGC content with no deceptive commercial practice: proofs, mentions, high-performing alternatives and checklists before publication.