How to Describe Light Like a Director of Photography in a Prompt
Key, fill, color, hardness, practicals, and how to avoid the 'nice lighting' with no geometry.
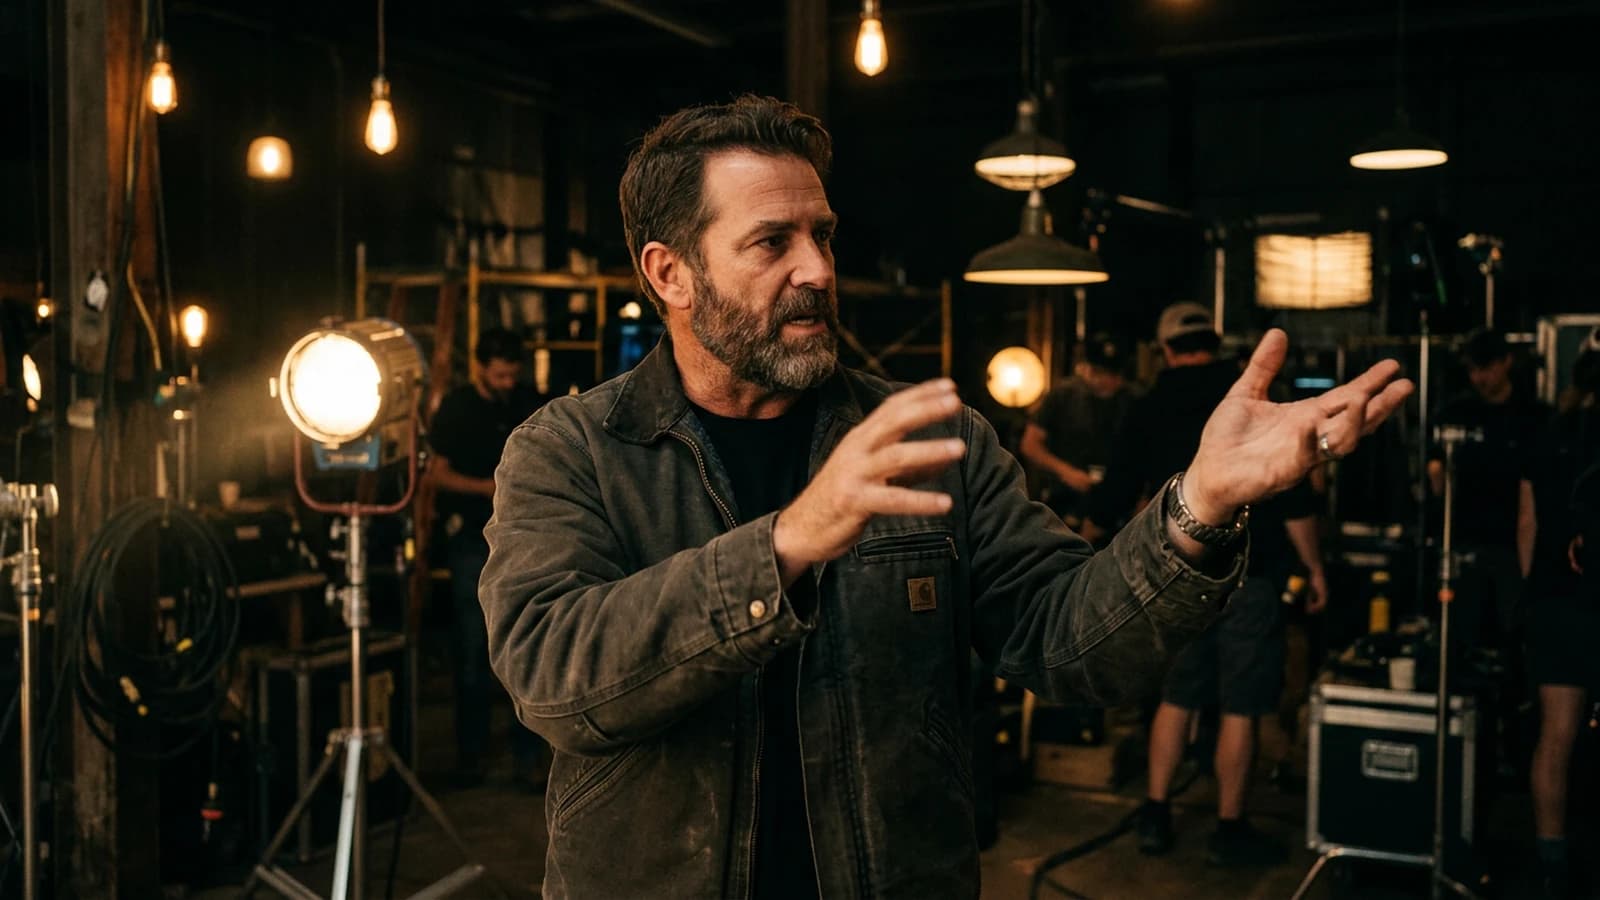
Most light prompts fail for a simple reason, they say "nice light" instead of describing a lighting geometry. A cinematographer never says "make it pretty". They place a source. They choose a direction. They accept a shadow.
It is exactly this logic that we are going to translate into prompt language.
The principle that changes everything
Realistic light relies on 4 elements:
- main source
- secondary source
- subject-background separation
- color logic
If one of these elements is missing, the image can seem "stylized" but not credible.
To keep the render consistency across a whole series, this logic aligns very well with how to control visual style in an AI generation, especially when you produce several shots of the same scene.
3 beginner scenarios, immediate fixes
Scenario 1, "soft light everywhere"
Result: flat image, zero relief, smooth skin. Fix: a soft side key + weak fill + darker background.
Scenario 2, "dramatic lighting"
Result: violent inconsistent contrasts, dirty shadows. Fix: specify the direction and the hardness of the key, limit the strong sources.
Scenario 3, "neon cinematic"
Result: green/magenta face, music-clip effect. Fix: one dominant color, one counter-note only.
Minimum vocabulary to master
- Key light: main source that sculpts the subject.
- Fill light: source that opens the shadows.
- Rim light: separation of the subject/background outline.
- Practicals: source visible in the frame (lamp, neon, screen).
When you name these roles clearly, the model improvises less.
Set insight Light is not a filter. It is a geography.
Strict template (to keep)
In [SCENE DESCRIPTION], always add:
- key direction (left, right, backlight)
- fill level (weak, medium)
- type of practical (if present)
- dominant temperature (warm/cold)
Pro workflow, in 7 steps
- Define the place and time (morning interior, rainy night street, etc).
- Lay the key with direction and hardness.
- Lay the fill, or own its absence.
- Add a background separation (rim or value contrast).
- Define the warm/cold relationship.
- Check the eye and skin reflections.
- Test A/B with a single variation.
Concrete examples
Soft interior example, realistic
Controlled dramatic night example
To avoid the "plastic skin" effect in these configurations, also apply how to improve skin texture in an AI image, especially on close-ups.
Set -> prompt translation table
| Set need | Useful wording | Frequent mistake |
|---|---|---|
| Hard key | small source, sharp shadow, precise direction | "hard light" with no direction |
| Soft key | large diffuse source, progressive transition | "soft light everywhere" |
| Little fill | deep but readable shadows | crushed shadows |
| Subject/background separation | discreet rim or darker background | artificial cutout outline |
| Credible night | limited and motivated practicals | neon everywhere |
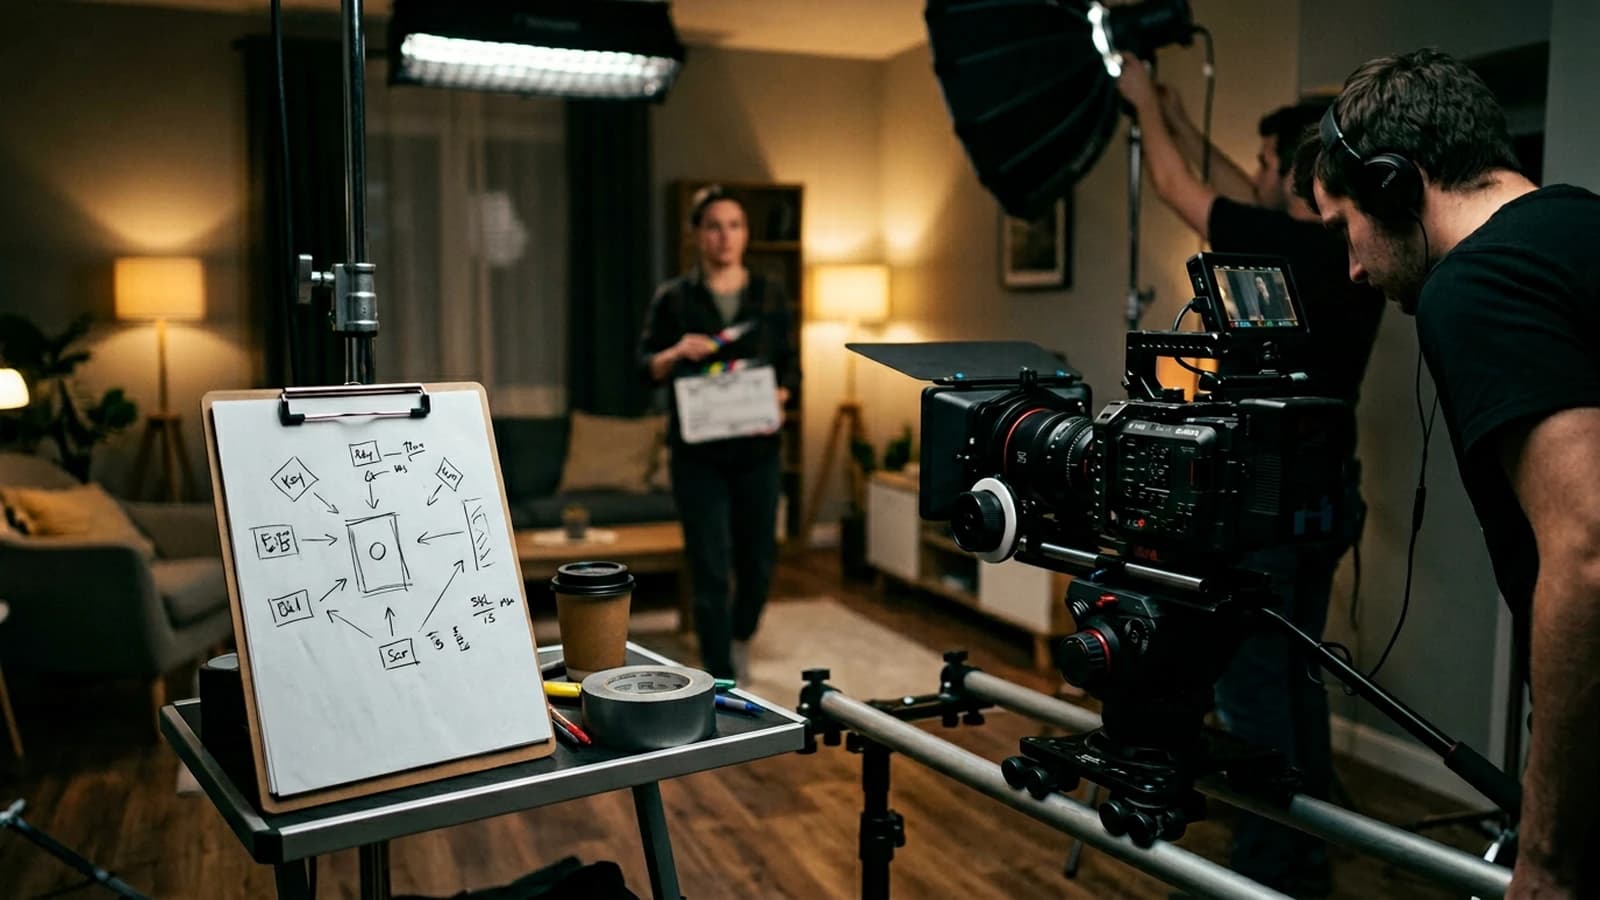
Practice exercise
What to look for:
- how the light builds a mood, not just a color
- how a clear main source simplifies all the next decisions
- why exaggerated contrasts with no logic break the realism
Exercise:
- take a current prompt
- rewrite only the light part
- compare the two results without touching the rest
Trench warfare, beginner mistakes to fix
- Saying "natural light" with no source: add a window, an orientation, a time of day.
- Too many equal sources: keep a clear dominant.
- Changing 4 variables at once: impossible to understand what helps.
- Neon everywhere: limit the palette to 1 dominant + 1 counter.
- Rim too strong: an instant cutout effect.
- No warm/cold relationship: a flat image with no depth.
- Inconsistent eye reflections: check the number of sources.
- Overexposed skin: protect the highlights, lower the local contrast.
- Forgetting the set: a light wall or a dark floor changes the fill.
- Confusing grading and light: correct the source before the color.
To link light and shot depth without inconsistency, reconnect with how to generate a realistic scene with depth of field, it avoids a lot of fake bokeh.
Foire aux questions
Réponses rapides aux questions les plus fréquentes sur cet article.
Should I always specify key and fill?
Yes, especially for portraits and interior scenes. The right answer mostly depends on the scene intention and the consistency between the shots, not on an absolute rule applied everywhere. The most reliable method is to test two close variants with the same conditions (seed, light, framing), then keep the one that stays readable after several reviews. If you hesitate, favor the overall consistency of the sequence and document your choice, because that is what gives a credible result over time.
How do I get a dark mood without losing the details?
Lower the fill, keep a readable key, protect the midtones. Start with a simple, stable version, then add a single constraint at a time to clearly see what improves or degrades the result. The most reliable method is to test two close variants with the same conditions (seed, light, framing), then keep the one that stays readable after several reviews. If you hesitate, favor the overall consistency of the sequence and document your choice, because that is what gives a credible result over time.
Can I write "Rembrandt lighting" directly?
You can, but still describe the direction and the shadow for more stability. In practice, treat this decision as a narrative parameter, not as a simple technical setting, otherwise the render quickly becomes inconsistent from one shot to another. The most reliable method is to test two close variants with the same conditions (seed, light, framing), then keep the one that stays readable after several reviews. If you hesitate, favor the overall consistency of the sequence and document your choice, because that is what gives a credible result over time.
What do I do if the eyes shine too much?
Reduce the specular intensity and check the size of the source. In practice, treat this decision as a narrative parameter, not as a simple technical setting, otherwise the render quickly becomes inconsistent from one shot to another. The most reliable method is to test two close variants with the same conditions (seed, light, framing), then keep the one that stays readable after several reviews. If you hesitate, favor the overall consistency of the sequence and document your choice, because that is what gives a credible result over time.
Should I indicate the color temperature?
Yes, at least the dominant warm/cold relationship. The right answer mostly depends on the scene intention and the consistency between the shots, not on an absolute rule applied everywhere. The most reliable method is to test two close variants with the same conditions (seed, light, framing), then keep the one that stays readable after several reviews. If you hesitate, favor the overall consistency of the sequence and document your choice, because that is what gives a credible result over time.
How do I avoid the fake neon effect?
Limit the saturation and the surface of skin touched by the neon. Start with a simple, stable version, then add a single constraint at a time to clearly see what improves or degrades the result. The most reliable method is to test two close variants with the same conditions (seed, light, framing), then keep the one that stays readable after several reviews. If you hesitate, favor the overall consistency of the sequence and document your choice, because that is what gives a credible result over time.
Should the light change between two shots of the same scene?
Yes only if it is motivated by the action or the time. In practice, treat this decision as a narrative parameter, not as a simple technical setting, otherwise the render quickly becomes inconsistent from one shot to another. The most reliable method is to test two close variants with the same conditions (seed, light, framing), then keep the one that stays readable after several reviews. If you hesitate, favor the overall consistency of the sequence and document your choice, because that is what gives a credible result over time.
Best quick test?
Compare two renders changing only a single light variable. In practice, treat this decision as a narrative parameter, not as a simple technical setting, otherwise the render quickly becomes inconsistent from one shot to another. The most reliable method is to test two close variants with the same conditions (seed, light, framing), then keep the one that stays readable after several reviews. If you hesitate, favor the overall consistency of the sequence and document your choice, because that is what gives a credible result over time.
Advanced block, writing light as a narrative
Light does not only serve to "see". It tells a story.
A side key can suggest doubt. A frontal key can neutralize the emotion. A discreet backlight can isolate a character.
When you write a light prompt, first think in dramatic intention.
Key question before each prompt
What must the viewer feel in this shot:
- proximity
- tension
- tiredness
- relief
- threat
Only then do you translate into visual parameters.
Pro insight The best light setting is the one that makes the emotion readable with no explanation.
Light calibration protocol
Test A, direction
You keep everything fixed, you change only the key direction.
Test B, hardness
You keep the direction fixed, you change the apparent size of the source.
Test C, temperature
You keep the geometry fixed, you adjust warm/cold.
You quickly identify what your model really interprets.
Subtle mistakes that destroy the realism
1) Fill too clean
The face floats, no more volume.
2) Rim too strong
A cutout outline, a fake effect.
3) Practicals with no logic
Visible sources but with no impact on the scene.
4) Color with no structure
Contradictory dominants, inconsistent skin.
5) "Digital" shadows
Abrupt transitions with no lighting motif.
Practical case, realistic evening interior
Goal:
- intimate mood
- weak tension
- readability of the features
Prompt setup:
- soft side window key
- very light wall-bounce fill
- tungsten practical in the background
- shadows kept on the opposite side
Expected result:
- natural face volume
- background present but discreet
- readable emotional contrast
Advanced table, light diagnostics
| Symptom | Probable cause | Fix |
|---|---|---|
| Flat skin | excessive fill | reduce the fill and reinforce the key |
| Muddy shadows | post contrast pushed too far | correct the source before the grade |
| Inconsistent reflections | badly described practicals | name the source and position |
| "Fake" atmosphere | random temperature | limit to one dominant + counter |
| Outline halo | excessive rim | lower the rim intensity |
Complementary trench warfare
10) Changing light between shots for no reason
Fix: justify by the action or the time.
11) Ignoring the background
Fix: plan a background/subject hierarchy.
12) Light too uniform
Fix: create a local contrast zone.
13) "Golden hour" everywhere
Fix: specify the orientation and the intensity.
14) Abusive volumetric
Fix: use it as an accent, not as a base.
15) Uncontrolled skin tint
Fix: protect the flesh tones from the source.
16) Multiple strong sources
Fix: designate a clear dominant.
17) Forgetting the ceiling and the floor
Fix: describe the material bounces.
18) Relying on the LUT
Fix: light structure first, style next.
19) Checking only on one screen
Fix: double validation, main screen + mobile.
20) No session log
Fix: document the winning prompts.
Additional FAQ
How many sources maximum to start?
One main, one light secondary. This figure is a reliable starting point, but adjust it according to the type of movement, the frame density and the expected level of realism. The most reliable method is to test two close variants with the same conditions (seed, light, framing), then keep the one that stays readable after several reviews. If you hesitate, favor the overall consistency of the sequence and document your choice, because that is what gives a credible result over time.
Do I always need a rim?
No, only if the separation requires it. The right answer mostly depends on the scene intention and the consistency between the shots, not on an absolute rule applied everywhere. The most reliable method is to test two close variants with the same conditions (seed, light, framing), then keep the one that stays readable after several reviews. If you hesitate, favor the overall consistency of the sequence and document your choice, because that is what gives a credible result over time.
Can you make a credible scene with no practicals?
Yes, if the off-frame source is clearly motivated. In practice, treat this decision as a narrative parameter, not as a simple technical setting, otherwise the render quickly becomes inconsistent from one shot to another. The most reliable method is to test two close variants with the same conditions (seed, light, framing), then keep the one that stays readable after several reviews. If you hesitate, favor the overall consistency of the sequence and document your choice, because that is what gives a credible result over time.
How do I avoid gray skin in cold light?
Add a very discreet neutral fill. Start with a simple, stable version, then add a single constraint at a time to clearly see what improves or degrades the result. The most reliable method is to test two close variants with the same conditions (seed, light, framing), then keep the one that stays readable after several reviews. If you hesitate, favor the overall consistency of the sequence and document your choice, because that is what gives a credible result over time.
Should I specify the type of lamp?
Useful if you want to lock the color. The right answer mostly depends on the scene intention and the consistency between the shots, not on an absolute rule applied everywhere. The most reliable method is to test two close variants with the same conditions (seed, light, framing), then keep the one that stays readable after several reviews. If you hesitate, favor the overall consistency of the sequence and document your choice, because that is what gives a credible result over time.
What test says the light is right?
If you can draw the source with no hesitation. In practice, treat this decision as a narrative parameter, not as a simple technical setting, otherwise the render quickly becomes inconsistent from one shot to another. The most reliable method is to test two close variants with the same conditions (seed, light, framing), then keep the one that stays readable after several reviews. If you hesitate, favor the overall consistency of the sequence and document your choice, because that is what gives a credible result over time.
Can the shadow be very black?
Yes, if the story justifies it and it stays readable. In practice, treat this decision as a narrative parameter, not as a simple technical setting, otherwise the render quickly becomes inconsistent from one shot to another. The most reliable method is to test two close variants with the same conditions (seed, light, framing), then keep the one that stays readable after several reviews. If you hesitate, favor the overall consistency of the sequence and document your choice, because that is what gives a credible result over time.
What is the worst beginner reflex?
Asking for "nice light" with no geometry. In practice, treat this decision as a narrative parameter, not as a simple technical setting, otherwise the render quickly becomes inconsistent from one shot to another. The most reliable method is to test two close variants with the same conditions (seed, light, framing), then keep the one that stays readable after several reviews. If you hesitate, favor the overall consistency of the sequence and document your choice, because that is what gives a credible result over time.
Practical workshop, from zero to a credible scene
Brief
- night interior
- isolated character
- soft tension
Light construction
- soft side key
- very light fill
- warm practical in the background
- shadows kept on the opposite side
Verification
- light triangle on the face readable
- consistent eye reflections
- background darker than the subject
Advanced adjustments
- if the skin is too flat, reduce the fill
- if the outline is too hard, reduce the rim
- if the mood is too cold, warm the practical
Pro insight A realistic scene is corrected first at the source, never at the final filter.
Extra troubleshooting
21) Double shadows
Cause: two dominant sources. Fix: designate a single key.
22) "Metallic" skin
Cause: specular too strong. Fix: soften the source and the angle.
23) Background brighter than the subject
Cause: inverted hierarchy. Fix: lower the background or raise the subject key.
24) Inconsistent skin color between shots
Cause: temperature not locked. Fix: a scene light charter.
25) "Preset" atmosphere
Cause: aggressive LUT. Fix: primary correction first.
Complementary FAQ 2
Can you light a scene with no clear key?
Yes, but it is a rare and risky choice to start with. In practice, treat this decision as a narrative parameter, not as a simple technical setting, otherwise the render quickly becomes inconsistent from one shot to another. The most reliable method is to test two close variants with the same conditions (seed, light, framing), then keep the one that stays readable after several reviews. If you hesitate, favor the overall consistency of the sequence and document your choice, because that is what gives a credible result over time.
Should the fill be colored?
Sometimes, but keep it discreet. In practice, treat this decision as a narrative parameter, not as a simple technical setting, otherwise the render quickly becomes inconsistent from one shot to another. The most reliable method is to test two close variants with the same conditions (seed, light, framing), then keep the one that stays readable after several reviews. If you hesitate, favor the overall consistency of the sequence and document your choice, because that is what gives a credible result over time.
How do I make a credible night without crushed blacks?
Preserve the midtones and limit the global contrast. Start with a simple, stable version, then add a single constraint at a time to clearly see what improves or degrades the result. The most reliable method is to test two close variants with the same conditions (seed, light, framing), then keep the one that stays readable after several reviews. If you hesitate, favor the overall consistency of the sequence and document your choice, because that is what gives a credible result over time.
Is volumetric light mandatory for a cinema render?
No, and it is often overused. In practice, treat this decision as a narrative parameter, not as a simple technical setting, otherwise the render quickly becomes inconsistent from one shot to another. The most reliable method is to test two close variants with the same conditions (seed, light, framing), then keep the one that stays readable after several reviews. If you hesitate, favor the overall consistency of the sequence and document your choice, because that is what gives a credible result over time.
Set appendix, building a reusable light charter
When you want to keep a consistency across several scenes, create a light charter:
- dominant source
- average fill level
- temperature palette
- treatment of the practicals
- target contrast degree
This charter becomes your safeguard.
Example of an "urban drama" charter
- key: soft side, 45 degrees
- fill: weak, readable shadows
- practicals: localized tungsten
- background: slightly colder
- contrast: medium, no crushed blacks
You then use this base for each scene. You adjust only what serves the story.
Pro insight Light consistency is more important than the isolated beauty of a shot.
Team calibration workflow
- choose a common test scene
- generate 3 light variants
- collective review on the main screen
- rating readability/emotion/realism
- baseline selection
This protocol avoids sterile debates.
Trench warfare extension
26) Over-use of the backlight
Fix: limit the separation to what is narratively useful.
27) Mix of contradictory temperatures
Fix: one dominant, one counter-note.
28) "Selfie" frontal fill
Fix: move the fill off the camera axis.
29) Shadows clipping
Fix: preserve the shadow detail before the look.
30) Burned highlights on the skin
Fix: lower the key intensity or modify the angle of incidence.
31) Decorative but fake practicals
Fix: each practical must influence the scene.
32) Atmosphere too "marketing"
Fix: reduce the saturation, reinforce the volumes.
33) Shadows with no direction
Fix: lock the key orientation from the prompt.
34) Inconsistent reflections in the eyes
Fix: correct the number/shape of the catchlights.
35) Global contrast with no local hierarchy
Fix: place the contrast on the subject first.
Detailed practical case, night kitchen scene
Emotional goal:
- tiredness
- doubt
- proximity
Recipe:
- side window key
- table-bounce fill
- warm background practical
- medium contrasts
Verification:
- gaze readability
- face volume
- non-competitive background
Extra FAQ
Should I lock the light before the framing?
The two are built together, but the source must stay clear. The right answer mostly depends on the scene intention and the consistency between the shots, not on an absolute rule applied everywhere. The most reliable method is to test two close variants with the same conditions (seed, light, framing), then keep the one that stays readable after several reviews. If you hesitate, favor the overall consistency of the sequence and document your choice, because that is what gives a credible result over time.
How do I train a light eye quickly?
Compare 2 variants with a single difference in the key. Start with a simple, stable version, then add a single constraint at a time to clearly see what improves or degrades the result. The most reliable method is to test two close variants with the same conditions (seed, light, framing), then keep the one that stays readable after several reviews. If you hesitate, favor the overall consistency of the sequence and document your choice, because that is what gives a credible result over time.
When is the scene "too flat"?
When no shadow zone creates useful relief. In practice, treat this decision as a narrative parameter, not as a simple technical setting, otherwise the render quickly becomes inconsistent from one shot to another. The most reliable method is to test two close variants with the same conditions (seed, light, framing), then keep the one that stays readable after several reviews. If you hesitate, favor the overall consistency of the sequence and document your choice, because that is what gives a credible result over time.
Can you have a realistic scene with a single source?
Yes, often it is even more credible.
If you keep this discipline, you build a real visual signature. And above all, you avoid the "beautiful but fake" render that breaks the viewer's trust.
This work seems meticulous. But it is exactly what makes the difference between a visible AI render and a truly credible image.
Related articles
 Tutoriels
How to Think Like a Director With AI
Move from a simple prompt to a real staging logic for credible AI images and videos.
 Tutoriels
Calibrating Interior and Exterior Light in AI Generation
A method to keep solid lighting consistency when a scene alternates interior, exterior and different times of day.
 Tutoriels
Office Interior: Fixing the Cyan Light of AI Offices
Why AI open spaces turn blue and how to bring back a credible tungsten / window hierarchy.