Creating Realistic Rain and Snow Scenes With AI
A layer-by-layer approach to make weather, materials and motion more believable without overloading the prompt.
"Heavy rain cinematic" gives a digital soup: frozen drops, plastic asphalt, dry hair under the downpour. Rain is not a keyword. It is a stack of layers.
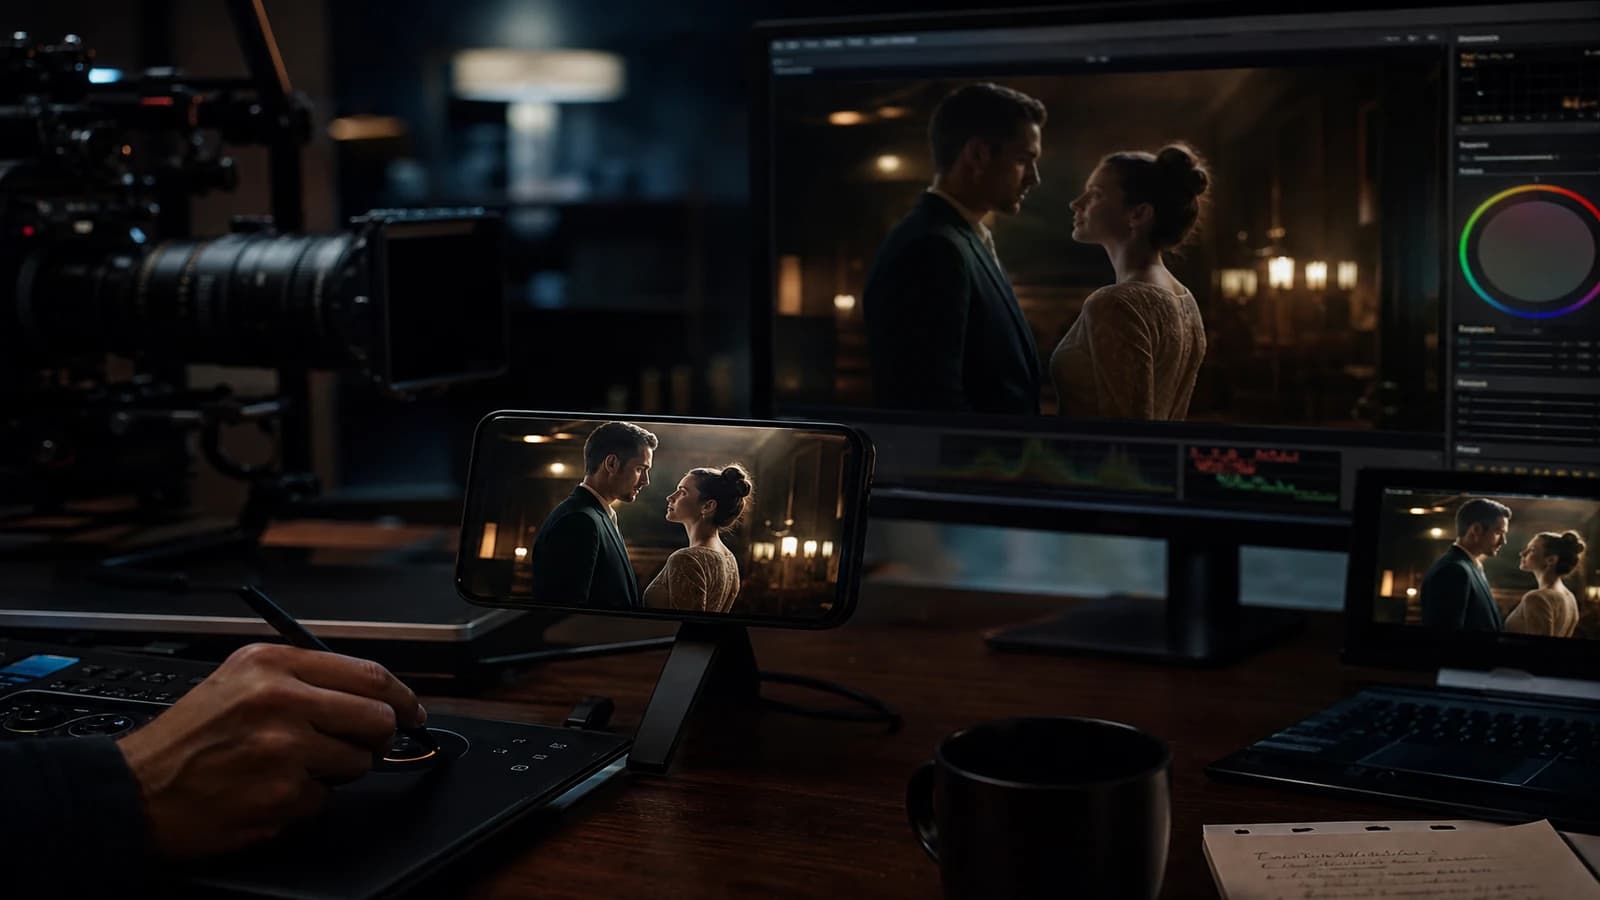
Creating realistic rain and snow scenes with AI: a validated dry shot first, weather and sound next. Not the other way around. This guide details the layer-by-layer approach I use for ads, clips and short films where the weather must sell the emotion without betraying the physics.
AI weather is a layer problem, not an adjective problem
When you ask for "cinematic rain" in one pass, the model optimizes a frozen image. It paints white streaks, darkens the sky, smooths the asphalt. Video motion immediately reveals the drops that do not fall, the hair that does not stick, the dry ground under the feet.
Believable rain combines at minimum: a consistent set and light, a wet ground with reflections, rain particles in depth (foreground, midground, background), a character with a wet look on hair and clothes, calibrated rain sound. Snow adds: flakes of varied sizes, believable accumulation on the shoulders, no uniform storm unless intentional.
Snow has its traps: identical flakes, sky and ground at the same luminance, a character in a perfect parka with no breath vapor in extreme cold. Same layer logic: a validated cold shot, then weather, then wet/cold details.
| Layer | Rain | Snow |
|---|---|---|
| Base | Dry shot, locked light | Cold shot, cold key |
| Ground | Wet asphalt, neon reflections | Snowy ground or mud/snow mix |
| Particles | Fine plus medium plus close-up | Close blurred flakes, distant fine ones |
| Subject | Stuck hair, dark shoulders | Shoulder accumulation, optional breath |
| Sound | Foreground rain plus room tone | Light wind plus footstep crunch |
For exterior light, cross-reference with calibrating interior and exterior light in AI. For dark wet moods, see how to create a dark cinematic mood with AI.
A layer-by-layer workflow
Step 1: generate the shot with no weather
Street, character, neon, framing, focal length. Validate everything except the rain. If the dry shot does not hold, rain will not save it. That is the rule everyone bypasses and everyone regrets.
Step 2: lock the wet ground in the image or by inpainting
Inpaint the ground for wet asphalt with reflections of the present light sources. Do not ask for reflections of a different city. The reflections must cite the neon of the shot. Otherwise the brain screams botched composite.
Step 3: add the particles by depth
Foreground: a few drops or large flakes, slightly blurred. Midground: fine rain visible in front of the character. Background: drizzle or small flakes. In video, an overlay of shot or separately generated rain/snow stock, Screen or Add blend mode, moderate opacity. Short looped clips if needed.
Step 4: wet look on the character
Light img2img or targeted inpaint: darker hair, wet shoulders, clinging fabric if the intensity calls for it. One lever per pass. If you change framing and wet look together, you will not know what broke.
Step 5: video if needed
Generate the motion on the already-wet shot, not on the dry shot plus a rain prompt. Short clips. Modest camera movement. If the drops freeze, overlay particles in post on the video rather than a full regeneration.
Step 6: sound and mix
Rain in foreground (more present), street ambience in mid, music or dialogue above. Without sound, AI rain stays a wallpaper. See managing sonic depth for an AI short film.
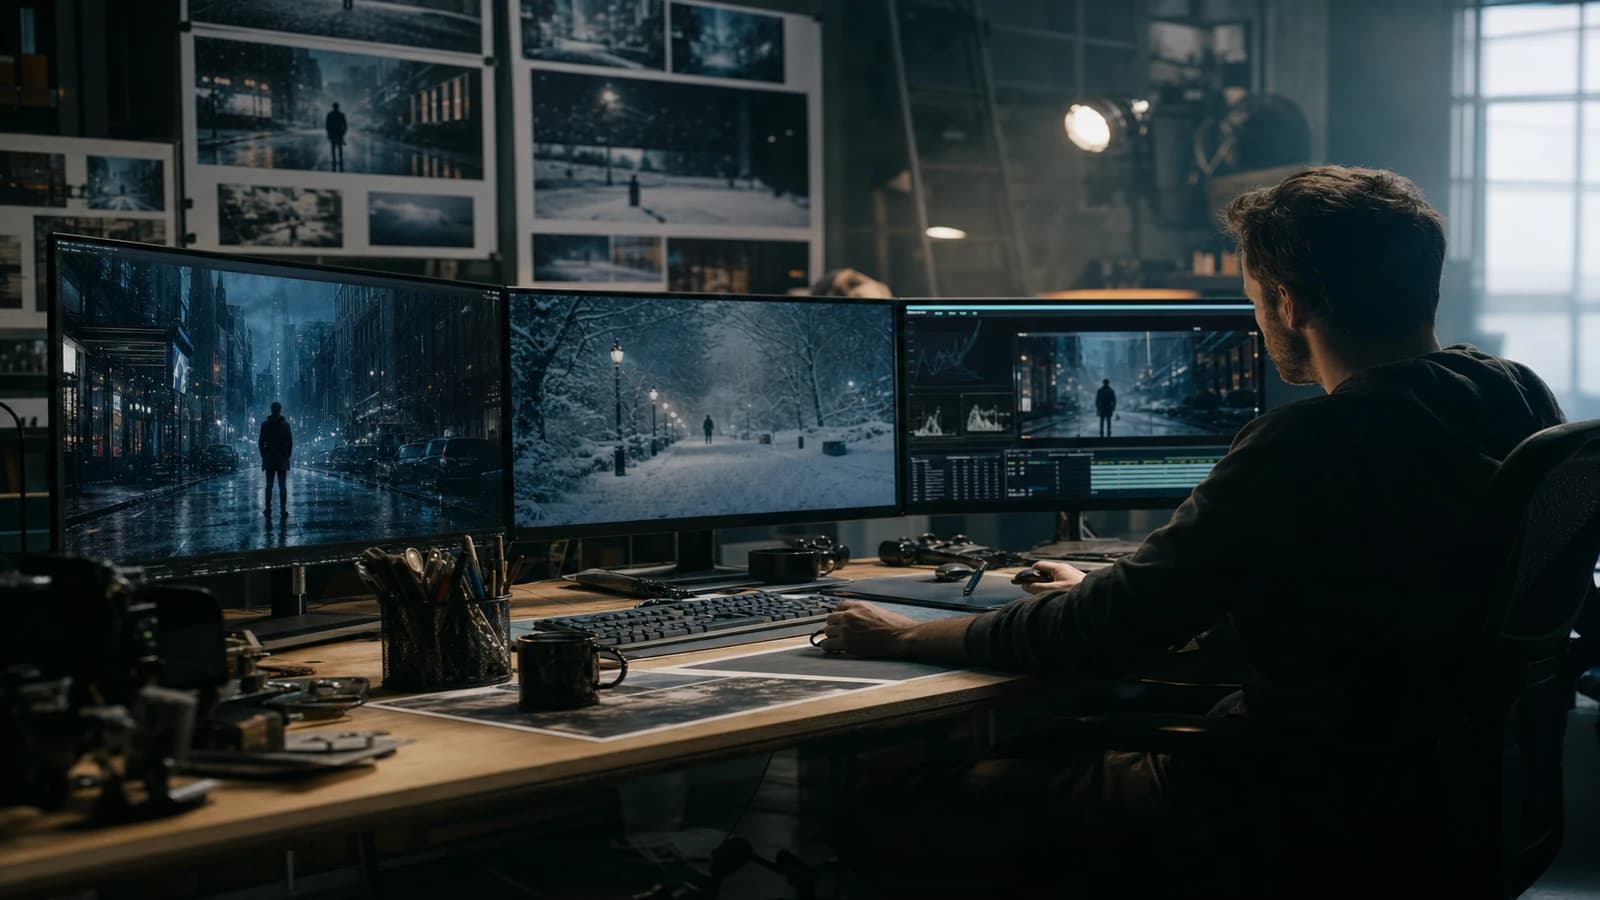
Scenario A: night street, fine rain, a lone character
A validated dry 35mm shot. Ground inpainted wet with pink and blue neon reflections. Fine rain overlay at 15 percent opacity. Hair darkened by inpaint. Sound: rain plus distant traffic. Result: a believable 8s clip for a reel. Total time: less than an afternoon regenerating "heavy rain" in one pass.
Scenario B: gray day, medium rain, tight dialogue
A tight face shot, blurred background. Fewer visible particles, more subtle wet look. Drops on the coat shoulder by inpaint. Lower rain sound to leave room for the dialogue. Avoid the wide day shot under AI rain if you do not have the time: the geometry of the sky and the buildings drifts fast.
Scenario C: snow, exterior parking lot, tension
A cold shot, blue key, soft shadows. Snowy ground with consistent footprints toward the character. Flake overlay in three depths. Visible breath optional if the cold is narrative. No storm unless the story requires it: fine snow sells the loneliness better than the generic blizzard.
Troubleshooting
Frozen drops in video. Animated particle overlay. Or a very short clip with no strong camera movement. Native AI video rain stays the weak point in 2026.
Dry ground under the feet. The ground was not treated. Back to step 2. The reflections on the ground are 50 percent of the believability.
Dry hair. Missing wet look. Targeted inpaint or a second light img2img pass on the hair/shoulders zone.
Inconsistent neon reflections. You copied a rain ref from another city. Go back to the light sources of the shot.
Snow equals uniform white dots. Vary the size and opacity of the flakes. Blurred in the foreground, fine in the back.
Image too dark "because rain". Rain does not excuse a badly placed key. Correct the light of the dry shot. See how to fix bad lighting in AI.
Strong wind missing in snow. The flake falls vertically as in a studio. Fix: slightly tilt the direction of the particles, add a wind gust in the sound. Image plus sound weather consistency sells the cold.
Breath vapor forgotten in extreme cold. Optional but powerful in close-up. A light overlay or inpaint. One beat, not over the whole film.
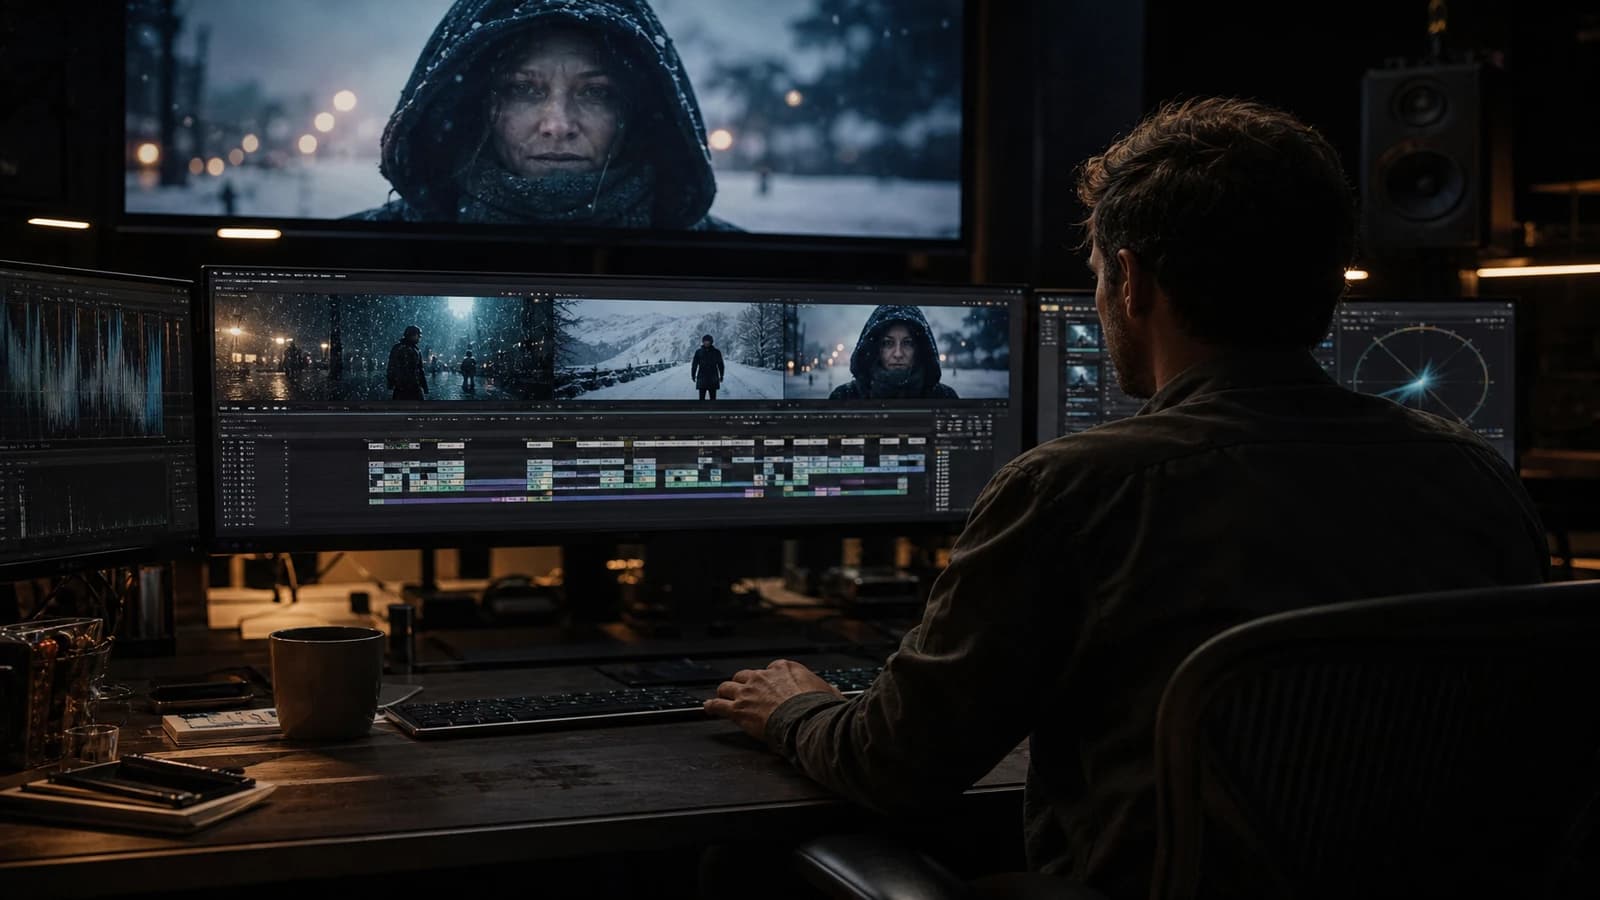
Integrating weather in the edit, not only in generation
The editor is the last guardian of rain believability. When you cut from a wide shot to a close-up, the intensity of the particles must follow a logic, not a random source file. Note on the timeline: overlay opacity, rain file version, direction. If you change the overlay clip between two adjacent shots, the viewer senses the seam even if they cannot name it.
Cross-dissolves between rainy scenes and dry scenes need a sound transition. Bring up the rain in the audio before the image shows the wet street, or the reverse depending on the suspense. The ear prepares the body to believe the image.
For snow, the continuity of the footprints is an editing detail. If the character walks in the snow at shot 3, shot 4 must show consistent prints or a shot where the feet are not visible. AI forgets the prints. You handle them by inpaint or by avoiding the framing.
Hand inserts (drops on fingers, wet gloves) save weather scenes where the wide shot weakens. Generate or film these inserts separately. Two seconds of a well-placed insert beat ten seconds of rain overlay on a lying wide shot.
💡 Frank's Cut: generate the shot with no rain first. Validate framing and light. Weather as an overlay next. When a client says "it needs more rain", you add a layer without breaking everything.
For weather overlays, libraries like Artgrid or Pexels provide shot rain/snow stock, often more believable than native generation in motion. The Foundry Nuke documentation on compositing rain explains the depth logic even if you stay in Resolve or After Effects.
FAQ
Foire aux questions
Réponses rapides aux questions les plus fréquentes sur cet article.
Should I generate everything in one pass with the word rain?
No, except for quick stills where motion does not exist. For video and hero shots, the single pass produces artifacts you will spend hours correcting. Dry shot, wet ground, overlay, wet look: the order is non-negotiable for a pro render. Beginners choose the single pass because it gives an immediate "wow" preview. Pros choose the layers because they deliver with no pick-up the next day. The wow that costs eight hours of fixing in post is not a profitable wow.
What rain overlay intensity?
Start at 10-15 percent opacity. Bring it up in 5 percent steps. On a close-up, fewer visible particles, more wet look. On a wide shot, more particle depth, ground wet look as a priority. Excess overlay gives the confetti effect.
How do I keep the rain consistent over a multi-shot sequence?
Same overlay family, same fall direction, same relative intensity per shot type (tight vs wide). Note on the edit sheet: "fine rain, overlay v02, opacity 12 percent wide shots, 8 percent tight". Weather consistency is an editing decision, not a generation accident.
Does snow need different light from rain?
Yes. Snow reflects a lot. The key is often more diffuse, shadows softer, with a risk of overexposing the ground. Rain darkens and speculars the asphalt. Do not copy the light settings of a rain scene onto a snow scene without adapting.
Can I use stock only, no AI, for the weather?
On a shot filmed or generated with no weather, yes. It is often the best quality/time compromise for video. AI serves the set and the character. Stock serves the particles. The craft is in the integration and the sound.
How do I avoid plastic asphalt under the rain?
Inpaint or prompt the ground with "wet asphalt texture, subtle reflections". Add light grain in post. Avoid global sharpening on the wet ground, which reveals the digital noise in streaks.
Wet look too strong: how do I fix it?
An inverted mask on hair and clothes, lower the local contrast or desaturate slightly. The wet look must suggest moisture, not a shiny product for a shampoo ad unless the brief explicitly asks for it.
Rain and neon: how do I handle the reflections?
List the neon sources of the shot. The reflections on the ground cite only those colors. No magenta if the shot only has blue and amber. This simple rule eliminates half the botched composites I see in client review.
Does indoor snow (through a window) need the same workflow?
Yes in layer logic, but the intensity drops. A validated warm interior shot. Flakes visible through the glass in a light overlay. No storm on the glass unless intentional. Optional condensation on the glass by inpaint to sell the warm/cold contrast. Exterior sound muffled by the glass: low wind, no rain unless both are in the story. The classic mistake: putting a full-screen storm when the frame only shows a window.
A realistic time budget per weather scene
Validated dry shot: 30 to 60 minutes depending on complexity. Wet ground inpaint: 20 minutes. Calibrated particle overlay: 15 minutes. Character wet look: 20 minutes. Sound locked: 30 minutes. An honest total for a believable night street rain scene: a half-day, not a fifteen-minute "heavy rain" generation. When you price a client quote, use these ranges. You avoid burning your margin correcting a digital soup on delivery night.
Pouring rain vs drizzle: same workflow?
No. Drizzle sells the ground texture and the discreet wet look. Pouring rain needs denser foreground particles and a more present sound. For pouring rain in AI video, stick to short shots or inserts. The wide shot under a downpour stays the breaking point of current engines. Drizzle is your friend for long sequences.
Can I mix AI and stock rain on the same character?
Yes, that is the recommended workflow. Character and set in AI or filmed, rain as calibrated stock overlay. Harmonize the fall direction with the wind of the set if the hair moves. A wind/hair vs vertical rain mismatch is an immediate alert for the viewer.
Snow often needs more sound work than rain: the apparent silence, the crunch of footsteps, the wind rising between shots. Plan that line in your sound brief. A snow image with no cold sound sells winter by half. Always plan five minutes of weather sound calibration after the last visual layer. Conversely, strong visual rain with a cartoon storm sound destroys the layer work. Image and weather sound must be briefed together from the storyboard, not at the last minute in the stock library.