Avoiding FX and Preset Overload in AI Video
A visual moderation method to keep a strong image with no accumulation of effects that betray the render.

Almost-good AI shot. LUT, grain, vignette, glow, sharpen. You transformed a fragile clip into a 2016 Instagram postcard.
Avoiding FX and preset overload in AI video: each effect must fix an identified debt, not decorate out of Friday-night habit. This guide gives you a decision grid to moderate the post without delivering flat, and without masking the artifacts under twelve layers of bloom.
FX overload is a symptom, not a style
When an AI shot is almost good, the temptation is to stack effects until "it looks like something". Often you stack because the generation left debts: plastic skin, flat contrast, digital noise. The LUT at 100% and the glow do not fix them. They camouflage them badly.
Each effect must answer the question: which precise debt am I fixing? No answer = no effect. The three-layer max rule in AI post: correction/normalization, harmonizing grain, weak optional look. Beyond that, you justify in writing or you delete.
The effects that betray overloaded AI footage the most: global sharpen on the skin, heavy vignette that darkens the faces, glow on the already-unstable highlights, blockbuster LUTs at full power, decorative chromatic aberration on already-artifacted edges.
| Effect | Targeted debt | Overload risk |
|---|---|---|
| LUT / curve | Inconsistent palette | Orange faces, screaming skies |
| Grain | Disparate AI textures | Mud on a calibrated screen |
| Sharpen | Light blur | Accentuated plastic skin |
| Vignette | Weak framing | Face in the dark |
| Glow / bloom | "Make it cine" | Halos on artifacts |
To build sound presets, see creating reusable AI post-production presets. For the basic grading, how to grade an AI video in DaVinci Resolve. For the amateur-to-cinema passage, how to go from an amateur render to a cinema render in AI.
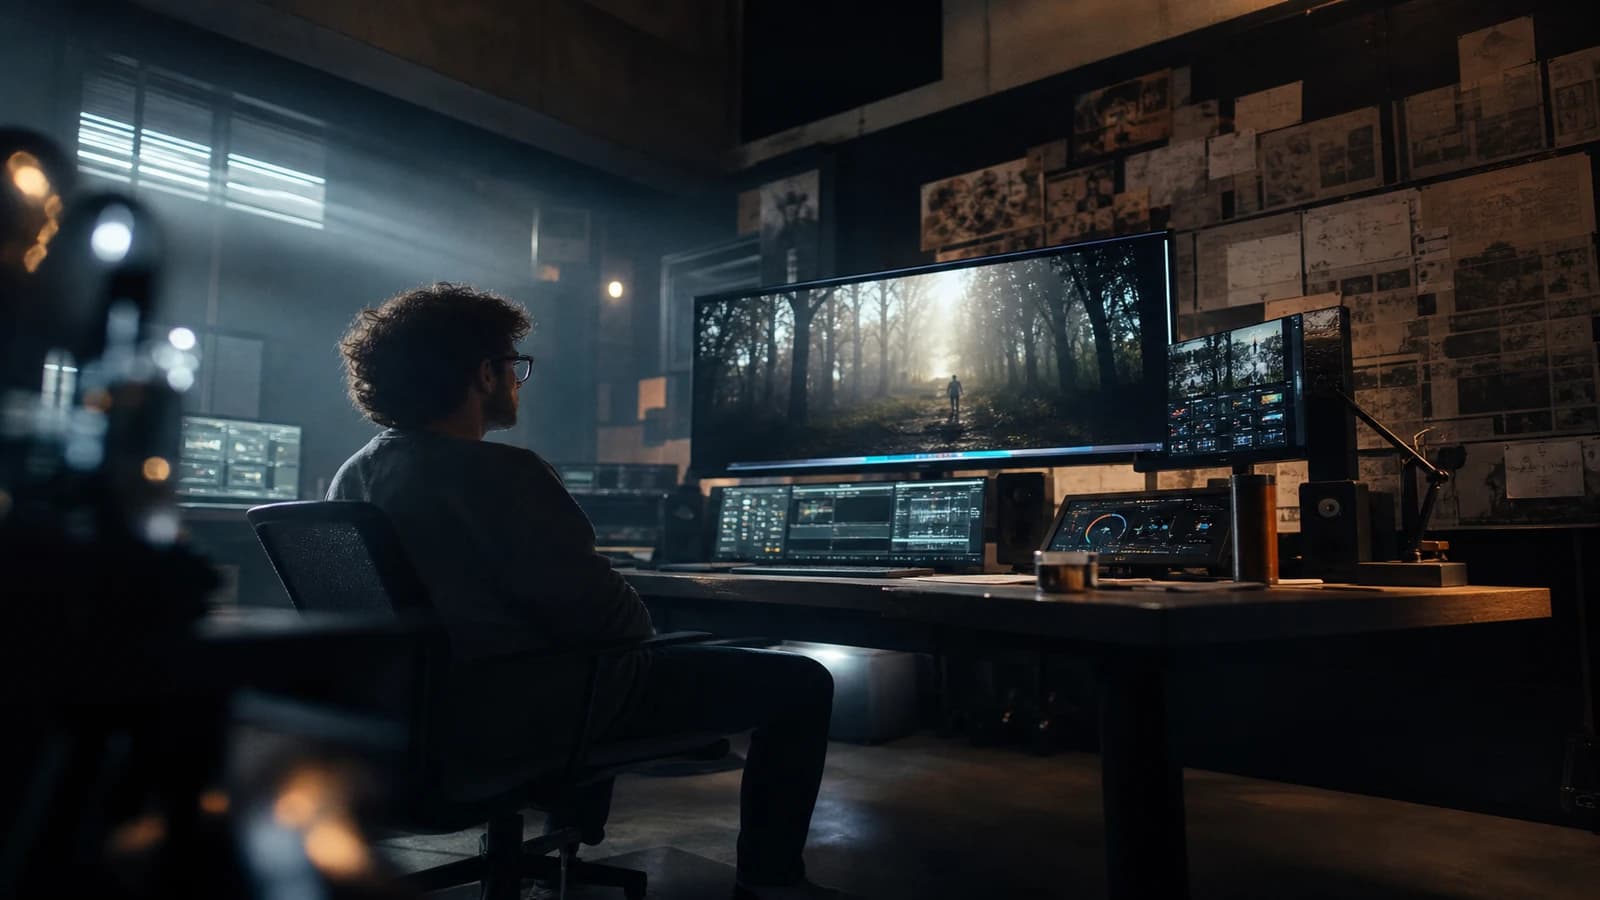
FX moderation workflow
Step 1: flat-zero diagnosis
Look at the shot with no effect at all. List the debts: temperature, contrast, skin, noise, sharpness. One line per debt. If you cannot name the debt, you do not have the right to add an effect.
Step 2: correction only, with no look
Balance, curve, maybe a skin mask. Stop. Compare before/after. If the shot is already acceptable, stop. The best FX is sometimes no look.
Step 3: light grain if adjacent shots diverge
Harmonize the textures. Low intensity. Mobile test: if the grain disappears, do not compensate by tripling it on desktop alone.
Step 4: optional look, capped intensity
20 to 40% max. A single look per sequence. Named exceptions (dream, flashback) documented on the edit sheet.
Step 5: refusal grid
Before adding a vignette, glow, sharpen, aberration: fill the "targeted debt" box. If empty, refusal. If "to make it more cine", back to generation or framing.
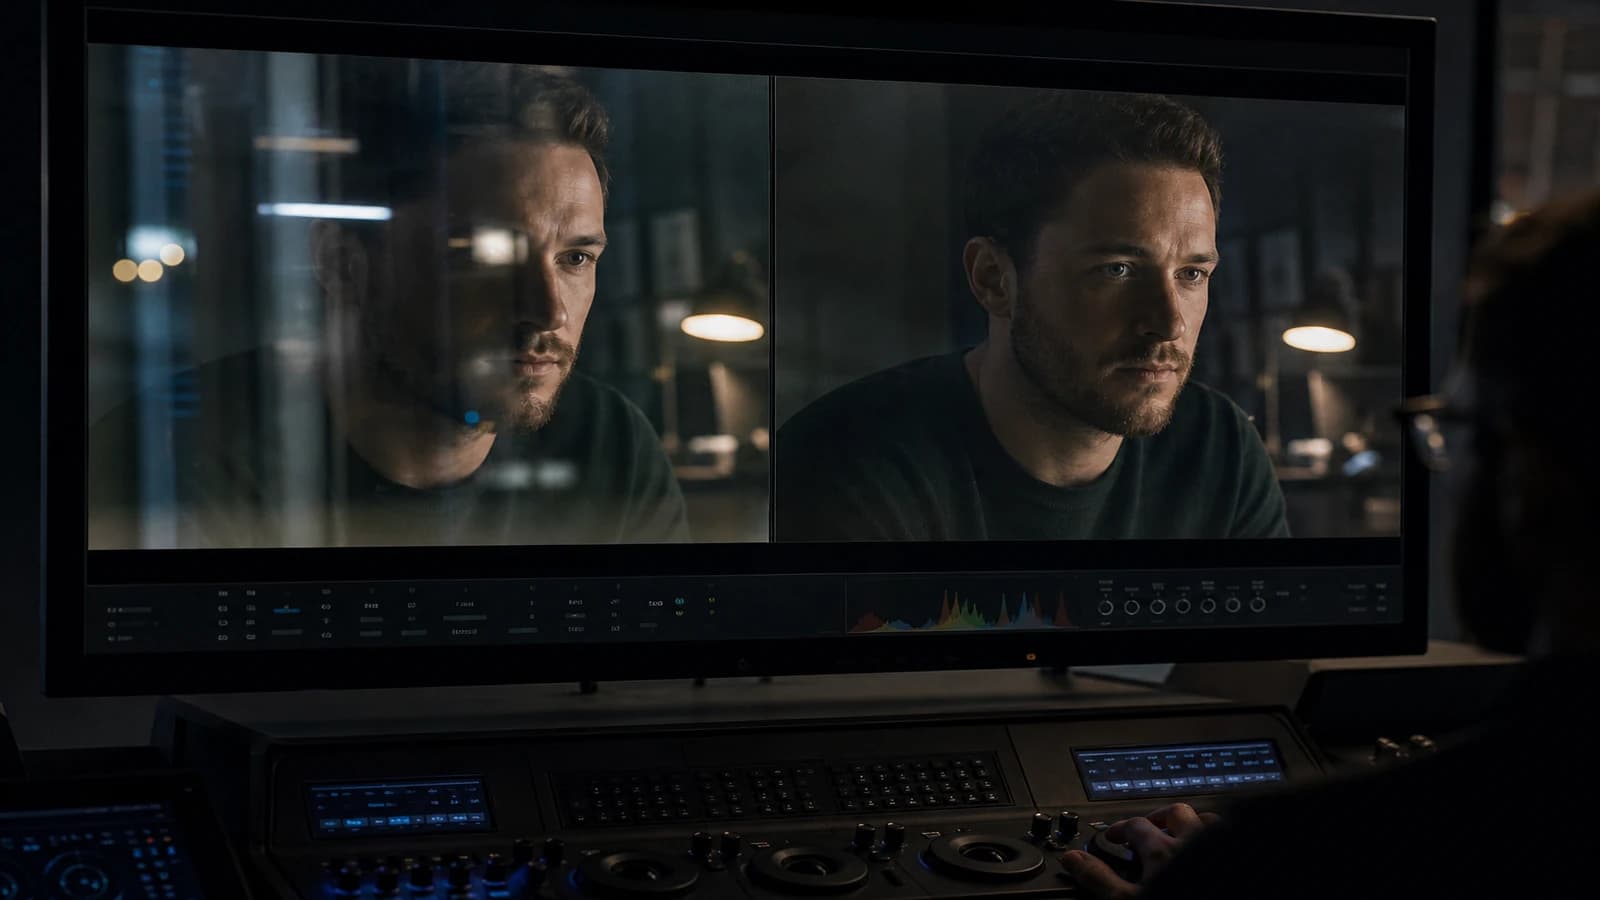
Step 6: compressed test export
YouTube or TikTok compression reveals the halos and the excessive sharpen. Validate on a compressed preview, not only on the ProRes master.
Scenario A: twelve ad shots, evening deadline
Normalization preset + skin fix on three face shots. Light global grain. Look at 25%. No vignette, no glow. Consistent delivery. Happy client. You sleep.
Scenario B: hero shot that stays "fake"
Diagnosis: hand geometry + plastic skin. FX will not save it. Tight reframe regeneration with no hands, light skin fix only. A shot saved upstream beats ten effects.
Scenario C: social reel, "vintage" trend
A bit stronger grain OK if it is the intention. But not grain + LUT + vignette + aberration + glow. Choose two vintage signifiers max (grain + curve), not five.
Troubleshooting
Orange faces after the LUT. Look too strong or before the skin fix. Lower the intensity. Reorder the nodes.
Crunchy image. Sharpen or clarity too high. Remove it. The AI does not need advertising sharpness on the skin.
Halos around the hair. Glow or sharpen on a badly made mask. Disable the glow. Redo the mask.
Inconsistent shots despite the same preset. Different debts in the generation. Normalize per source, not a stronger look.
Vignette eats the face. The framing was already poster-centered. Reframe or remove the vignette. The vignette does not save a bad framing.
Everything is dark "to make it cine". The fear of black pushes you to raise the shadows to gray. Keep real black. The gray gives the demo. See also how to correct the colors of an AI video.
"Cinematic" Instagram preset applied out of habit. Fix: uninstall the temptation. Keep a list of authorized effects per project. Creative yes, LUT DJ no.
Comparison with a too-saturated film reference. You stack to catch up an impossible gap. Fix: compare the light structure, not the global saturation. Often a lateral key is missing, not a glow.
The remote FX review: five-minute protocol
Before sending a master, step back one meter from the screen. If the vignette or the glow jumps out at this distance, it is too much. If only the emotion jumps out, it is good.
Then, mute the sound and watch thirty seconds. The effects that do not help the reading of the face or the product go. The sound sometimes masks a visual overload you correct uselessly.
Third test: a frame export in JPEG at social-network quality. The sharpen halos and the glow edges double after compression. If the JPEG screams, lighten before upload.
Fourth: show it to someone who has not spent eight hours on the project. One question: "Is it natural or filtered?" If the answer is filtered with no precision, you overloaded.
Fifth: compare to the shot with no effect. If the no-effect version is at 80% and the with-effect version at 85%, maybe keep the no-effect one. The gain must be worth the artifact risk.
💡 Frank's Cut: three layers max: correction, grain, weak optional look. Beyond that, justify in writing or delete. I have a "shot 07 debts" text file stuck next to my timeline. It avoids the Friday-night LUT + glow + vignette.
The Resolve documentation on nodes and PowerGrades helps to structure without stacking. For the visual psychology of overload, the work of Roger Deakins on light restraint recalls that strong cinema subtracts, it does not add.
FAQ
Foire aux questions
Réponses rapides aux questions les plus fréquentes sur cet article.
How to know if I put too much?
Disable all the effects one by one. If you almost do not see the difference when removing an effect, it was useless. If the shot collapses when removing the correction but not the glow, the glow was decorative. Also look from a distance: one meter from the screen, the decorative effect jumps out.
Is grain mandatory on AI footage?
Often useful to harmonize adjacent shots. Not mandatory on a single already-textured hero shot. If the grain serves to hide gross artifacts, back to generation. Grain is not an ointment.
Can I use LUT presets sold online?
Yes after recalibrating them on your AI reference shots at low intensity. The camera cine LUTs are rarely plug-and-play on AI. Create a normalization layer before. Never put a sold LUT at 100% on an AI face.
Vignette: never or sometimes?
Sometimes, light, on wide shots where the center of interest is clear. Never on a face close-up without checking that you are not darkening the eyes. The vignette is the first effect beginners abuse to "make it cine".
Sharpen: where is it acceptable?
Fabrics, distant details, product labels. Not on foreground skin. Not global. If you sharpen to compensate for a generation blur, you accentuate the AI noise. Regenerate or accept a slight cinematographic blur.
How to moderate on a team where everyone adds FX?
An edit sheet with a validated preset and a list of forbidden effects with no DA validation. Version the master before the creative FX. One person validates the final look. Otherwise each editor stacks their Friday-night layer.
Can FX overload save a bad generation?
Rarely for the pro delivery. Sometimes for an internal draft. If you spend more than thirty minutes in FX on a three-second shot, calculate the cost of a regeneration. Often the regeneration is cheaper and cleaner.
Web export: should you pre-compensate the compression?
A light highlight rolloff and a moderate grain can stabilize after upload. It is not a creative overload, it is media knowledge. Do not confuse it with glow and sharpen to "punch through" on the feed.
Debt log: one-line-per-shot template
Shot 04 | debt: flat skin + shadow noise | fix: skin node + curve | refused: LUT 80%, glow This log takes five minutes at the end of the session. It prevents you from adding a vignette "just to see" the next day on a shot already saved by a skin fix. The whole team reads the log before touching the master.
The creatives who document their debts progress faster than those who stack effects by intuition. Intuition stays useful after the written diagnosis, not before.
On a series of fifteen shots, apply the moderate stack in a batch only after diagnosing the three most problematic shots individually. Otherwise you uniformize different flaws with the same LUT hammer. The batch comes after the documented exceptions, not before.
Social media creators have an immediate "pop" pressure. You can raise the look intensity on the three-second hook, then come back to the moderate stack on the body of the clip. It is a named exception, not a drift toward global overload. Note hook +10% look on the timeline. At the pick-up, you know why the start is more saturated.
Glow, vignette and aberration: order of application?
Correction first, always. Grain then if needed. Moderate LUT look. Vignette only if the framing demands it, never to "make it cine" by default. Glow and aberration last, almost never on AI portrait footage. If you apply glow before the skin fix, you halo skin artifacts that the skin fix can no longer isolate cleanly.
Can you save a whole project with a bought preset?
Rarely on AI with no dedicated normalization. Buy or download the preset as a starting point, build your normalization layer underneath, lower the intensity to 25%. The preset sold for camera log did not anticipate the AI plastic skin. Your job is to adapt, not to drag-and-drop.
When you compare your AI clip to a Hollywood reference, compare the restriction of the effects, not their absence. Blockbusters often have less visible glow than "cine" AI YouTube clips. The lesson: subtract before adding.
Train your eye by watching no-effect masters one day a month. Pro colorists spend more time correcting than stylizing. AI invites you to stylize because the correction alone seems "not yet cine". It is a cultural trap, not a technical truth. Honest correction is modern cinema on already-strong footage.
On client deliverables, export a "clean" archived version with no creative look, plus the stylized version. When the client asks "less filtered" the next day, you have the clean. With no clean archive, you take effects down blind and you break the skin. The archive saves you the commercial relationship.
The presets shared online for "cine" AI footage are often calibrated on a single demo shot. Before applying it to your timeline, test it on your worst shot, not on your best. If the preset only survives on the hero, it is not a project preset. It is a demo filter.
If you teach or train teams, impose a simple rule: no creative effect on the day of delivery with no cold review the next morning. Friday-night fatigue is the main driver of FX overload. The next day, the vignette at 40% seems ridiculous. You remove it in one click and you thank the rule.
FX overload is sometimes a signal that the generation was not pushed far enough upstream. Before opening the effects library, ask yourself whether a regeneration with a more precise light brief does not solve 80% of the problem. Often yes. The post must complete, not replace the visual direction.
After Effects vs Resolve for creative FX on AI?
Resolve first for correction, grain, moderate look. After Effects for an exceptional isolated-shot treatment: a light optical blur on a B shot, additional grain on an insert. Do not send the whole timeline to AE "for the style". You lose the consistency and you multiply the intermediate exports that degrade the already-fragile AI footage.