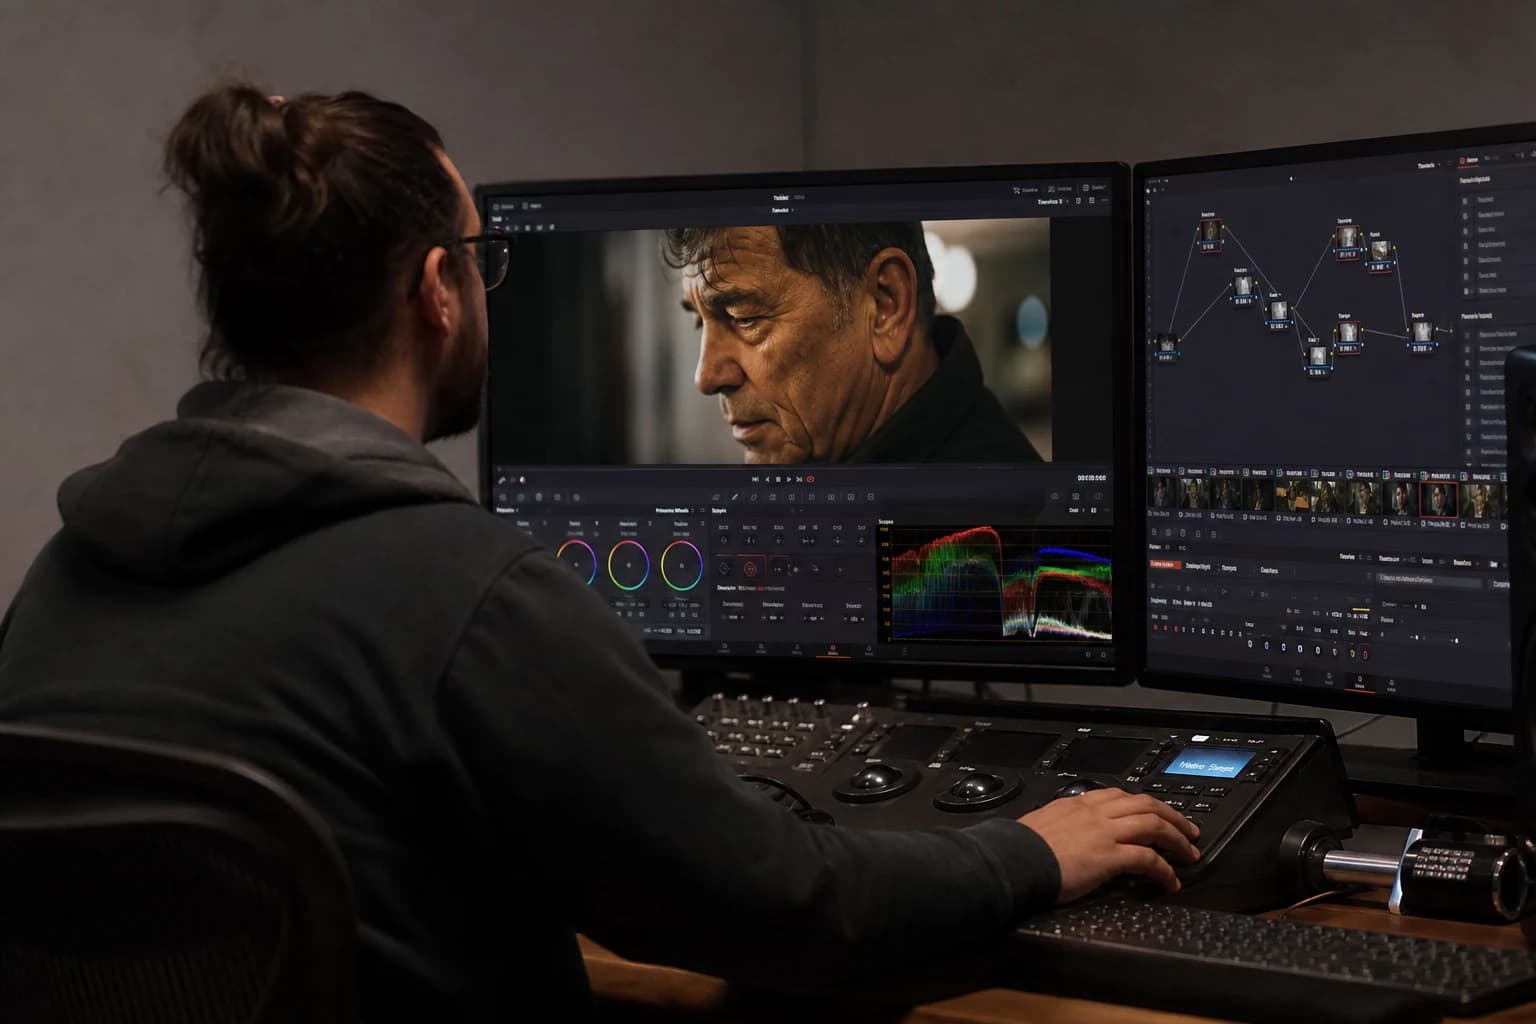
How to Grade an AI Video in DaVinci Resolve
A DaVinci Resolve workflow to grade AI video: Rec.709 normalization, scopes, Color Warper, sequence continuity, cinema grain and delivery with no surprise on mobile.
How to Grade an AI Video in DaVinci Resolve
You import your generated clips. The timeline fills up. Then you move to the Color page and you hit a soft wall: each shot is "almost good", but together they do not tell the same film. One is too cold, another pushes the contrast like an HDR thumbnail, a third has plastic skin that comes out as soon as you add a curve. Grading an AI video in DaVinci Resolve is not a question of miraculous chromatic talent. It is a question of order: you first treat the technical truth of the sources, then the human consistency of the faces and the transitions, and only at the end the style. Without this sequence, Resolve becomes a preset machine that masks errors then reveals them on the client's phone.
This guide assumes you have already edited a stable version of your cut, because color with no structure is a costly occupation. If you are still assembling the story, the complete guide to AI-assisted video editing helps you lock the rhythm and the breaths before polluting your judgment with aggressive LUTs. Here, we work like a pragmatic colorist on rushes that come from different models, sometimes upscaled, sometimes compressed twice even before arriving on your machine.
Why AI makes this a special case
A camera-shot clip obeys physical laws your brain has internalized. An AI clip obeys statistics: it can be superb full screen then lie on a cut about the temperature of the shadows, or deliver a "world average" face that changes undertone as soon as you push the reds. The keyword grade AI video DaVinci Resolve often summarizes an impossible expectation: "make it cinematic without me touching the scopes". The field reality is that AI gives you a flattering surface you have to discipline, not magically transform with a fashionable tint.
Three typical signatures you will encounter:
- Inconsistent casts depending on the shot, even out of the same tool on the same day, because the movement or the lateral prompt shifted the spectrum without you seeing it in the thumbnail.
- Non-homogeneous texture: a very smooth shot next to a shot that reveals digital noise after compression, which makes your sharpen explode as soon as you raise the local contrast.
- "Lying" highlights: zones that seem recoverable until the moment you pull the curve and discover that the detail was invented then collapsed into banding.
None of this is a reason to panic: it is a reason to impose a method. The same discipline as on an image-to-video chain documented in the complete image-to-AI-video pipeline applies in the color room: one truth per shot, comparable blocks, rejection criteria. If the light was false before generation, no primary wheel rewrites the physics. You sometimes have to reframe, shorten, or regenerate. The grade fixes what is repairable at a reasonable cost; it does not replace an upstream decision.
Preparing the Resolve project for AI sources
Before the first node, configure your workspace to avoid the chromatic double punishment. In practice, many creators mix "wide" exports and already-marketing-graded files, then apply a strict color management on top. Result: skin that turns, greens that sparkle, and a general soapy impression.
Short checklist:
- Name your media by tool and by pass:
_GEN,_UP,_FX. If you do not know what you are handling, you correct blindly. - Choose a stable working reference: often Rec.709-A for the internal preview, then an explicit delivery gamut at the end of the chain. The essential thing is not to change logic mid-project.
- Decide if you need a fixed-resolution timeline before upscaling. Grading on a timeline that is too wide can push you to compensate with early blur or sharpen, which ruins the consistency afterward.
The Edit page must stay the place where you freeze the durations. If you still oscillate between three versions of a shot, you will regrade the same scene three times with micro variations of grain and sharpness. It is exactly the kind of time leak that disciplined editing prevents. For the downstream "cinema render" creative on the models that animate your pilots, the complete Seedance 2 workflow for a cinema render stays a useful compass: even if you finally resolve in Resolve, the locked image intention and the modest amplitude reduce the artifacts you will have to mask in the color room.
Phase 1: normalization with no creative ego
The first pass has no right to style. You aim for a readable exposure, a black point that does not eat the costumes, highlights that do not crash on the skin, and a stable white balance within the story's framework. If the scene is meant to be warm, you own a cast, but you own it as a choice after seeing the shot in technical neutral, not as an accident.
In Resolve, think in a simple serial at the start:
- Global offset to set the average density of the shot.
- Moderate primary contrast without looking for the immediate "S-curve".
- Balance that respects the two non-negotiable tests: a neutral gray on a reference element if you have one, otherwise skin consistency on the emotion-carrying faces.
The scopes as a safeguard
Open the parade and the vectorscope. After twenty minutes, your eye adapts. The scopes do not flatter your ego: they show where you compress the chrominance in the reds or where you push the greens because the model softened the lawn at the expense of the flesh tones.
For AI clips, watch particularly:
- The skin line on the vectorscope: not a military science, but a safety net when two shots side by side slide toward different families.
- The blacks: the models sometimes like "premium catalog" shadows that are too open. It flatters on desktop then reinflates the MPEG on mobile.
A classic mistake: correcting a shot outside the edit. Your eyes must see the previous cut and the next cut, otherwise you fabricate a magnificent island in a lying archipelago. When you doubt a lighting intention even before the import, go back to read how to fix bad lighting on an AI image: it clarifies what Resolve can save versus what requires a new generative pass.
Phase 2: sequence harmony and grade groups
When the shots are "edible" individually, attack the groups: same place, same narrative timeline, same generation batch. Resolve lets you set shared grades and local adjustments: use this hierarchy, otherwise you spend your life copying nodes and forgetting shot 7.
A strategy that works on mixed AI:
- A shared group node for the base contrast curve and the moderate global saturation.
- Local nodes per shot for the skin, the sky, or a reflection that moves on its own between two versions of the same prompt.
If you have shots upscaled before Resolve, watch out for the halo around the contrasts. A local curve on the edges can seem to save a profile, then reveal ringing when you add grain or sharpness at the end of the chain. For the grain and filmic philosophy (not just a digital noise laid anywhere), how to add cinema grain to an AI image explains how to think texture and compression before judging your master.
Color Warper and skin with no plastic
The Color Warper is a powerful tool to bend a family of tints without destroying the whole set. On AI faces, work in small envelopes, compare A/B on the cut, and refuse the curves that make the gaze "glassy". A simple trick: when you improve a portrait, first look at the whites of the eyes and the zone under the cheekbones: where AI likes to put a uniform shine that betrays the synthetic render.
For a broader view on grading mixed images (correct, harmonize, stylize without breaking the continuity), cross-reference with AI grading: mastering the look and color of your films. It is not a duplicate of this Resolve guide: it is the "intention and risks" layer that complements the software clicks.
Phase 3: disciplined stylization and LUT with no overdose
When the sequence breathes together, you can introduce the look. Safety rule: the look's opacity lower than your instincts ask for. AI creators often already have a saturated "algorithmic signature". The aggressive LUT then becomes a double Instagram filter.
Procedure:
- A light global look on a late node, after correction and harmony.
- Qualified masks to protect the sensitive surfaces: skin, light textiles, small reflections.
- A moderate vignette only if it serves the reading of the gaze, not if it compensates for a weak composition.
Avoid multiplying destructive OpenFX upstream. Each "miracle repair" effect on an AI clip can shift the noise or create weird non-linearity on the sky gradients. You will pay it at the moment of the qualify on an OLED screen versus LCD versus phone.
Phase 4: grain, sharpness, and fake details
Grain is not just a retro varnish. On AI video, it is often a glue that brings together shots with different noise signatures. But it masks the small defects, not the big geometric lies. Lay it late, with a homogeneous intensity across the sequence, then adjust locally if a shot was already very noisy before upscaling.
For the sharpness, think contextual: a global sharpen on a clip that mixes skin and vegetation sometimes brings out the characteristic "plastic foliage". Prefer soft masks or a very light rise on the midtones only.
If you have doubts about the "cinema" finishing beyond Resolve (rhythm, rejection, grade decisions), how to go from an amateur render to a cinema render with AI raises the fundamental questions the Color page cannot solve alone.
Phase 5: delivery, compression, and mobile truth
Before exporting the master, do three reads: a calibrated screen if you have one, a "medium" screen, and a phone with headphones. Many AI grades seem "cinema" on a 27-inch timeline then become cold or hard on a social feed.
Parameters to watch:
- Audio loudness: apparently off-topic for color, but exhausted listening makes you overcorrect the contrasts.
- Broadcast limiting even if your deliverable is not TV: it is a good safeguard against the saturation excesses on the reds and greens the models like to push.
- Preview versions compressed early in the week, not at midnight before sending to the client. Compression reveals the banding and the uneven noise.
Quick concrete cases
Product advertising from images then animation. First harmonize the products like a still life: stable reflections, no white jump between shots. The secondary faces get less work than the commercial hero, but do not leave them on another chromatic planet if the camera links them to the product through the gaze.
100% generated short fiction. Your discipline is the palette repetition per scene: fewer creative variations between sister shots, more texture consistency. The viewer forgives a simple image if they believe the space; they do not forgive five different "looks" in the same living room.
Very stylized music video. You will push the tints, but you keep a clean primary pass archived: the day the director changes the music or the rhythm, you will not want to recompose from a broken curve with no return thread.
Frequent mistakes to ban
- LUT first on flat AI sources: you turn exposure errors into "style".
- Global saturation to compensate for an image with no lighting depth: you get reds that scream and skin that freezes.
- Aggressive sharpen after upscale: you sculpt the artifacts like details.
- Ignoring the cut: you spend two hours on a magnificent shot the story shows for 0.8 seconds between two weaker shots, which is enough to break the belief.
💡 Frank's Cut: before calling a grade "final", answer in writing in one sentence: "this color helps to understand who has the power in the frame and where the viewer looks". If you cannot answer, you probably only have a pretty preset, not a decision.
What you take away for your next export
Grading an AI video in DaVinci Resolve means accepting that your sources are statistics dressed up as images. You stabilize them with scopes, you harmonize by groups, you stylize with restraint, you texture with a grain that honors the final compression, and you refuse to save in color what the prompt and the edit have already condemned. When the upstream chain is clean, Resolve becomes what it does best again: a place of visible, reproducible decisions, defensible in front of a rushed client.
FAQ (Frank's Cut)
| Question | Short answer | Frank's Cut |
|---|---|---|
| Where do I start on heterogeneous AI clips? | Serial normalization, then sequence harmony before any LUT. | If you start with the look, you will see a false consistency that collapses at the first mobile test. |
| Are one-click "cinema" LUTs enough? | Rarely alone: useful at the end of the chain, dangerous at the input. | A LUT is not a personality: it is a varnish. With no correction, it is makeup on a broken leg. |
| How do I sync two different models in the same scene? | A light group grade and local nodes on skin and reflections. | Group by narrative light, not by tool: the viewer reads the space, not your technical stack. |
| Do I need grain on the whole timeline? | Often yes, in a modest dose, to link the textures. | Grain does not erase a six-fingered hand: it masks the noise, not the geometry. |
| Can Resolve "repair" a failed AI shot? | A bit: exposure, local tint, masks; not the absurd physics. | After two unsuccessful tactics, change the shot or regenerate: the grade is not a regret bin. |
| Where do I place the denoise? | After seeing the real noise in playback, not before stabilizing the exposure. | Denoise early on a fake AI HDR can make "clean plush": pretty mockup, bad film. |
| How do I validate with no calibrated screen? | Several devices, compressed tests, and comparison on a real cut. | The excuse "my screen is not good" does not interest the viewer: vary the reads or buy a probe. |
| Which export for social media? | A clean master plus specific derivatives, never a single "all-terrain" file. | A single file for everything is often a compromise that lies everywhere at once. |
When you loop this workflow a few times, you notice that the time saved is not in the magic sliders: it is in the non-damage you spare yourself by refusing to tinker with three irreconcilable shots as if they came from the same negative. Edit strong, correct with no ego, stylize with an intention sentence, texture with consistency, test as if the client was already on the subway with the sound low. That is how the Color page stops being an anxious one and becomes a service to the story again.