The Complete Guide to AI-Assisted Video Editing
A field guide to edit AI-assisted videos without losing the narration, with a pro method from the organization to the final render.
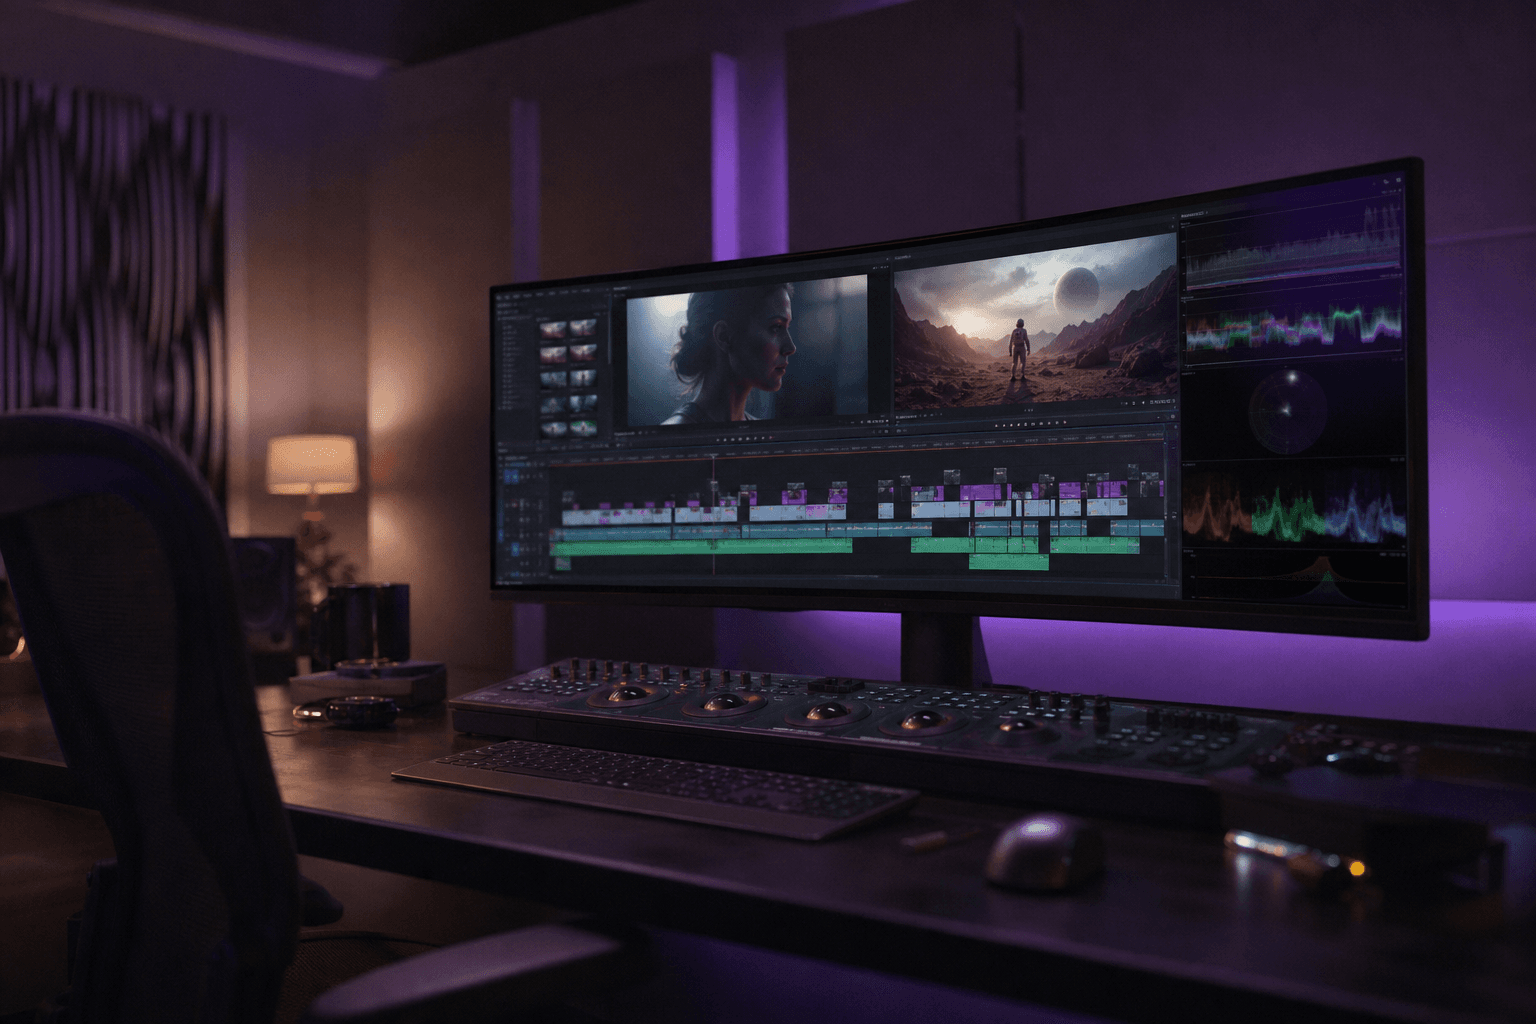
You can have the most beautiful AI shots in the world, but if your edit is confused, your film is dead. It is brutal, but it is the field reality, all formats included, today. I have seen creators generate incredible visuals, then deliver a video with no rhythm, no breathing, no clear intention. Result: the audience drops off even before having understood the message.
AI-assisted video editing is not "less editing". It is more decisions. The AI gives you options, speed, variants. If you do not have a solid method, this abundance becomes a trap. You move from creative exploration to decision paralysis.
In this article, I give you the workflow I use with beginners who want to produce credible content for YouTube, advertising, training, and short cinematic narration. You are going to learn to organize your project before cutting, build a robust rough cut, refine your rhythm, integrate the sound correctly, then finalize a stable render for real distribution, with no last-minute panic.
Core concepts: what AI really changes in editing
Editing has always been an art of subtraction. You remove until the meaning appears. With AI, this principle does not change. What changes is the volume of material and the production speed. You can generate ten variants of a shot in a few minutes. Your challenge is no longer to "find an option", but to choose the right option for the story.
Second reality, the AI often fragments the continuity. You have beautiful but heterogeneous shots in texture, light, movement, or acting. With no editing guardrails, your film looks like a tool demo, not a coherent work. The editor's role becomes even more strategic: align disparate pieces in a single intention.
Third point, the narration comes before the finish. Many beginners want to correct the grain, boost the contrast, smooth the voice, before having validated the comprehension of the scene. Wrong order. If the rough cut does not hold bare, no aesthetic layer will save your edit.
Another important shift concerns the preparation of the sources. Before, you composed with limited rushes. Now, you juggle between real rushes, generated shots, synthetic voices, script variants, and sometimes several versions of the same sequence produced by different models. With no sorting protocol, you stack incompatible layers and the timeline becomes illegible. In serious production, I always devote a dedicated time to this "project hygiene" before any fine cut. This discipline seems administrative. In practice, it is what frees mental space for the real creative decisions.
Fourth point, the sound is a pillar of credibility, not an appendix. A visually strong video can seem amateur if the audio transitions are brutal, the voice floats, or the ambiences do not match. The audio integration must be thought from the edit, not pushed back to the last minute.
Finally, you must dissociate speed and haste. The AI makes you fast. It does not automatically give you editorial judgment. The quality comes from a protocol. It is exactly what we are going to build here, step by step.
| AI editing phase | Goal | Concrete deliverable | Frequent mistake | Pro correction |
|---|---|---|---|---|
| Preparation | Reduce the decision chaos | Tree + conventions + edit brief | Raw import with no structure | Prepare folder, tags, versions |
| Rough cut | Validate narrative comprehension | Readable timeline with no effects | Too many effects too early | Cut at the meaning, not at the style |
| Fine cut | Adjust rhythm and intention | Stable sequence shot by shot | Permanent over-cutting | Breathing + anchor points |
| Sound + finish | Distribution credibility | Clean mix + harmonized render | Sound treated at the last minute | Audio workflow integrated from the edit |
The trench workflow: a complete AI-assisted editing method
The real start of a good edit is the project organization. Yes, it is less glamorous than the transitions and the LUTs. But with no structure, you waste your time in the timeline. Set up a clear tree: rushes, ai_assets, audio, proxies, exports, versions. Also create a strict file nomenclature with date, sequence, take, version.
Then, create a one-page edit brief. Goal of the video, target audience, dominant emotion, main message, possible CTA, duration constraints. This document avoids the subjective debates along the way. When a cut is discussed, you come back to the brief. Does this cut serve the goal? Yes or no.
Then import with useful metadata. Intention tags, shot quality, shot type, energy, narrative function. When you work with numerous AI assets, this step saves you hours. You can instantly find the shots that "prove", the breathing shots, the inserts, the emotion shots.
Before cutting, do a raw viewing noting only what tells the story. Not what is "beautiful". What tells the story. Editing is not a contest of successful shots. It is a construction of meaning. If you integrate this reflex early, your progression curve accelerates.
Step 1: comprehension-oriented rough cut, with no makeup
The rough cut serves to answer a single question: is the story understandable with no artifice? You lay the essential shots, you order the progression, you remove the repetitions. No advanced color, no effects, no sophisticated sound design. Just the spine.
If you edit an ad, the hook must be understood in 1 to 3 seconds. If you edit a short fiction, the tension must appear fast with no spatial confusion. If you edit a training, the pedagogical promise must be limpid. Adapt your cutting logic to the format, not to your habits.
Work in versions. rough_v1, rough_v2, rough_v3. Never overwrite a version that works. Many beginners find themselves trapped after a series of micro-edits and no longer know how to come back to the cut that worked. Versioning is not bureaucratic. It is a creative insurance.
At this stage, look for clarity, not the perfect tempo. The fine rhythm comes after. If you try to optimize everything at the same time, you will slow down and deteriorate the global consistency.
Step 2: fine cut, rhythm, breathing and AI continuity
Once the structure is validated, move to the fine cut. Here, you adjust the shot in/out points, the density of information, the breaths, the silences, the accents. Each cut must have a function. Accelerate, reveal, lighten, surprise, or stabilize.
With AI shots, do a systematic continuity check. Faces, textures, light direction, movement trajectory, perceived focal lengths. If a cut breaks the continuity, it can be beautiful and yet harmful. To reinforce this point, our anti-continuity-error guide for AI film is indispensable.
Insert breathing shots. It is the antidote to over-cutting. Many beginner AI edits are hyper-dense and tiring. A well-placed breathing shot increases the readability and the emotional charge of the strong shots that follow.
Also think about logic transitions, not only style ones. Moving from a proof to a testimonial, from a problem to a solution, from one place to another, demands narrative bridges. A cut can be enough, but sometimes a sentence, an ambience sound, or an insert is necessary to avoid the cognitive break.
I advise a very simple test at this stage. Run the sequence with no sound during one passage, then with the sound and your eyes closed during another passage. With no sound, you check the pure visual logic. With no image, you check the rhythmic logic and the intelligibility of the message. If one of the two readings collapses, your fine cut is not finished. This protocol is formidable to detect the "pretty but fuzzy" edits and the "clear but breathless" edits.
💡 Frank's Cut: if you hesitate between two cuts, choose the one that eases the comprehension at the first viewing. Elegance comes after clarity.
Step 3: integrate the audio from the edit, not at the end
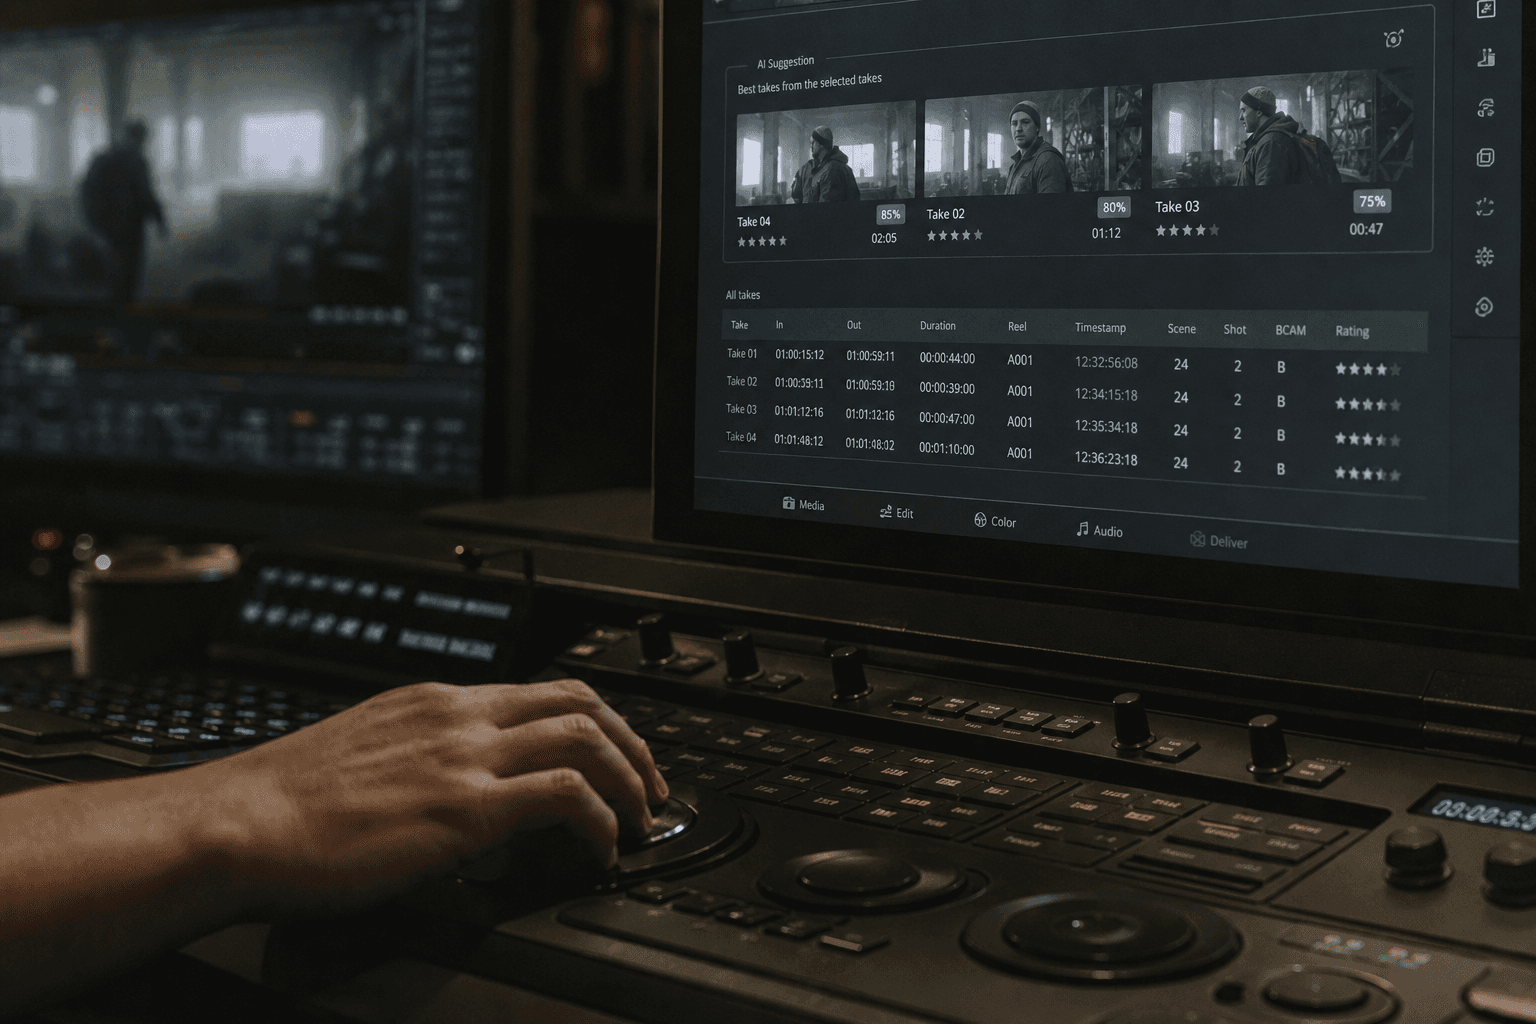
The sound is often the flaw of AI projects. Careful image, botched audio. To avoid that, integrate the audio logic from the fine cut. Lay a clean provisional voice, basic ambiences, and a consistent level between sections. This pre-integration helps you judge the real rhythm.
Quickly clean the dialogues: breath, parasitic noises, aggressive sibilants. No need for mastering right now, but a sound base is mandatory to make the right cutting decisions. An illegible voice pushes you to cut in the wrong place.
Add ambiences consistent with the visual spaces. A silent interior shot followed by an urban exterior with no audio transition sounds false. Even a simple room tone fade can save the credibility of the match.
When you use generated or cloned voices, treat them as performances, not as read text. You can lean on our AI dubbing and voice-over guide to direct the interpretation before the final mix.
Step 4: finish and export for real distribution
The finish is not a final filter laid "when everything is ready". It is a consolidation step. You harmonize color, contrast, texture, grain, and global sound level. The goal is to make coherent what is already narratively solid.
If you work generated visuals, keep an organic texture. Over-smoothing is the number-one enemy of a credible render. A light even grain can reconnect different sources. For that, our method on cinema grain in AI is very useful.
Prepare several exports depending on the platforms. A 16:9 version, a vertical version, a subtitled version, possibly a readable silent version. Testing only the desktop master is a classic mistake. The real test is the real distribution.
Do a cold final check. Let a few hours pass, come back, look on a phone and a laptop, note three flaws maximum, correct, then export. This protocol avoids the drift of infinite retouches.
Troubleshooting: what beginners break in AI editing
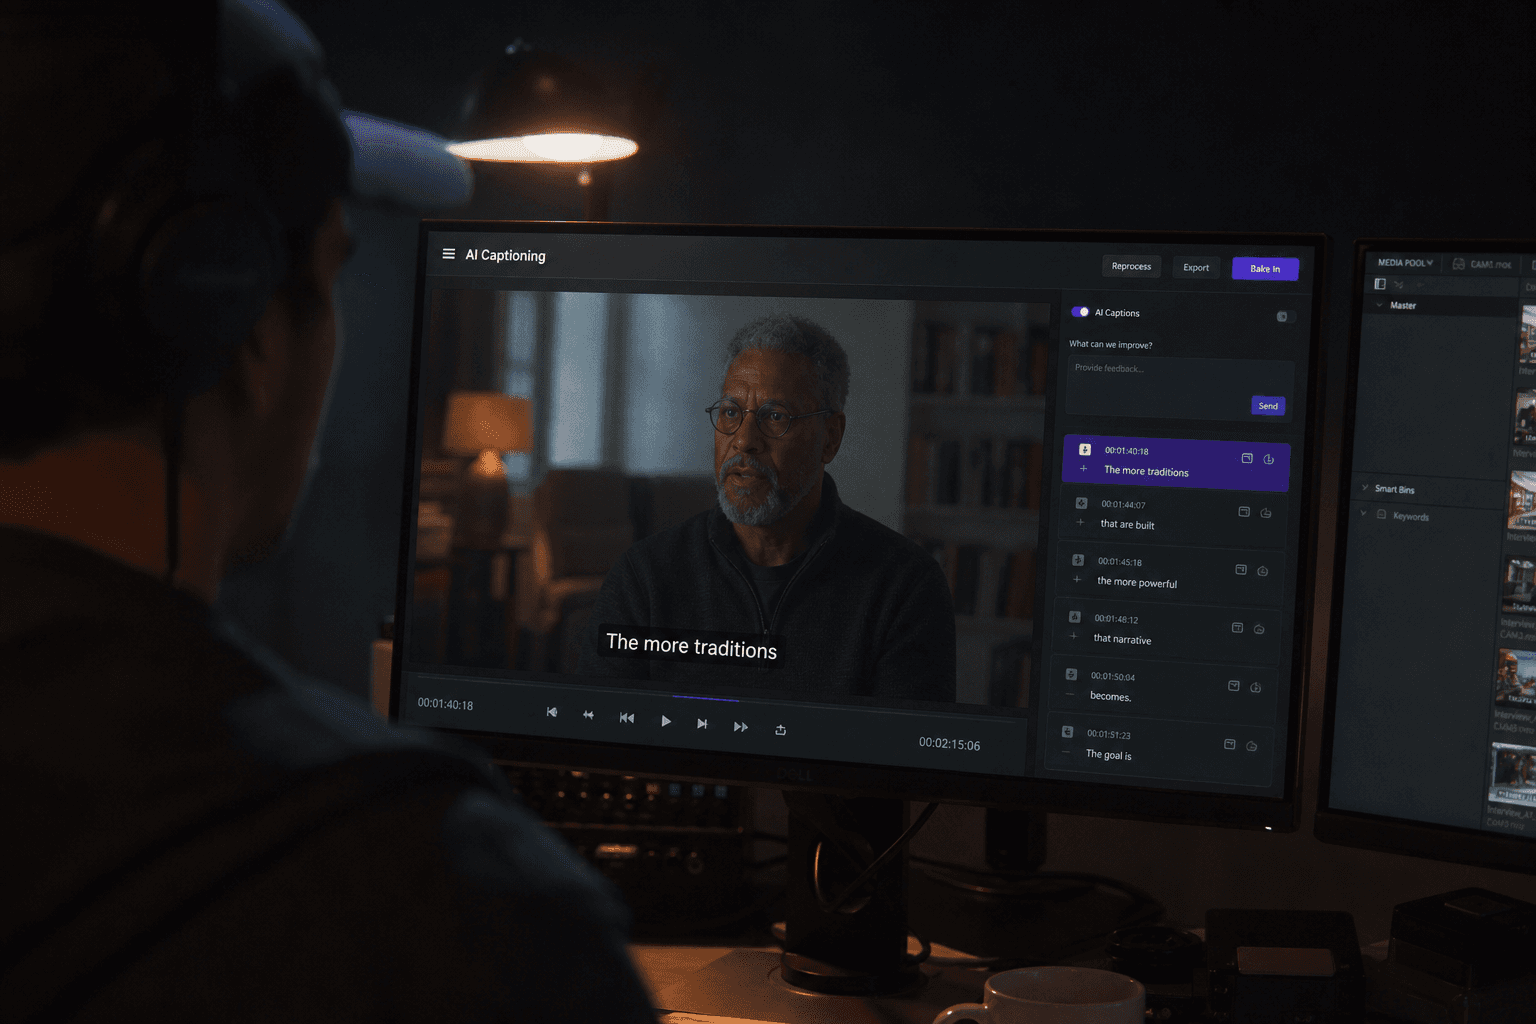
First recurring problem, an illegible timeline. Tracks named any old way, unsorted assets, mixed versions. Result, each correction takes twice as long. Correction: strict project structure, naming conventions, and locked versions.
Second problem, effects too early. Stylish transitions, zooms, thick sound design, heavy color grading from the rough cut. It masks the narration weaknesses instead of solving them. Correction: narrative validation first, finish after.
Third problem, absence of shot hierarchy. Everything is treated at the same level of importance. The viewer does not know where to look. Correction: define master shots, proof shots, breathing shots, then adjust their duration according to this hierarchy.
Fourth problem, sound relegated to the end of the pipeline. When the audio arrives too late, the rhythm problems are already anchored. Correction: integrate voices and ambiences from the fine cut to guide the cutting decisions.
Fifth problem, optimization with no measure. Many creators modify everything at once and no longer know what improved the video. Correction: single-variable iteration protocol, decision log, and clear performance goals.
To stay aligned on solid standards, consult the best practices of DaVinci Resolve, the Adobe Premiere Pro workflows recommendations and the fundamentals of YouTube retention analytics. These resources frame the technical and editorial choices well.
💡 Frank's Cut: what seems "slow" in the editing room can become "clear" in real distribution. Do not confuse editor stimulation and viewer readability.
FAQ: the most useful questions about AI-assisted video editing
-
Can AI edit a video in my place from A to Z?
The AI can accelerate certain tasks, like transcription, silence detection, cut proposals, or segment search. But it does not replace the narrative judgment, the sense of rhythm, nor the emotional direction. A good edit depends on clear human intentions. If you delegate totally with no precise brief, you often get a technically correct but dramatically flat video. The best use consists of entrusting the AI with the repetitive tasks, then keeping the critical editorial decisions for yourself. It is this collaboration that produces really professional results. -
Where to start when you are a beginner in AI-assisted editing?
Start with the organization. It is less sexy, but it is what will make you progress fast. Set up a stable tree, name your files cleanly, create a one-page edit brief, then do a rough cut with no effects. Only then refine the rhythm, the audio and the finish. Many beginners first look for the best AI plugins, when their real blockage comes from the lack of method. Once your base is in place, the AI tools become an enormous lever. With no base, they mostly add noise and stress to your process. -
How to know if my rough cut is ready to move to the fine cut?
Ask yourself three simple questions. Is the story understandable with no external explanation? Do the transitions between sequences have a clear logic? Is the main message identified from the first viewing? If yes, you can move to the fine cut. Otherwise, keep simplifying the structure before adding style. This discipline avoids polishing unstable foundations. The classic trap is improving the form of a still-fuzzy narration. You gain a lot of time by validating the comprehension very early, even with a visually raw timeline. -
What is the biggest trap of AI editing for solo creators?
The biggest trap is the excess of options. With AI, you quickly produce too many variants and you lose your editorial line. You spend more time comparing than deciding. To avoid that, set selection criteria before generating: shot function, intended emotion, duration constraint, narrative role. Also limit the number of variants per block. For example three options maximum for a given hook. This constraint is liberating. It forces sharper choices and keeps your edit result-oriented instead of drifting into infinite experimentation. -
Should you do the sound design before or after the final picture edit?
You must do a progressive audio integration. You lay a sound base from the fine cut to guide the rhythm and the readability, then you refine in the finish phase. If you wait for the end for all the sound, you risk discovering structural problems too late. Conversely, if you do an ultra-pushed sound design too early, you waste time on shots that will move. The balanced approach is the most effective: functional audio during the construction, then expressive and precise audio after validating the picture structure. -
How to keep a consistency between real shots and AI-generated shots?
You must harmonize three levels: narration, image, and sound. Narration: the shots must serve the same intention. Image: contrast, texture, light and perspective must stay compatible. Sound: ambiences and voices must match with no break. In practice, use a reference witness shot, a small visual charter, and control passes on short sequences. Add a light even grain if necessary to reduce the texture gaps. The goal is not to mask the origin of the shots, but to maintain a continuous visual experience for the viewer. -
What weekly routine to progress fast in AI-assisted editing?
Do two short but structured sessions. Session 1: preparation + rough cut of a 30 to 60 second video. Session 2: fine cut + basic audio + multi-support test export. At each session, note what improved the clarity and what slowed down uselessly. In a few weeks, you get a very effective personal method. The progress comes from conscious repetition, not from the permanent search for new tools. Focus on short formats at the start, then extend toward longer edits once your pipeline is stabilized. -
How to check that a video is ready to publish?
Use a final check in three axes. Narration axis: clear message at the first viewing. Technical axis: stable image and sound, with no annoying artifacts. Distribution axis: readability validated on mobile and laptop. Do this check cold, after a break, then ask if possible for a fast external eye. The editor used to their project no longer sees certain flaws obvious to the audience. If the three axes are solid and the external feedback confirms the comprehension, you can publish serenely without entering the endless loop of micro-retouches.
Related articles
 Tutoriels
Creating a Striking Video Ad With Artificial Intelligence
A complete guide to creating a striking video ad with artificial intelligence, from the idea to the conversion-oriented final edit.
 Tutoriels
Case Study: How I Co-Wrote My Film Using Artificial Intelligence
A field report on an AI-assisted film co-writing: what worked, what failed, and the final method.
 Tutoriels
Creating 3D Textures With Artificial Intelligence for Your Projects
Seamless tile, UV, plausible PBR, and Blender or game-engine integration: a clean pipeline between AI and 3D.