Complete Image-to-Video Pipeline With AI
From brief to delivery: pilot-image chain, AI animation, quality control, post and sound for a complete and credible image-to-video pipeline, with no surprises or sleepless nights.
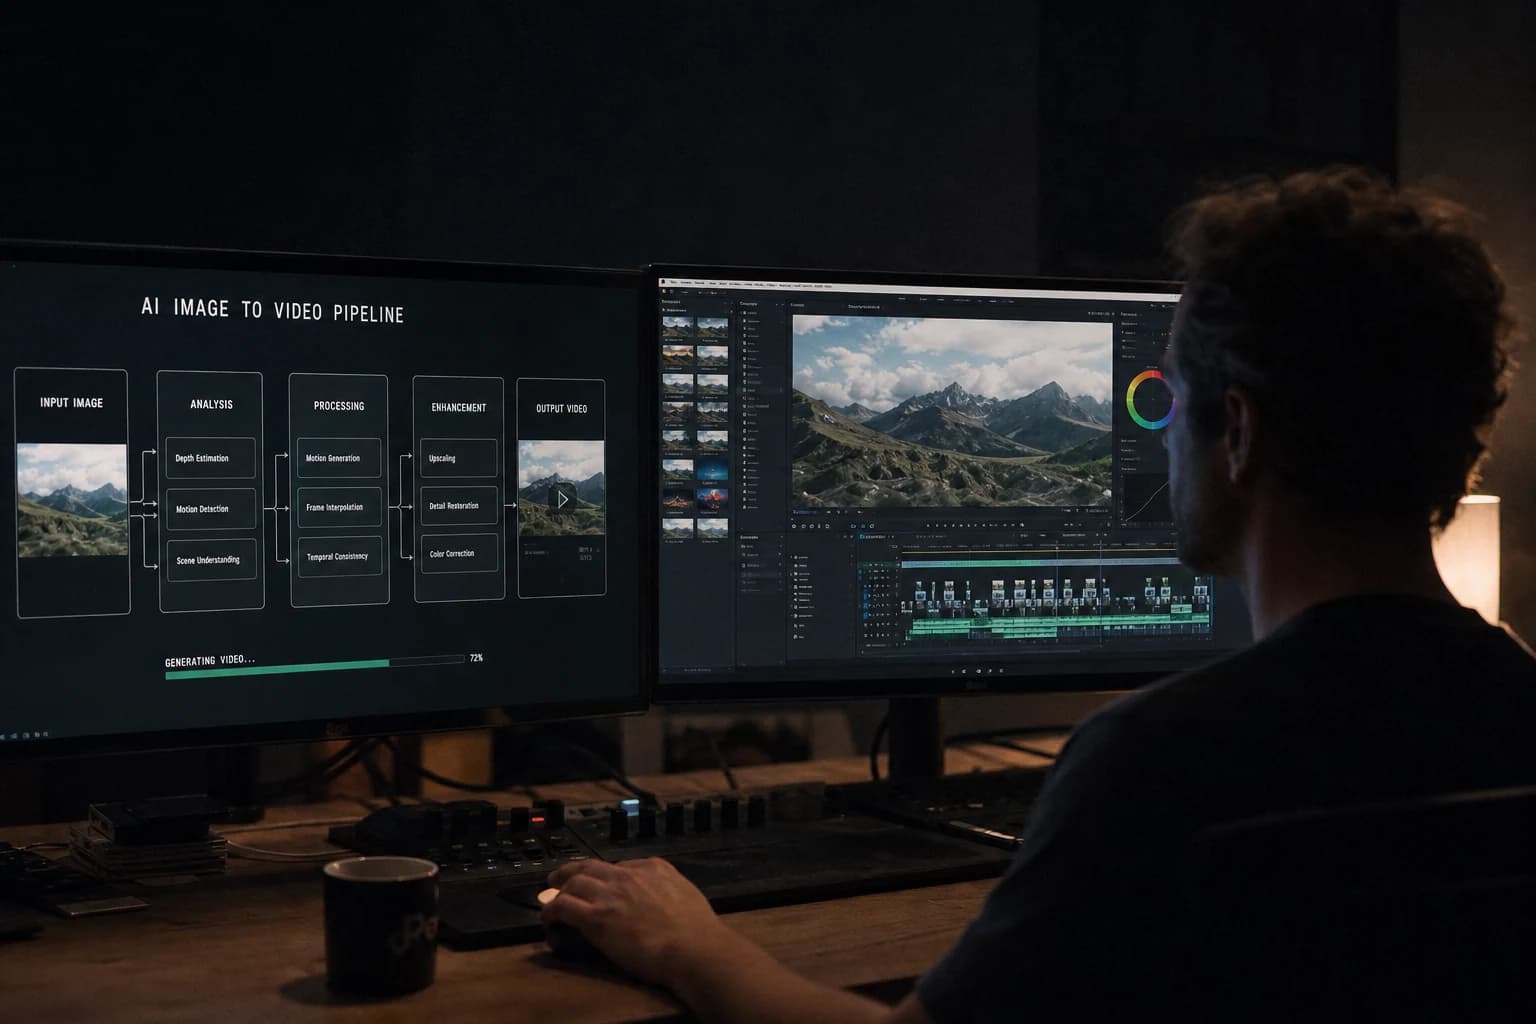
You lay a magnificent image on the timeline. You switch to video mode. You think you have finished the hard work.
And then the second second arrives.
The jacket changes tone, the window "breathes", the eyes lose their axis. Your clip no longer looks like a cinema sequence: it looks like a demo that tries too hard. It is not a curse. It is the classic symptom of a hole in your complete image-to-video AI pipeline.
A complete image-to-video AI pipeline is not a chain of tools stuck together with creative glue. It is a series of documented decisions: directed intention, honest pilot image, translation of the still into minimal movement, rejection protocol, post that respects the light, sound that sells the material, export that owns a real compression. This guide is the field version I give to teams that want to deliver usable shots, not surprises in a client folder.
The difference between someone who "tests AIs" and someone who produces holds to one simple thing: each step has a named output. If you cannot find the pilot that served the most stable take, you are not doing a pipeline. You are tinkering with a timeline.
What "complete pipeline" changes against the "animate" button
Here is the truth that displeases the optimists: AI video does not repair a lying image. It amplifies the tensions already present. A too-smooth skin with a hyper-detailed setting becomes a temporal oscillation. An almost-good hand becomes a visual accident in a tight shot.
When I talk about a complete image-to-video AI pipeline, I talk about a virtualized set discipline. You write a brief as if you had a technical team in the corridor. You lock a pilot as if you were burning a filter on a lens. You animate as if you were paying a minute of engine at the price of a minute of human attention.
The "animate" button promises magic. The pipeline promises repeatability. And repeatability, on a serious project, is worth more than an isolated viral clip.
The teams that fail the image-to-video transition often have the same mistake: they confuse still beauty and temporal stability. A frame can be sublime and yet hostile to movement if the face contours are too "clean", if the hair is too sharp against a blurry material, or if the depth of field is contradictory with what you are going to ask as a travelling.
The pipeline imposes a question before the render: "What must stay invariant?" Subject identity, costume, critical setting geometry, light reading: you list three invariants minimum. Everything else is negotiable.
Another frequent confusion: believing that "more resolution at the start" secures the video. Enlarging a pilot that lies is enlarging the lie. You iterate at modest resolution until the movement is acceptable, then you go up when the direction is validated. Otherwise you spend your days stabilizing artifacts in 4K.
Finally, the complete pipeline includes the delivery. If you validate on a wide monitor without testing the quality on mobile and desktop, you prepare a client disillusion. The distribution chain is part of the render, not the bonus.
The four layers that every serious pipeline must name
Layer A: intention. One set sentence and five lines max: subject, place, light time, single action, prohibitions. Not three simultaneous actions: the model will choose the one it will sabotage at frame forty.
Layer B: pilot image. It is your spatial and light reference frame. You export in a quality PNG, you archive prompt and seed in notes.txt, you refuse the pilots that lie on the hands or the mouth if you aim for a close-up.
Layer C: movement. Translation of the still into a short temporal instruction: one camera intention, one micro life of the subject, modest duration. If you ask for orbit plus wind plus hair in the wind plus dialogue plus hand turning a page, you build a fragmentation bomb.
Layer D: finishing. Cinema-reading QA, restrained color post, fine grain, early sound, documented export. The finishing does not save a dead shot. It elevates an already honest shot.
This breakdown is not theoretical: it becomes your folder tree. 00_brief, 01_pilots, 02_video_raw, 03_selection_ABC, 04_post, 05_masters. When a client asks "how did you get this stable gaze", you open a folder, not a fuzzy conversation.
To lock the image layer before even thinking about the video engine, keep at hand how to transform an AI image into a fluid and credible video. It is the foundation of any complete image-to-video AI pipeline that does not shatter at the second second.
Phase 1: a set brief that avoids the silent catastrophes
You do not write a creative novel to impress a reader. You write what a first assistant director could stick on a door without losing a critical piece of information.
Start with the subject. Apparent age, locked costume, an identifiable accessory if you want one. If you leave "young woman, streetwear", the model will improvise logos that mutate in video. If you lock beige trench, matte buttons, gray scarf, you reduce the palette slips.
The place must specify interior or exterior, day or night, and what dominates in the setting: bricks, storefront, wood desk. The dominant textures influence the artifacts: the repetitive motifs love to undulate if you push a long travelling.
Light and time: side window key, cold neon backlight, tungsten lamp at three-quarter back. A dominant source avoids the floating "AI HDR" sensation that jumps from one frame to another.
Single action: reading a letter with a micro head movement, not reading plus walking plus a gust of wind plus dialogue. One action. One beat.
Explicit prohibitions: no orbit at the start if you want the stable geometry; no hands in the foreground on the first pass if you test a new model; no readable text on the textile if you want to avoid the mutations.
A correct brief reduces the emotional back-and-forths. You spend less time "repairing an idea" and more time improving an already acceptable movement.
💡 Frank's Cut: add a line "camera: almost static" even when you want dynamism. You will gain dynamism in the edit with cut and sound. Let the first generation breathe like a held shot, not like a music clip that shows its scratches.
Phase 2: building a pilot that survives time
The pilot is the visual contract. If it is too "Instagram smooth", the video becomes plastic. If it is too loaded with contradictory details, the model will oscillate between priorities.
Pilot checklist before the video transition:
- Readable face triangle, skin texture present with no porcelain.
- One dominant light source, a discreet fill, not five contradictory sources.
- Consistent depth of field: sharp subject, slightly softer background, avoid the inverse "surgical setting" on a blurry subject if you do not own the effect.
- No small readable texts on clothes or accessories: they break with the movement.
- Hands: off-frame or simple gesture if you are a beginner on this pipeline.
Name your files like a director of photography: PILOT_scene03_v02.png. Put the complete prompt in notes.txt, with the seed if your tool allows it. In six months, you will not have to guess why version fourteen was better.
For the "cinema" philosophy on a pilot before even the animation part, cross-reference with complete Seedance 2 workflow for a cinema render. Even if you change engine tomorrow, the pilot discipline stays the same.
If you work with several characters, lock an IDENTITY block copyable as is between shots. Change only the SCENE block. The multi-shot pipeline derails when you modify three lines simultaneously between two exports and you lose the trace of what broke the continuity.
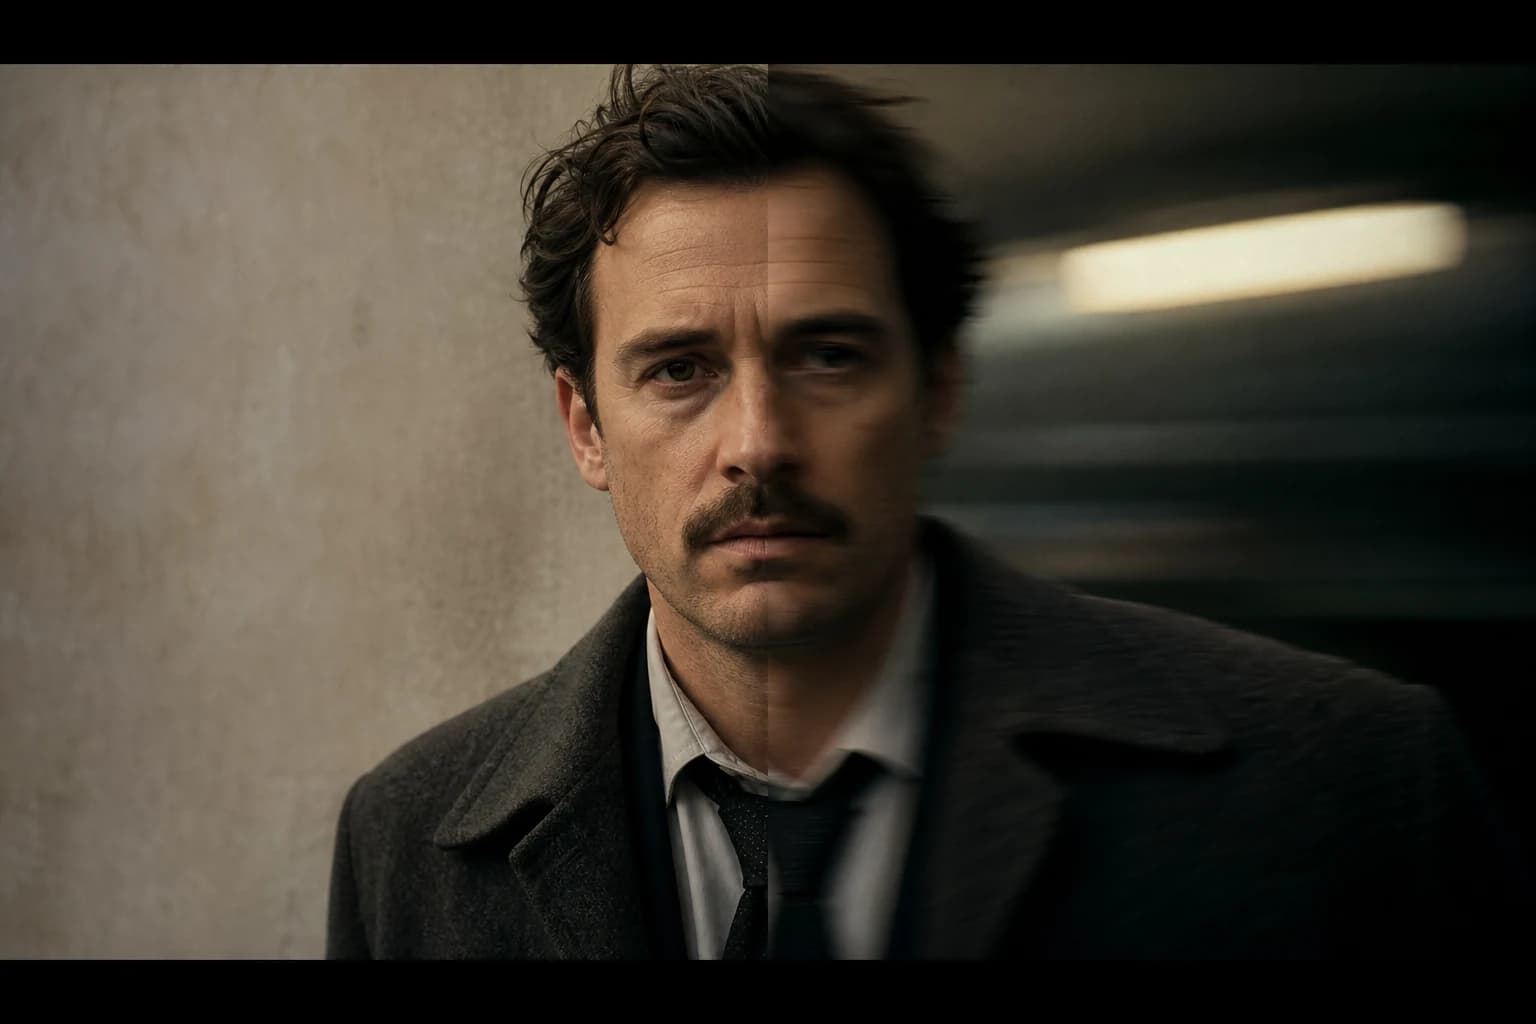
Phase 3: translating the still into a temporal instruction (with no escalation)
The image-to-video transition is a translation, not an explosion of creativity. You move from a fixed geometry to a controlled deformation over a few seconds.
Write your movement instruction like a director of photography on a light steadicam: slow, motivated, with no gymnastics. Push-in very slow, lock-off sensation with micro drift, slight lateral pan if the setting is simple.
Avoid the lists of "cinematic epic luxury 8K masterpiece" adjectives. Each word opens a door to a contradictory interpretation. Favor physical terms: slow, stable, subject breathing, light film grain, no orbit.
Recommended starting duration: three to five seconds. The drift increases with time. If you have to tell longer, consider two clips with hard cuts rather than a single twelve-second take that invents hands.
For the engines where you control the amplitude or strength of the movement, start low. Go up by steps. Change one variable at a time between two batches: camera amplitude or subject gesture, not both together otherwise you will not know who lies.
The narrative consistency also guides the movement: a slow push-in sticks to intimacy; a lateral travelling sticks to the passage through a space. If you mix the two on the same prompt sentence with no hierarchy, the model will decide by feeling and you will not like the result.
To push the fluidity and the realism of the movement with a comparable method between tools, add how to improve the realism of movements in AI video to your reading folder. It is not a vanity setting: it is a shared vocabulary between team members.
Table: pipeline lever and effect on the stability
| Lever | Prudent starting setting | What breaks if you push too early |
|---|---|---|
| Clip duration | 3 to 5 s | face, hands, texture drift |
| Camera amplitude | low / slow push-in | wall warping, undulating verticals |
| Subject action | one micro life | mouth and jaw that slip |
| Setting complexity | simple vertical zones | breathing motifs |
| Iteration resolution | modest | machine time with no learning |
| Final upscale | after movement validation | enlarged artifacts, fake details |
This table is not a universal law: some models tolerate more than others. But if you are a beginner on a complete image-to-video AI pipeline, these priorities keep you in a zone where you learn fast without fighting against multiple variables.
Phase 4: batch protocol and A/B/C sorting
You do not judge an AI on the first render. You build a small artisanal statistical study: four comparable variations, same pilot, same duration, same amplitude unless you expressly test a single lever.
Base reference: four passes, modest movement. Sort each output A usable as is, B recoverable in post with an owned debt, C dead. If everything is C, you do not "prompt" harder by adding chaos: you change a set decision (framing, duration, amplitude, pilot).
Note for each clip: seed if available, amplitude, verdict, cause of refusal if C. This discipline turns your folder into a collective memory. The junior teams become senior faster when they read why an orbit was banned on a glass facade.
Define a pivot rule: for example forty-five minutes or twelve variations maximum per shot before changing a major parameter. Otherwise you enter the "one more try" spiral that exhausts the project with no delivery.
If you compare tools on the same pilot, keep the duration and the movement intention strictly identical. Otherwise you confuse apples and oranges. For a structured exploration on the realistic-animation side with another engine, you can lean on Kling 3 workflow for a fluid and realistic animation as a methodological counterpoint: the pipeline changes little, only the UI settings move.
Phase 5: cinema-reading QA in twenty seconds
You read a clip in twenty seconds, with no cheat sheet open. In order:
- Eyes: symmetry, strange blinks, reflections that jump with no motivation.
- Jaw: lateral drift or fusion with the neck.
- Hands: fingers, fusion, objects that change contour.
- Hair around the face: filaments that become glass or smoke.
- Verticals of the setting: doors, windows, frames.
If two critical zones give out, you do not have a "we'll see": you have a debt. The edit masks a cut. It does not re-glue a geometry that slips.
Redo a pass with no sound then with a low room tone. The sound influences your texture reading. Many clips judged "clean" with no sound reveal a plastic surface as soon as a minimal acoustic environment exists.
💡 Frank's Cut: film your screen with your phone once. Not for the pixel peek: to see how the compression and the small size reveal an overexposure or a sharpen invisible on desktop. Many pipelines break at mobile delivery, not at generation.
Phase 6: post and finishing with no lying makeup
The post saves the almost-good. It does not resurrect a catastrophic shot.
Primary correction: a consistent temperature between the shots of the same scene. Light contrast: avoid the aggressive S-curve on AI faces that turns the pores into graphics.
Fine grain, especially in the shadows: it helps unify too-clean textures. Sharpness: almost none at the start. An aggressive sharpen amplifies the temporal artifacts after compression.
If you deliver several formats, plan the recrop from the pilot for vertical. Brutally recropping a 16:9 where the face is at the edge of the frame often triggers surprises at the movement.
For the useful general culture on the image chain and the light-frame-movement consistency, the cinematography page stays a sober reference on what links intention and technique. It is not a button tutorial: it is a reminder that cinema stays a discipline of visual hierarchy.
The ARRI documents on the camera systems explain well an idea transposable to AI: an optical and color chain rather than a single miracle LUT. Your complete pipeline must think like a chain, not like a magic filter applied at the end.
Phase 7: sound, edit, delivery: the invisible part that makes people believe
A "silent" AI video often fools your judgment. Add early a minimal atmosphere, even a placeholder: distant street, air conditioning, rain against a window. You will better calibrate the physical presence of the shot.
In the edit, favor hard cuts between two different geometries rather than transitions that force the model to invent an impossible passage. If you chain two clips from different pilots, check the costume and light continuity like a classic shooting match.
At export, document the cadence 24 fps or 25 fps according to destination, codec, target bitrate. The H.264 compression on general-public platforms will trim more fine grain: plan a bit of texture upstream so you do not fall back into the wax after upload.
Three field scenarios to test your pipeline end to end
Scenario A: fifteen-second product ad
Brief: female hand, premium product, wood table, late-afternoon window. Pilot in close-up with a sharp spot on the product, soft background. Movement: slow push-in three seconds, hands minimal gesture placing the object.
Batch four variations, sort A/B/C. Post: light contrast, fine grain. Sound: micro hand-wood friction, discreet tick if the sound charter allows it. Delivery: horizontal master plus 9:16 variation planned from the pilot.
Scenario B: interior fiction, intimate moment
Brief: chest shot, short dialogue but lip-sync limited at the start to reduce risk. Pilot locked on costume and window key. Video: four seconds, head lowering then rising, a single action.
Edit: cut on the gaze. Sound: voice recorded separately if possible to avoid the mouth inventing phonemes. Strict QA on the jaw.
Scenario C: sober corporate
Brief: corporate-frame portrait, clean but not cartoon-empty background. Modest movement, stable interview sensation. Watch the motifs behind the head: paintings, wall logos. Sober post, almost no sharpening. Delivery with a compressed preview for mobile validation by the stakeholders.
Troubleshooting: what beginners break (precise fixes)
Face that breathes. Frequent cause: too-smooth pilot or too-strong camera amplitude. Fix: more present skin textures on the pilot, reduced amplitude, duration brought back to three seconds.
Garment color that migrates. Cause: two contradictory colors in the prompts or unstable shadow. Fix: one color declared in the identity, stable light, avoid violent relighting in post on the first passes.
Walls that undulate. Cause: travelling on a repetitive facade or strong thin lines. Fix: almost-static camera or simplified setting on the pilot.
Fused hands. Cause: complex gesture plus close-up. Fix: wider shot for the first passes, hands off-frame if possible.
Ultra-sharp image but fake sensation. Cause: AI HDR with no light motivation. Fix: source hierarchy, natural micro imperfections on the textures.
Impossible test comparison. Cause: different durations and movements between variations. Fix: normalize the protocol before judgment.
You escalate to 4K too early. Cause: hope that the resolution masks. Fix: validate the movement in modest, upscale after the validation gate.
Client finds it "too AI" after compression. Cause: validation only on a wide calibrated screen. Fix: phone preview and realistic bitrate early.
Foire aux questions
Réponses rapides aux questions les plus fréquentes sur cet article.
What is a complete image-to-video AI pipeline concretely in a project folder?
A complete image-to-video AI pipeline is not a creative opinion: it is a tree and a series of named outputs that anyone can reopen without calling you at two in the morning. You must find the five-line brief, the final PNG pilot used, the archived prompts, the numbered video exports with A/B/C sorting, the seed or setting notes, then the post masters and the compressed previews. When a team takes back the folder three weeks later, it can replay a decision without guessing what was tested. Add one line per failed attempt with the probable cause: it avoids repeating the same mistake because "last week it looked different". It is exactly what separates a hobby from a repeatable delivery capacity for a client or broadcaster.
Why is my image beautiful but my video "breaks" after two seconds?
The video models solve a harder problem than the fixed frame: they have to extrapolate geometry over time with no real physical authority, with no film stock, with no sensor, with no lens that imposes a humble continuity. A pilot can be aesthetic while being geometrically ambiguous for the fine contours, the almost-correct hands, or the contradictory textures between foreground and background. The movement reveals these tensions by animating them like an impolite magnifying glass on your prompting shortcuts. What you see "after two seconds" is often not a mystical surprise: it is an inconsistency that was sleeping in the frame. Reduce the contradictions on the pilot, decrease the camera amplitude, shorten the duration, then retest with a disciplined batch protocol before concluding that "the tool does not work".
How many seconds should I aim for at the start to stabilize a portrait?
For the majority of serious portrait pipelines, three to five seconds is a realistic range before the drift climbs too fast on the critical zones like eyes, mouth and hair contour. It is not a moral limit of the craft: it is a field observation on how the faces and the micro textures react to the temporal extrapolation when you push the gesture and the camera together. If you want to tell longer, stack segments with edit and sound rather than a single take that asks the model to lie for twelve seconds on several axes simultaneously. Think "two short beats" instead of a single sequence that accumulates the risks.
Should I always use the same video model for my whole project?
Not necessarily, but you must document the render gaps as you document two different stocks in classic shooting. Different engines have movement signatures, different hand tolerances, distinct behaviors on landscape versus portrait, and sometimes color habits that move after a few seconds. If you mix within the same scene, harmonize in post with a single intention and warn the client of the limits before the presentation. For a realistic-animation search with a comparable method, some teams cross several workflows; the important thing stays that your test protocol is identical between comparable attempts, otherwise you judge results that do not come from the same protocol.
Can post-production save a failed AI video?
The post can mask an approximate exposure, a slight flicker, a too-aggressive saturation, or a flat atmosphere that sells badly after compression. It can also help bring two clips closer that were almost in the same color temperature. But it does not repair a jaw that slips, a fused hand on a critical action, or a geometry that invents lines over time. Treat the post as a layer of intention and unification, not as an ambulance for a broken geometry: otherwise you spend hours on a shot that will stay lying in the final edit and that will explode on a phone.
How to convince a client that the AI chain is under control?
You deliver useful transparency: short visual bible, list of the owned debts, example of an A/B/C protocol, and organized files where each shot has a clear address. You show a compressed preview early to avoid the mobile surprise, because many disagreements come from a screen difference rather than an artistic difference. You link the choices to set intentions understandable by someone outside the technical: "stable camera", "window light", "minimal action", these are sentences that reassure more than three pages of model vocabulary. The trust does not come from the "multimodal model" jargon, it comes from a visible method and reproducible results.
Does the complete pipeline replace a traditional shoot?
For a part of the uses, yes: mockups, shots impossible with no budget, fast iterations with owned limits, rhythm tests before a real set day. For complex scenes with long acting and precise interactions on several bodies and objects, often no without heavy compromises that end up at the price of human time anyway. The good frame is not "replace everything", but "where this chain is the best option under budget, deadline, or exploration constraint". The complete image-to-video AI pipeline lets you answer with lucidity rather than with vague marketing, and write in black and white what is in and what is out of scope.
How to avoid spending a night on forty useless variations?
You install a pivot rule and a limit of comparable attempts, then you respect it even when the ego screams that "just one last try" is missing. You change one variable at a time when everything is sorted C, otherwise you will not know what moved between two renders. You refuse to compensate with longer prompts if the pilot lies: verbosity rarely masks an unstable geometry. You move to another angle, another duration, or another camera intention rather than hammering the same setting hoping for magic. Fatigue creates bad decisions and makes you accept artifacts; the method protects your judgment and your planning.
You do not need a more expensive tool chain to start: you need a complete image-to-video AI pipeline that names the steps, archives the decisions, and refuses the shots that lie. The discipline does more for your cinema render than ten adjectives in a prompt.
Typical two-hour session for a critical shot
: twenty minutes brief plus pilot, forty-five minutes video batch, twenty minutes QA, twenty-five minutes light post, ten minutes exports plus client note. If you exceed with no A grade, change a major lever rather than your coffee dose.
Minimal delivery checklist
: master with documented cadence, LUT or correction described in two lines, list of the shots with owned debts, compressed preview validated on a phone, mention of the AI bricks if your contract requires it.
Related articles
 Tutoriels
Complete Seedance 2 workflow for a cinema render
From the set sheet to the final export: end-to-end Seedance 2 pipeline for a credible film render, with no demo look or sterile all-nighter.
 Tutoriels
Complete Tutorial: How to Create Consistent Characters Across Several Images
Character sheet, stable prompts, seeds, LoRA, and visual QA: a studio method applied to AI image.
 Tutoriels
AI pipeline from A to Z: from idea to shot list in one day
How to chain AI tools to go from a raw idea to a complete shot list in a single workday. A concrete method, with the tools that actually slot together.