How to Generate Special Effects (VFX) With AI Tools
A complete method to create credible AI VFX, from the shot diagnosis to the final compositing with no artificial render.
How to Generate Special Effects (VFX) With AI Tools With No Fake Render
You open your shot, you lay a spectacular AI effect, and for two seconds you tell yourself it is incredible. Then you watch in real playback and everything breaks. The effect floats, the light does not match, the motion blur is false, the perspective slides, and your viewer immediately feels that it is "stuck on". It is exactly there that beginners abandon AI VFX too fast.
I am going to be direct. The AI tools do not replace the VFX logic. They accelerate certain steps, yes. But if you do not frame your shot like a supervisor, you just make a technical demonstration. The real goal is elsewhere: integrate a special effect that disappears into the scene and serves the narration.
In this guide, we are going to work like in real production: shot diagnosis, generation in passes, mandatory compositing, timeline control, and multi-support validation. You are also going to see the mistakes that cost hours and the method to fix them fast without degrading the whole sequence.
Core concepts: what makes an AI VFX credible
A good VFX is not "impressive", it is plausible. When the effect draws the attention to itself instead of reinforcing the story, it is lost. In AI, this trap is even more frequent because the raw renders can be visually seductive but physically incoherent.
The first pillar is light consistency. Direction, hardness, temperature, intensity, diffusion. If your light effect does not respect the source scene, the eye rejects it instantly. Even a "clean" 4K render seems false if the shadows go off in an impossible direction.
The second pillar is spatial consistency. Perspective, scale, parallax, depth of field, relation to the ground and the objects. The AI engines sometimes invent superb details but forget these fundamentals. That is why a serious compositing stays mandatory.
The third pillar is temporal texture. The shot must live in movement, not in a still image. An effect can seem perfect on a frame and vibrate at playback. It is that famous "pumped" or "floating" effect that betrays beginner AI VFX.
The fourth pillar is the narrative hierarchy. An effect must serve a precise moment: reveal, amplify, correct, or stylize. If you generate "to make wow", you overload the scene. The viewer feels an intention break.
The fifth pillar is the management of the level of detail. In AI VFX, too much detail can harm as much as not enough. Why? Because the source shot already carries an optical and compression signature. If the effect is more detailed than the world around it, it becomes visually foreign. A field rule works very well: the effect must seem to come from the same camera and the same pipeline as the rest of the scene.
The sixth pillar is the production robustness. You must be able to redo a shot fast if a modification arrives late, which almost always happens. A fragile, undocumented workflow with no intermediate versions blocks you at the worst moment. The creators who move up are not those who find a "magic" render once. They are those who can reproduce it reliably under constraint.
To lock this global consistency between the generated image, the staging and the continuity, our guide on AI film continuity errors will help you avoid the breaks that sabotage the credibility.
| Type of AI VFX | Main use | Risk level | Frequent mistake | Priority correction |
|---|---|---|---|---|
| Cleanup / correction | Remove parasitic elements | Low to medium | repainted texture too smooth | reintroduce grain and local detail |
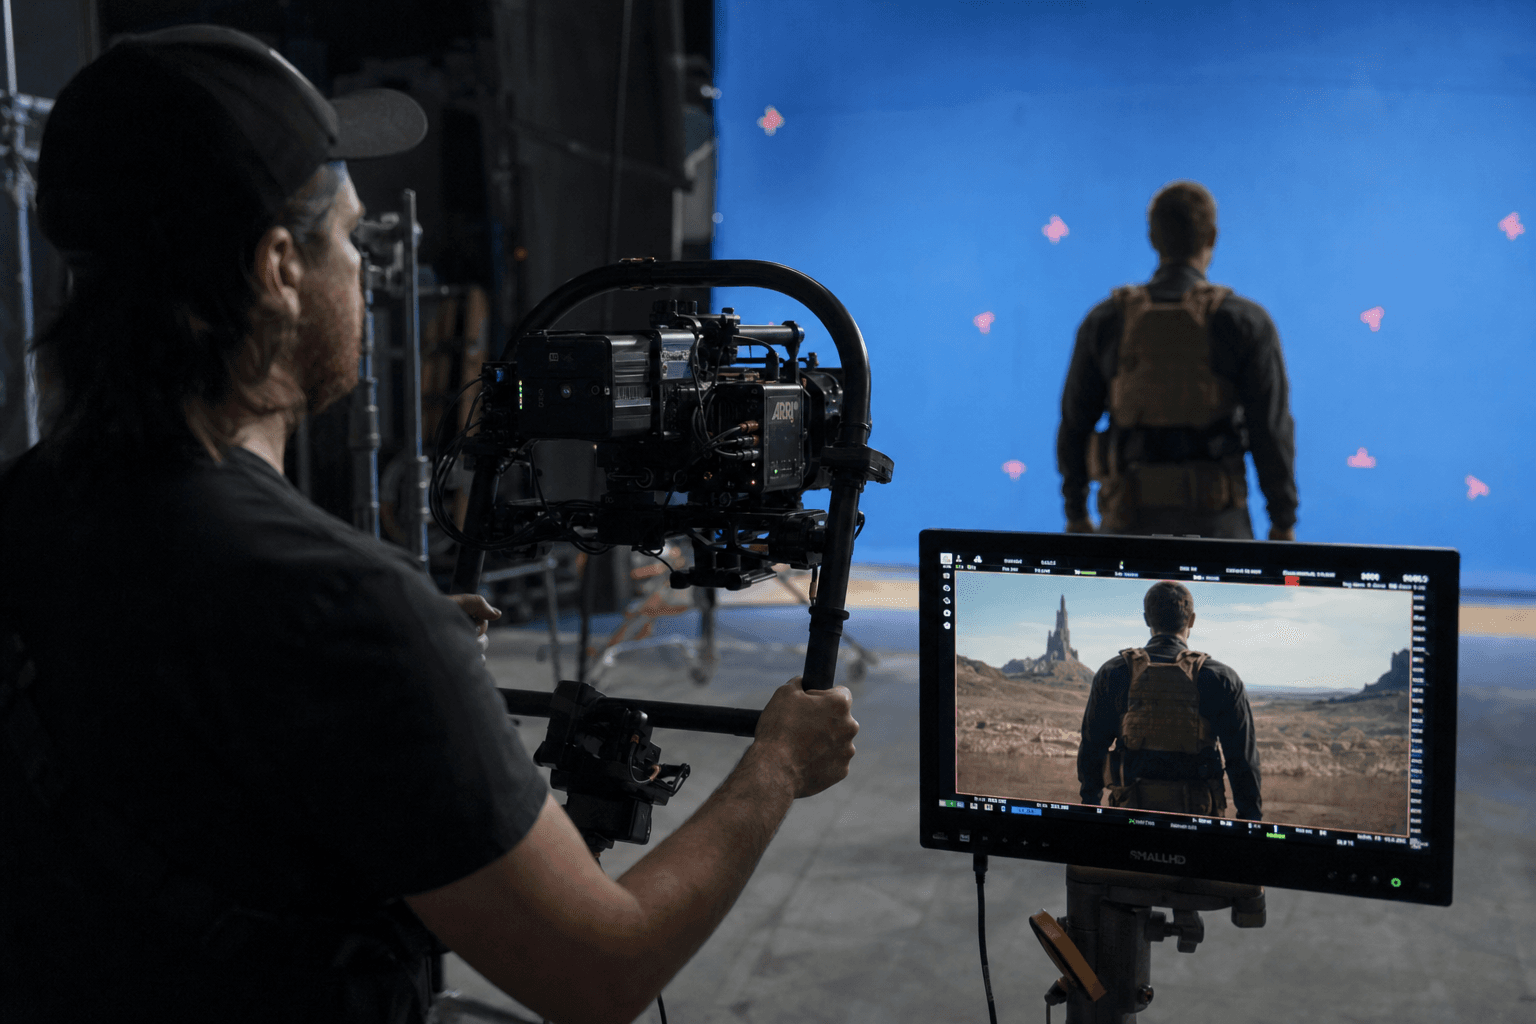
| Set extension | Enlarge the scene space | Medium | inconsistent perspective | geometric realignment + masks |
| Energy effect | Dramatic accent | High | unintegrated light | relight + environment interaction |
| Object replacement | Narrative prop or accessory | Medium to high | inconsistent scale | precise tracking + contact shadows |
The trench workflow: a step-by-step field AI VFX method
Before any generation, clarify the exact goal of the shot. A discreet correction? A central narrative effect? An owned stylization? This choice determines your level of precision and the time you can invest. With no clear goal, you will multiply the tries without knowing when to stop.
Then, prepare your source shot. Stabilization if necessary, basic cleanup, consistent exposure, and above all, an export in a format that keeps enough information for the compositing. Many disappointments come from too-compressed sources.
Third step, generate in passes. A structural pass (shape, volume, placement), a style pass (texture, detail), an integration pass (light/movement interaction). The "all-in-one" mode rarely gives a reliable result in production.
Fourth step, composite in the real timeline. You check the before/after-shot match, the readability of the effect, and its emotional impact. A VFX validated in an isolated preview can ruin the rhythm of a complete sequence.
Fifth step, prepare a technical fallback from the start. A simpler version, less visually ambitious, but ultra stable. This version saves you at delivery when a shot refuses to converge or when a client change arrives at the last minute. It is a production habit that avoids useless all-nighters.
Step 1: diagnose the shot like a VFX supervisor
Read the shot on a loop and note the physical constraints. Where does the key come from? Where are the strong-contrast zones? Which objects must interact with the effect? What is the camera movement direction? This diagnosis takes five minutes and spares you hours of correction.
Then classify the shot according to its sensitivity. Face close-up with light interaction, wide environment shot, fast movement shot, noisy night shot. Each category demands a different level of caution. The same preset does not work everywhere.
Also define what you will not touch. Main faces, brand elements, already-valid zones. Beginners modify too many zones at once and lose the stability of the original shot.
To keep a coherent visual direction during this diagnosis, our guide on AI-assisted video editing gives a good shot-by-shot decision grid.
Step 2: generate the effect in short and controlled passes
Start with a placement pass. No detail, just position, size, spatial interaction. If this base is false, no style layer will save the shot. It is the most time-expensive mistake.
Then add a texture/detail pass. Here, you set the material, the visual intensity, the micro-details. Stay conservative at the start. The "impressive" details quickly become noise in movement.
Third pass, interaction with the scene. Shadows, light bounces, occlusions, local motion blur. It is this layer that makes the difference between a "stuck-on effect" and an integrated effect.
Keep a strict versioning: sc05_pl012_vfx_struct_v1, then style_v2, then integr_v3. If you cannot come back cleanly to a stable base, you will lose control of the pipeline.
💡 Frank's Cut: if a "wow" pass pleases you but breaks the light consistency, delete it with no hesitation. The viewer always chooses plausibility over demonstration.
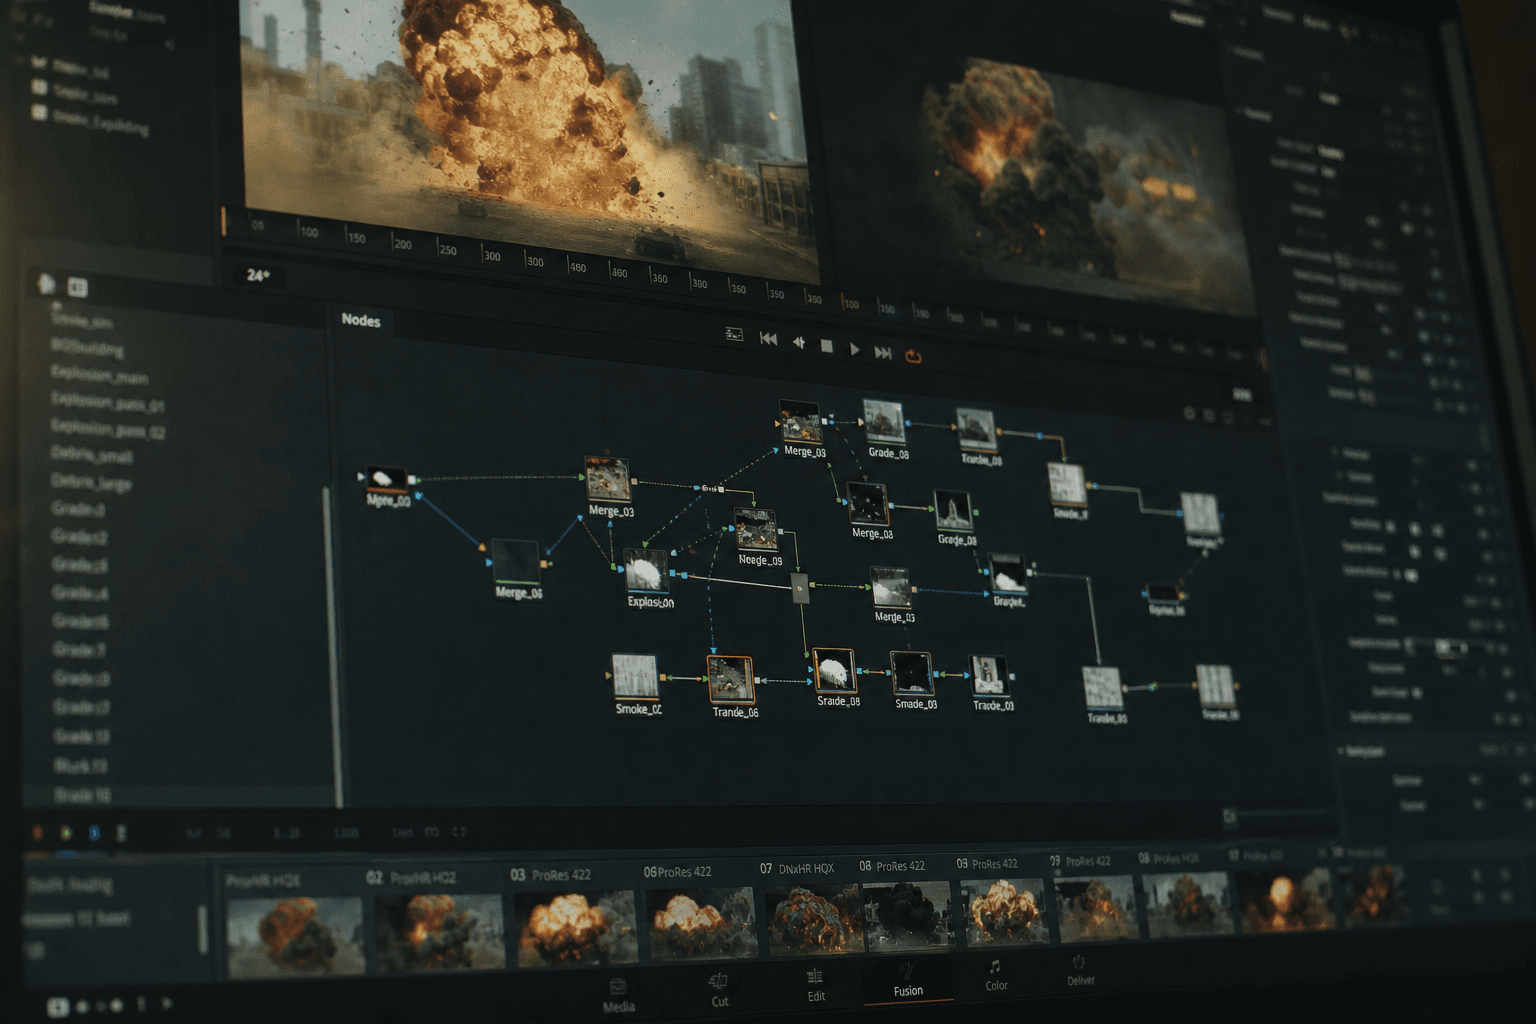
Step 3: mandatory compositing to make the effect disappear
The compositing is the zone where your VFX becomes credible. You harmonize exposure, tint, local contrast, depth, grain, and motion blur. With no this step, even a good AI render stays visibly artificial.
Work the edges in priority. It is there that the false matches appear. An edge too sharp or too blurred betrays the inlay immediately. Use progressive masks and check in real playback.
Also treat the ground/object interaction. Contact shadow, local reflection, slight deformation if necessary. These micro-signals tell the physical presence of the effect in the scene.
If your shot has faces or dialogue, coordinate your compositing with the audio readability and the performance. A too-active effect can divert the attention from the key line. On this axis, our AI voice-over and dubbing guide helps to keep the narrative hierarchy.
Also think about the global color integration. A correctly placed effect can stay false if its chromatic behavior does not follow the scene, especially in the low lights and the clipped highlights. Adjust the critical zones locally instead of pushing a uniform grade. This finesse avoids the "patch" render very common in beginner AI VFX.
Finally, keep a preview discipline. Work with fixed control windows: 100 percent, 50 percent, full screen real playback. You will thus detect the problems that only appear in certain display modes. This simple habit strongly improves the perceived quality before export.
Step 4: final validation in the timeline and in real distribution
First look at the isolated shot. Then look at the before and after shots. Then watch the complete sequence. You must validate the continuity, not only the local quality. Many "clean" effects fail at this step.
Do a multi-support test: main screen, laptop, smartphone. The edge artifacts, the banding and the over-contrasts appear differently depending on the compression and the display size.
Take a 20 to 30 minute break, then come back cold. Your habituated eye tends to ignore the obvious flaws at the end of a session. This rereading is one of the best quality tools you can apply.
Finally, validate the "safe" version and the "ambitious" version. Keep both. In a real deadline, the safe version protects you. The ambitious version lets you learn without risking the delivery.
Troubleshooting: what beginners break the most in AI VFX
Mistake number one, an effect too sharp compared to the source shot. The render seems "HD" but disconnected. Correction: harmonize the texture, the noise, and the local micro-blur to match the original camera.
Mistake number two, inconsistent light. The effect lights from the left when the scene is key right. Correction: local relight, shadow correction, and an intensity drop until plausibility.
Mistake number three, unstable scale in movement. The VFX object seems to swell or float. Correction: cleaner tracking, fixed reference points, and validation by perspective landmarks.
Mistake number four, insufficient compositing. The effect is good but stays stuck on. Correction: edges, occlusions, ground interaction, reflections, shared grain.
Mistake number five, color over-treatment. The final shot becomes saturated or "aggressive HDR". Correction: come back to a neutral base, then push subtly.
Mistake number six, forgetting the narration. The effect takes the place of the character or the main action. Correction: reduce the presence and refocus the attention on the story point.
Mistake number seven, not anticipating the platform compression. A finely integrated effect can break after social encoding, with the appearance of banding or macroblocks in the dense zones. Correction: do an intermediate test export to the target platform and correct before the final delivery.
Mistake number eight, absence of a fast external review. When you stay alone too long on a shot, your eye gets used to it. Correction: ask for a short return from someone who has not seen the process. If they notice the effect first, it often means it still needs integrating.
To frame your practice with reliable bases, work with the Blender Compositing, Nuke resources docs and the VFX notions of the Academy Color Encoding System. These references help you go beyond the "preset" logic.
💡 Frank's Cut: a successful VFX is often the one nobody notices. If people talk about the effect before talking about the scene, it is rarely a good sign.
FAQ: key questions to generate credible AI special effects
-
Which AI VFX tool to choose when you are a complete beginner?
Choose a tool that lets you do fast retakes and clean exports, not the one that promises the most spectacular effect in a demo. At the start, you need control and repeatability. Check the stability over several shots, the compatibility with your timeline and the quality of the local corrections. A too-complex tool can slow your learning, but a too-simplified tool can lock you in generic renders. The good compromise is the one that lets you progress without breaking your editing pipeline. -
Why does my VFX seem clean on pause but false in playback?
Because a VFX is judged in movement. In a still image, your brain accepts a lot of approximations. In playback, it immediately detects the inconsistencies of tracking, motion blur, edges and light. That is why you must always validate in the complete timeline, with neighboring shots. Use short loops to precisely identify the moment it breaks. Then correct locally instead of relaunching a complete render. This discipline saves you an enormous amount of time and quickly improves the credibility. -
Should you do the VFX before or after the edit?
Do a solid narrative edit first, then the VFX on locked or near-locked shots. If you launch heavy VFX on a still-unstable edit, you will throw away part of the work. The effective approach consists of identifying the critical shots, creating light VFX proxies to validate the intention, then finalizing the effects once the structure is confirmed. This workflow protects your time and your machine budget. In real production, it is often the difference between a finished project and a project that drifts. -
How to avoid the "stuck-on" effect on the edges?
The stuck-on effect often comes from a combination of too-sharp edges, a lack of occlusion, and a non-harmonized texture. Start by intelligently softening the edges according to the depth and the movement. Then add local interactions: contact shadow, slight reflection, shared grain. Check at 100 percent zoom then in normal playback, because an edge can seem good in one mode and bad in the other. Finally, test on several screens. The edge flaws come out particularly on compressed mobile. -
How many passes do you need for a clean AI VFX?
In general, three passes are enough for the majority of cases: structural placement, style/detail, and compositing integration. Some complex scenes demand more, but starting with this structure already gives you a solid frame. The trap is wanting to do everything in a single generation. You save time at the start, but you lose an enormous amount in correction. The separate passes let you isolate the problems and correct precisely without destroying what already works. It is a pro production logic. -
How to keep the consistency between several VFX shots of the same scene?
Create a technical mini sequence bible: light direction, temperature, target contrast, grain level, movement behavior. Reference this bible at each shot instead of setting "by feeling". Also use a validated witness shot to compare the new renders. With no landmark, the drifts accumulate fast. The consistency plays out on repeated micro-differences. If you lock these parameters early, you strongly reduce the patchwork effect that betrays many AI projects. -
Can you do credible AI VFX on a mid-range machine?
Yes, if your workflow is smart. Work in short segments, use proxies to validate the intention, then render in final quality only the validated shots. Avoid the complete high-quality cycles at each retake. You can also prioritize the high-narrative-impact shots and simplify the secondary shots. The machine counts, but the method counts more. I have seen modest setups deliver very clean results thanks to a strict discipline of versioning and validation. -
What fast routine to apply this week to progress in AI VFX?
Do a 90-minute sprint: 20 minutes of diagnosis and brief, 30 minutes of three-pass generation on a single shot, 25 minutes of targeted compositing, 15 minutes of multi-support validation. Then repeat on a second shot of a different type. The goal is not to do "a lot", but to install a reproducible protocol. In a few sessions, you are going to drastically reduce the classic mistakes and gain confidence on more ambitious effects.
Real case: three field AI VFX scenarios
Scenario 1, set extension for an urban short film. The source shot showed a short, not-very-cinematic street, with a blocked horizon. The goal was to extend the set depth without drawing attention to the manipulation. The structural pass defined the perspective and the main volumes. The style pass added materials consistent with the neighborhood. The integration pass set the light and grain interactions. Final result: the shot seems more ambitious, with no obvious artificial-generation signal. The secret was not the spectacular effect. It was the silent consistency.
Scenario 2, a discreet energy effect on a tension sequence. The client wanted a visual danger signal, but without tipping into the clip aesthetic. On the first attempt, the effect was too bright and "video game". We reduced the intensity, added a minimal local light interaction, then reinforced the sound instead of pushing the image. This rebalancing produced a much more credible result. Important lesson: in AI VFX, the image and the sound must cooperate. If everything is carried by the visual, you risk excess.
Scenario 3, cleanup of parasitic elements on a dialogue scene. A modern reflection and an out-of-period sign broke the universe. The AI did the cleanup fast, but the first versions smoothed the wall textures too much. In compositing, we reinjected grain, micro-contrast, and surface irregularities. The correction became invisible in playback. This type of work pays off enormously: these are not "show-off" effects, but they are what protects the global credibility of the film.
Final checklist before publishing an AI VFX shot
Before delivering, apply a strict checklist. You first check the light consistency: direction, temperature, intensity. Then the spatial consistency: perspective, size, ground anchor, relation to the objects. Then the temporal consistency: stability in movement, absence of parasitic flicker, transition quality.
You then control the material integration: texture, grain, relative sharpness, compression. A too-clean or too-detailed zone must be brought back into the visual signature of the source shot. This step is often neglected, when it strongly influences the realism perception.
Then move to the narrative control. Does the effect serve the scene moment well? Does it draw too much attention? Does it protect or disturb the actors' performance? This narrative filter avoids the technically successful but dramatically counter-productive shots.
Finish with a real distribution test. Test export, mobile playback, laptop playback, main screen playback. If the version holds on these three contexts, you have a solid base. If a flaw appears on a single support, correct before publication. This rigor makes the difference between a "demo" render and a deliverable render.