The Best AI Tools to Create, Cut Out and Design Faster
A 2026 field comparison of AI design tools: Photopea, Remove.bg, Looka, Figma, Microsoft Designer, Freepik, Pexels and Shutterstock.
The Best AI Tools to Create, Cut Out and Design Faster
You want to go faster in design, you test ten apps, and you find yourself losing more time than before. It is the current paradox of ai design tools. You save seconds on an action, then you lose hours catching up a style inconsistency, a bad cutout, or an unusable export. If you recognize yourself there, you are not the problem. It is the absence of method that weighs down the result.
I used this stack in real conditions, not in a demo: photopea, remove bg, looka, figma, microsoft designer, freepik, pexels, shutterstock. The goal here is not to sell you "the best magic tool". The goal is to give you a clear workflow to produce fast, cleanly, and with a visual consistency that holds up on a real campaign.
This guide is going to show you what to use according to your need, how to avoid the beginner traps, and how to turn these AI design tools into a profitable system.
Why AI design tools can save or lose your time
AI design tools are accelerators, not replacements for art direction. When you use them in the right order, they compress your production time. When you pile them up with no strategy, they create an enormous retouching debt.
The first real gain is the speed on mechanical tasks: cutout, resize, asset variation, layout base. The second gain is the ability to quickly prototype several directions before investing in a finish.
The main risk is the style drift. You take an image in Freepik, a Remove.bg cutout, a design block in Figma, an express retouch in Photopea, and everything starts to "sound" different. It is there that the final render loses credibility.
The real pro level is to have a fixed visual base: palette, contrast, texture density, shadow style, photo tone. Only then do you let the tools accelerate.
Photopea: an excellent Swiss army knife for fast post-prod
photopea is formidable when you have to correct fast without opening a heavy stack. For last-minute retouches, color adjustments, simple masks, it is very efficient.
Its major advantage is the flexibility. You can rescue a too-cold AI generation, soften aggressive highlights, correct a tint dominant, and harmonize assets coming from different sources.
But Photopea must not become a permanent bandage on a bad upstream workflow. If you systematically retouch everything by hand, the problem is often in your initial generation or your brief consistency.
My advice: use Photopea for targeted finishing, not to save a fragile concept. A good base + light retouch is worth more than a weak base + complete surgery.
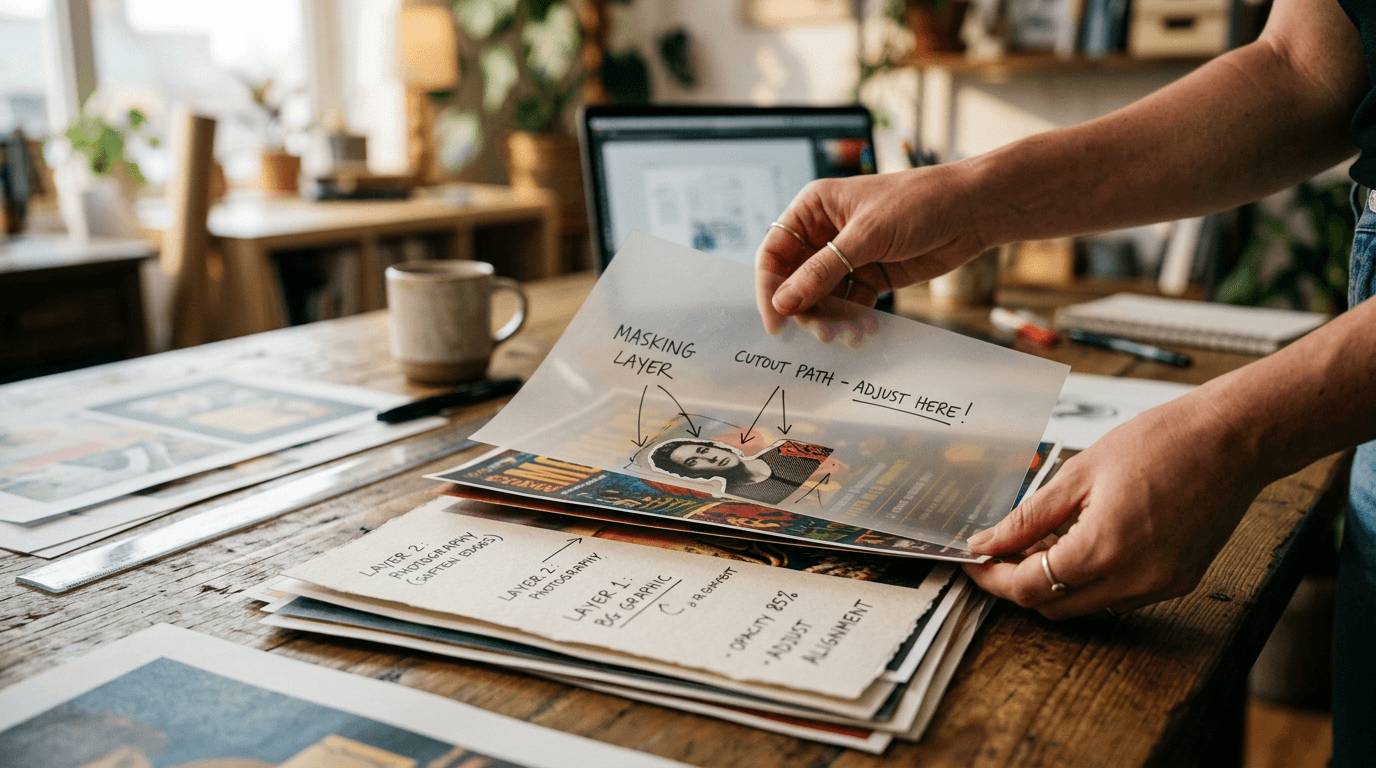
Remove.bg: cut out fast yes, validate quality always
remove bg is perfect to speed up cutouts. In social or fast e-commerce content, it is an immediate gain. You can produce several variants in a few minutes.
The trap is to blindly trust the cutout. The hair edges, the translucent zones, or certain thin objects can reveal visible artifacts after compression. With no control, your "fast" visual becomes amateur.
Simple workflow that works:
- Automatic cutout.
- Edge check on a light and dark background.
- Local correction if necessary.
- Light/shadow harmonization in the composition.
💡 Frank's Cut: a clean cutout is not only a matter of sharp edge. It is also a matter of credible light integration into the new setting.
Looka: useful to start, dangerous if you forget the differentiation
looka helps to quickly launch a visual identity base for non-designer profiles. For an MVP, a positioning test, or a first brand iteration, it is useful.
The risk is the standardization. Many generated logos look alike, with visual structures already seen everywhere. If you stop there, your brand can look "prefabricated".
The good approach: use Looka as a starting point, then refine your identity in a more flexible design tool. Adjust proportions, typographic hierarchy, contrast, and image universe to create a real difference.
To keep a brand consistency in generated visuals, you can complement with our guide for consistent characters from one image to another.
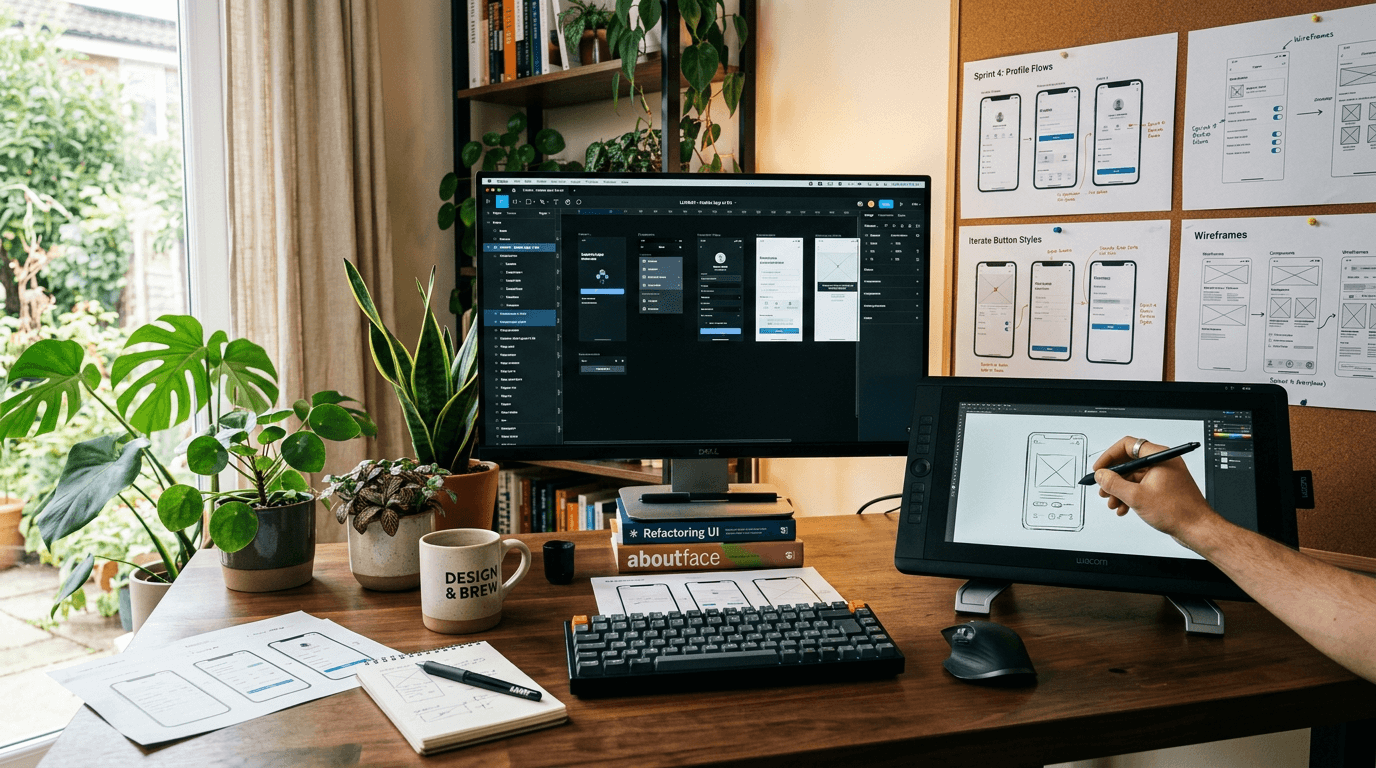
Figma + AI: the real control center of your visual system
figma is not a photo generator in the strict sense, but it is the best hub to orchestrate your AI assets. There you build your components, your grids, your variants, and you lock the cross-format consistency.
The main gain in a team is huge: everyone sees the same base, the same styles, the same rules. You avoid the phantom versions and the inconsistent exports.
AI in Figma becomes powerful when it serves an existing system. If your design system is fuzzy, AI amplifies the fuzziness. If your system is clean, AI speeds up the production.
It is there that many creatives move from an "asset by asset" logic to a "pipeline" logic. And it is exactly the shift that saves time durably.
Microsoft Designer, Freepik, Pexels, Shutterstock: how to use them intelligently
microsoft designer is handy for fast creations and simple variations. Very useful when you have to publish fast and the personalization level stays moderate.
freepik is rich in resources and can strongly speed up moodboards, templates and complementary assets. The trap is to make it a creative crutch that uniformizes your render.
pexels and shutterstock stay useful to complement a visual narration with reliable photo/video bases. The challenge is to maintain a homogeneous visual direction when you mix generated assets and stock assets.
The field rule: choose your asset source according to the role in the pipeline. Stock for base credibility, AI generation for creative variation, retouching for final harmonization.
My quick comparison of AI design tools
| Tool | Strength | Frequent limit | Ideal for |
|---|---|---|---|
| Photopea | fast and flexible retouch | can hide a bad upstream brief | finishing and harmonization |
| Remove.bg | ultra-fast cutout | artifacts on complex edges | e-commerce, fast social |
| Looka | express branding start | visual standardization | initial brand phase |
| Figma | system consistency and collaboration | requires a rigorous structure | multi-format production |
| Microsoft Designer | execution speed | limited personalization | fast content |
| Freepik | large library | sometimes generic style | moodboards and assets |
| Pexels | simple, credible access | needs harmonization | visual complements |
| Shutterstock | pro stock quality | cost and consistency to manage | premium campaigns |
The Trench Workflow: create, cut out, design faster without sacrificing the quality
Step 1: write the visual goal.
Step 2: collect 3 base assets max.
Step 3: cutout and cleanup.
Step 4: composition in Figma.
Step 5: targeted final retouch.
Step 6: mobile + desktop validation.
Scenario A, local shop: average product photo, 24h campaign need. Remove.bg for cutout, Figma for variations, Photopea to harmonize the light. Result: consistent visuals delivered fast.
Scenario B, micro-brand launch: Looka for the identity base, Figma for the system, Freepik/Pexels for a complementary visual universe, then tonal corrections. Result: a brand more credible than a simple auto template.
Scenario C, SaaS content team: Microsoft Designer for volume, Figma for a common structure, Shutterstock for occasional premium visuals. Result: pace + stable quality.
This workflow protects you from the "tool of the day" chaos and turns your stack into a productive chain.
Troubleshooting - What Beginners Break
Mistake 1: cutting out without checking the edges on several backgrounds.
Mistake 2: mixing too many visual styles with no harmonization.
Mistake 3: using Looka as the final result instead of a base.
Mistake 4: producing off-system assets in Figma.
Mistake 5: confusing creation speed and final perceived quality.
Mistake 6: never testing on mobile before delivery.
Core Concepts to level up quickly
The first concept is series consistency. You do not evaluate an image. You evaluate a set.
The second concept is the separation of roles: generation, cutout, composition, retouching, validation.
The third concept is traceability. Note what works to reproduce it.
The fourth concept is the real-context validation. Your mobile feed is the final judge.
The fifth concept is the total production cost. Lost time = the main hidden cost.
To reinforce your render method, read our guide to avoid the generated-AI-image effect, our best AI image generator comparison and our Adobe Firefly test in production.
Useful external sources
Real cases: how these tools change a production week
Case 1, solo studio managing five local clients. Before, each "just a small tweak" request broke the day. After setting up the Remove.bg + Figma + Photopea pipeline, the studio reduced the chaotic retouches and above all clarified its steps. The biggest gain was not the generation itself. The gain was the removal of the hesitations. When each step is defined, you no longer improvise your process on each project.
Case 2, e-commerce brand with 40 references. The team used heterogeneous visuals: some stock photos, some generated images, some manual retouches. Result, weak global impression despite good products. By imposing a single visual base and a systematic final harmonization pass, the brand finally got a consistent storefront. The tools did not change. Their order of use, yes.
Case 3, training organization that publishes weekly content. The challenge was the pace. Microsoft Designer sped up the production of the variants, Figma maintained the structure, and Photopea corrected the color inconsistencies. This type of organization is very underestimated by beginners. You do not need a miracle tool. You need a circuit that absorbs the load without dropping the quality.
Case 4, agency that wanted to industrialize its video thumbnails. The main problem came from the mobile readability, not the source quality. The team reviewed its protocol: clean cutout, strict typographic hierarchy, mandatory thumbnail test, then final export. The performance of the visuals progressed because the pipeline aimed at the final use, not only the "beautiful" render in large format.
Advanced mistakes that slow creatives after the beginnings
Advanced mistake 1: confusing automation and complete delegation of taste. You let the tool decide everything, then you correct at the end. Bad logic. The level rises when you direct the tool with clear criteria, then you let the automation execute the repetitive tasks.
Advanced mistake 2: optimizing each asset separately instead of optimizing the series. A perfect isolated visual does not save an inconsistent campaign. Always look at the set of deliverables side by side before final validation.
Advanced mistake 3: not setting a validation threshold. Many creatives keep iterating because they can, not because they must. Define stop criteria: readability, consistency, edge quality, respect of the visual base. When the criteria are validated, you deliver.
Advanced mistake 4: neglecting the internal library. If you do not keep your best Figma structures, your correction presets, and your useful prompts, you restart each project as if it were the first. A living library saves you a massive amount of time.
Advanced mistake 5: ignoring the post-publication feedback. A visual can seem solid in the studio and perform weakly in distribution. Analyze what really passes better: contrast, subject angle, text density, type of cutouts. It is this field feedback that refines your method faster than any tutorial.
Last point often forgotten: the decision fatigue. When you spend your day choosing between ten variants, your judgment quality drops. Set up a simple auto-preselection rule: you eliminate any variant that fails on mobile readability or light consistency, before even discussing aesthetics. This filter reduces the mental noise and improves the decision speed. The most efficient teams are not the ones that see the most options, but the ones that know how to quickly remove the bad options.
FAQ (PAA Optimization)
-
What are the best ai design tools for a beginner in 2026?
For a beginner, the best set is often a simple combination: Remove.bg for fast cutouts, Figma to organize the compositions, and Photopea for the final retouches. This trio covers most daily needs with no excessive complexity. The mistake is to want to use everything from the start. You progress faster by mastering three complementary tools than by exploring eight half-learned interfaces. Once the base is stable, you can add Looka for an initial branding or Microsoft Designer to speed up certain low-complexity marketing variations. -
Is Remove.bg good enough for professional use?
Yes, it can be, but only if you add a quality control after the cutout. The complex edges like hair, transparencies or thin objects often require a manual check. In pro production, you never validate a cutout only because it is fast. You validate because it holds up visually on a light background, a dark background, and in real compression. Remove.bg is an excellent accelerator, not an absolute guarantee. Used with a targeted correction step, it saves a lot of time without sacrificing the credibility of the final render. -
Can Looka be enough to create a real brand identity?
Looka can offer an excellent starting point, especially to quickly launch a project or clarify a style direction. On the other hand, for a lasting and differentiating brand identity, you generally have to go further: adjust the logo, the typography, the color rules, and the consistency of the visuals across several media. The main risk is the standardization. If you keep the raw result, your brand can resemble many others. The recommended approach is to use Looka as a base, then consolidate the identity in a more personalized design system. -
Is Figma useful even if I mostly do AI visuals?
Yes, and it is often even the central tool that turns a series of images into a real production system. Figma helps you structure your components, create variants, maintain style rules, and collaborate with other profiles without losing the consistency. Even if your images come from external AI tools, Figma stays the layer that organizes and harmonizes everything. With no this layer, you risk delivering heterogeneous visuals. With it, you move from an isolated experimentation logic to a reliable and reproducible pipeline logic. -
How to combine Freepik, Pexels and Shutterstock with no inconsistent render?
The secret is to define a visual base before selecting the assets: palette, contrast, light type, texture level. Then, you choose resources compatible with this base, then you harmonize in light post-prod. The problem does not come from the libraries themselves, but from the mixing with no direction. Freepik can serve for the speed, Pexels for credible complements, Shutterstock for premium assets, but they must all go through a visual-alignment phase. This discipline avoids the collage effect and reinforces the professional perception. -
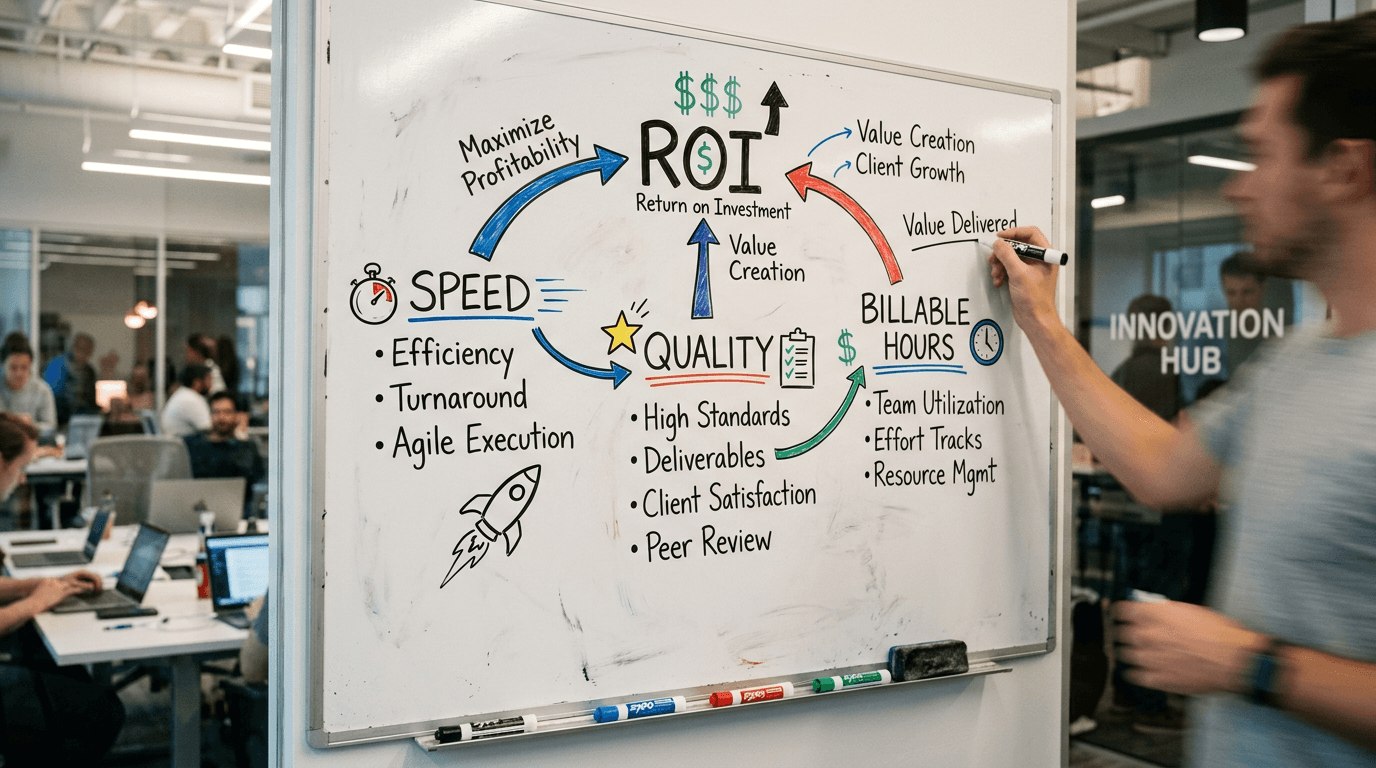
Which ai design tools are the most profitable for a small agency?
For a small agency, the profitability comes from a balanced stack: a fast cutout tool, a collaborative composition hub, and an agile retouching tool. Remove.bg, Figma and Photopea often form a very efficient base. You can add Microsoft Designer for certain fast volumes and Shutterstock for occasional premium needs. The most important is not the list of tools, but the clarity of the pipeline. An agency makes money when it reduces the unproductive back-and-forths and standardizes its quality validation before client delivery. -
How to avoid the "template" render when using AI-assisted design tools?
Start with a precise visual intention, then impose style constraints specific to your universe. Avoid the unmodified default presets, adjust the proportions, the contrasts, the typographic hierarchy, and the visual material. Then, do a strict sorting of the assets that seem too generic. Finally, add a global consistency retouch to uniformize light and tone. The template render mostly comes from a lack of direction and selection. With a sorting and finishing method, even general-public tools can produce much more distinctive results.
The tools do not create the level. The system you build with them does.