How to Add Realism in Post-Production
After the AI video generation, realism is won in post: motivated grade, temporal texture, moderate movement, credible sound, and a rejection discipline that turns a demo clip into a deliverable shot.
When a sequence comes out of the video engine, it often carries three invisible signatures: a beauty too clean, a stability too perfect, and a consistency that cracks as soon as the viewer watches two seconds longer than they should. This is not a condemnation of the medium. It is a simple reminder: adding realism in post-production on an AI video is not a last-minute fix. It is a series of choices that repair the promise the shot made to the viewer from the first frame.
This guide is written for creators who already know how to generate an "impressive" shot, but who want a render that holds up when projected, watched on a phone, or sent to a demanding client. You will find a method in passes, safeguards against the classic mistakes of digital grading, and internal references that cover the indispensable upstream: movement, grain, long workflows for a cinema render, and the fight against the plastic effect that sometimes starts before the video even exists.
To frame the goal with resources from the site: grain as visual glue in the article how to add cinema grain to an AI image, engine realism from the generation in how to improve motion realism in AI video, the Seedance pipeline when you have to lock a film look in complete Seedance 2 workflow for a cinema render, and finally the basics to avoid an image too "catalog" before its time in how to generate photorealistic AI images without the plastic look.
Defining post-production realism after an AI video
Realism is not hypersharpness and it is not an accumulation of imperfections laid on like stickers either. In post, realism looks more like a perceptible causality: the light has a direction, surfaces react like surfaces, the micro temporal variations look like what a sensor and a lens create when they record the world under real physical constraints or constraints owned as such by a stable photo direction.
An AI video often fails because it mixes contradictory cues: a "pretty" depth-of-field blur on a subject whose edges stay at a sharpness that betrays another lens, smooth skin in a set that screams texture, a calm sky on a garment vibrating with artifacts. Post-production does not always repair the structural contradiction, but it can reduce the perceptual contrast between these discordant signals until the illusion holds for the duration you have to deliver.
The common mistake is to confuse "cinematic" with "aestheticized". A cinema look can be very contrasted or very soft; what supports it is not a LUT downloaded on Wednesday, but a hierarchy: where is the important thing, which shot lets a scene breathe without over-explaining everything, which texture accepts an imperfection readable as material instead of parasitic noise.
If you have to explain the approach in one sentence before opening your software: reduce the digital reading without destroying the intention realized upstream. By "digital reading", understand aggressive global sharpness, stabilization that freezes the air, colors that move shot by shot with no common law, sharpening that halos the edges, noise too coarse after an image too surgical, and compression that turns your efforts into blocks on the flats.
Bridges to the upstream: why post-production alone loses the battle
Let us start with a very unglamorous field truth: if you have no lighting law, if your camera movement contradicts the physics the set suggests, if your character goes from one plausible anatomy to another between two cuts, no preset will save the narrative. For this reason, I always treat post as a third layer, after a serious brief and a moderate generation. Moderation in movement is precisely the subject developed in the movement guide; just keep one engineering rule here: each additional second multiplies the chances that the model exposes an inconsistency.
The complete Seedance workflow proposed on the site is useful because it forces a continuity: pilot image, constraints, rejection criteria, naming, versions. Even if your tool is not Seedance, copy the spirit: one output per intention, not fifteen final_final_v9 files that hate each other. Post on a chaotic base becomes an artifact hunt; post on a mastered base becomes color design and finishing.
On the still image, the plastic effect is a gateway to videos that "shine" without convincing. The settings that correct plastic upstream reduce the oscillations in time: less ceramic skin tones, textures less synonymous with a showroom, reflections that do not play the omniscient mirror on every object. Then reinvest that gain in post, you will need to compensate less with a heavy grain that masks rather than harmonizes.
Realistic inventory: what you can correct afterward (and what you risk)
What is often partially repaired.
- Edge artifacts and micro color instabilities due to an unfortunate intermediate compression.
- A global contrast too linear, "webcam" type, where the midtones eat everything.
- A global saturation too uniform that sticks the "stock" label even when the geometry is good.
- Disorganized temporal noise: you can sometimes smooth it, sometimes reseed it so it looks more like cinema grain or light camera noise in your intention.
- A missing motion blur after a generation too sharp where a lens would have had a micro trail.
- A desynchronized soundtrack or one too clean relative to the images (yes, post is also editing).
What resists.
- A hand passing through an arm like a ghost, except heavy repaint outside classic video work or redoing the shot.
- A mutating text on a sign, if the reading is important: sometimes reframing, sometimes patch replacement, often a new shot or still image.
- Deep lighting inconsistencies like day and night on the same face with the same lighting geometry: you can soften, rarely create two real sources from nothing without an aberrant cost and a risk of collage.
To stay honest with a client or with yourself, note a debt scale: structural debt (geometry, light, action), material debt (texture, grain, depth), temporal debt (movement, duration, rhythm). Post mostly settles the material debt and part of the temporal debt; a heavy structural debt calls for a return upstream.
The recommended post chain: an order that avoids regressions
An order is not a religion, but in practice it reduces the back-and-forth that destroys what you gained in five passes.
1) Stabilize the reading reference before the color grade
Export or place your intermediate master in a timeline with a stable frame rate. Check the real frame rate versus the expected reading; micro 23.976 vs 24 offsets play tricks on you over the subjective duration. Normalize what must be (crazy levels after an automatic export from an AI SaaS), but avoid any "look" yet.
Observe on at least three possible destinies of the file: a calibrated monitor if you own one, a typical laptop screen, a smartphone. If you only have one screen, make a clean test export and watch it in real conditions, not only in the software player at full zoom.
2) Repair the geometry of the contrast (primary)
Before a LUT, you seek to give the image shoulders back: blacks that do not run into mud, highlights that do not burn for no reason, midtones that carry the subject. Think in terms of "toe" and "shoulder" of the histogram for the classic vocabulary, but above all in terms of reading: is the face the most visually stable thing for the eye, for the scene you are telling?
On generated faces, the skin is a trap: you want a texture, not porcelain, nor a patchwork of micro contrasts vibrating over two frames. Use soft masks, curves by zone, color tools with respect for the transitions. When you push a setting and the skin becomes "better than life", step back a third: it is often the right move.
3) Look and color direction (secondary)
The look is not "more cinema" because it is more blue. It is cinema when it obeys a law: cold exterior, warm interior, night with a real motivated source, or on the contrary a deliberately desaturated world if your story demands it. Document the law in three lines in a text file next to the project: dominant, intended contrast, authorized exception (for example a neon that cuts through).
Avoid multiplying looks per shot if you have no narrative motif. AI videos sometimes signal themselves with a change of "aesthetic brand" at each cut without the story justifying it. If you must vary, vary within a family: same base curve, slight rotation on the color faces, not a different free download between shot three and four.
4) Texture and grain as glue, not as decoration
Reintroducing a texture must serve two precise goals:
- Harmonize a surface too smooth with an environment that claims to be photographed;
- Reduce the illusion of a global sharpening by making a micro dispersion on the flats acceptable.
The grain-on-AI-images guide develops this idea outside video, but it transposes very well after export: you want a grain fine and consistent in spatial intensity, stable or almost in time, except for a very owned contrary intention like a raw document style. A grain too coarse on very clean zones makes "bad-mood sensor noise", not cinema.
A pragmatic tip: start at an intensity where you almost have to look for the grain, then go up until it becomes perceptible only after a small viewing distance. Then check at mobile phone size: too visible on mobile can become caricatural.
If you have to choose between grain and sharpness, sacrifice sharpness well before grain, except on a product shot where the material texture is the subject and where targeted local sharpness is enough.
5) Sharpness: the least sexy and most rewarding discipline
Global sharpening on an AI video is an artifact amplifier. Prefer:
- cautious frequency masking;
- local sharpness on the important cues (eyes, key prop);
- and above all the sharpness obtained by moderate local contrast on the midtones rather than by halos on the edges.
When you see a light-dark halo around a profile, you have left realism for the software interface. Step back.
6) Perceived movement: micro-fields, micro-breaths, and limits
Even in post, you can sometimes suggest a camera that breathes without going back to the model: a very light repositioning on a static shot, an almost subliminal micro zoom variation on a shot lacking life, extreme care not to trigger reframes that cut important gestures. It is not universal: on shots with hands in the foreground, the slightest false movement reveals deformations.
For pure motion realism, refer to the internal guide; here, the post lesson comes down to this: do not correct the movement to the point of exposing another defect. Sometimes a slightly "clean" but stable shot is better than a "living" shot that turns a face into an unstable mass.
7) Sound: the credibility multiplier
The viewer sometimes forgives a micro visual inconsistency if they hear a coherent world: footsteps, clothing rustle, reasonable stereo ambiences, a voice whose reverb fits the shown space. A soundtrack too "radio ad" mixed over images claiming to be in a real place breaks the pact faster than a badly dosed grain.
Normalize and compress sparingly: aggressive audio post on a fragile visual chain reveals instabilities. If you have the time, place useful silences: real cinema breathes, the YouTube demo does not.
Reading table: visual symptom, probable cause, post action
| Symptom | Probable cause | Typical post action |
|---|---|---|
| Halos around the edges | global sharpening | remove, redo masked |
| Colors that "swim" in time | generation / compression instability | soft stabilization + limit sat |
| Plastic skin | render too smooth + grade too "beauty" | fine texture + soft curves |
| Banded sky | smooth gradients and brutal 8-bit export | light grain + avoid long flats with no texture |
| Too "sharp everywhere" | hyper-sharp pipeline | very moderate light optical blur off subject |
Keep this table as a roadmap, not as dogma; change the line if your intention is precisely a non-photographic aesthetic, but then own the vocabulary: "stylized", not "trompe-l'oeil documentary".
Use case: product teaser vs short fiction
For a product teaser, realism is often a realism of surface and material: readable but not impossible reflections, acceptable micro dust but not chaos, almost nonexistent movement if the product has to stay readable as a hero. The grade can be more "clean" as long as you document three decisions: key, fill, reflected environment. Otherwise the prop looks like the studio and the set looks like a catalog.
For a short fiction, realism is storytelling: inter-shot consistency, rhythm, and small traces of use on the world. You can afford more grain, more light imperfections, but you have to choose a temporal referent: a felt 90s film stock, 2010 digital, modern scope cinema, etc. Mixing three references with no intention gives the AI demo.
"One hour" protocol to get out of a dead end
If you are going in circles, this protocol stays dumb and effective:
- Write in one sentence what the viewer must believe with no on-screen text.
- Watch without sound once, then listen without image once; note where the pact breaks first.
- Reduce the chain of effects: go back to the second-to-last "savior" setting and compare.
- A/B export at low bitrate close to the real destination: many decisions are made on a file that is too beautiful.
- Choose: rejection discipline beats infinite perfectionism.
Tools, formats, and technical sobriety
I am not selling any software here. The logic matters more than the brand: work in a consistent color space, prefer intermediate exports with no useless repeated re-encoding, and keep non-destructive masters when the platform allows it. If you work between several apps, name the versions and note the transformation applied at each jump (rec.709, intermediate log, etc.) to avoid the unintentional double grade.
AI upscalers and denoisers in post can help on precise shots, but they can also rewrite the texture unevenly: test on a short loop before applying it on ten minutes. Remember that a shot that becomes "too clean" after an aggressive denoise often needs a calibrated recall grain.
On the business side, a clear post chain saves you billable hours and reduces client back-and-forth. I have seen small shops and independents structure this part as a clear offer: master, social media version, archive version. The transferable idea is simple, whatever the field: a well-segmented finished product. At your end it will be: cinema master, safe mobile version, captions and mix adapted. The client pays for a deliverable, not for your nighttime exploration.
Ultra-short glossary to talk like a team
- LUT: transfer table; useful after a stable primary, dangerous before.
- Primary / secondary: global correction first, targeting after.
- Halation: physical glow on certain films; use sparingly on AI that already burns highlights.
- Simulated rolling shutter: rarely necessary on AI but sometimes useful stylistically if everyone owns it.
Ethical safety and expectations
A more realistic video also carries more risk of deception if you do not frame the use. If your content imitates a testimonial, misleading news, or a sensitive identity, your technical choices are not neutral: realism equals ethical responsibility. Document consents, regulatory disclaimers if needed, and keep an internal trace for yourself.
Summary: the five lines to note after reading
To add realism in post-production on an AI video, keep in mind:
- Primary before look, otherwise you will correct a nightmare with a different tint at each cut.
- Texture and grain serve to glue, not to systematically hide anatomy errors.
- Movement: moderate upstream, micro-corrections in post only when it does not create other ghosts.
- Sounds and silences give the visual a second chance.
- Rejection discipline: three serious variants beat sixteen tired half-versions.
FAQ
Foire aux questions
Réponses rapides aux questions les plus fréquentes sur cet article.
Can post-production save an AI video that is bad at the base?
Sometimes partially, rarely completely. You can improve material and color consistency, reduce light artifacts and reinforce a mood; you do not replace inconsistent light with real light without different artistic costs. If the structural debt is heavy, go back to the brief and the moderate movement described in the internal guide.
Do you always need grain for realism?
No. Grain is one tool among others and some modern digital references are very sharp while staying credible thanks to light, plausible virtual optics, and depth. Grain often corrects an excess of cleanliness when your AI sources are too "studio", but it can harm if you have to show a surgical product.
What is the minimum software to apply this guide?
Any serious environment where you can: set primary levels, do soft masks or secondaries, apply a controlled grain, export a clean master, and do a last QC on mobile or a representative player. The exact list depends on your budget; the discipline does not depend on the license.
Is sharpening your absolute enemy?
It is your enemy when it is global and aggressive. Localized, by frequency bands, modest on the decisive cues, it can even help the reading on very compressed deliveries, provided the halos stay below the average viewer's threshold of awareness.
How do I deliver several versions without getting lost?
Build a boring but holy project tree: folders by date, files with readable suffixes _master, _social, _archive, a text README where you describe the base LUT or the reference curve. Losing the clean master after five transformations is a classic source of dramas.
When should I invoke Seedance as a reference if I am not using Seedance tomorrow?
As soon as you want to think end to end: stable pilot, movement, post, QA. You can replace the engine, not the method. The complete workflow available internally exists to force the continuity between these steps; copy that continuity whatever your stack.
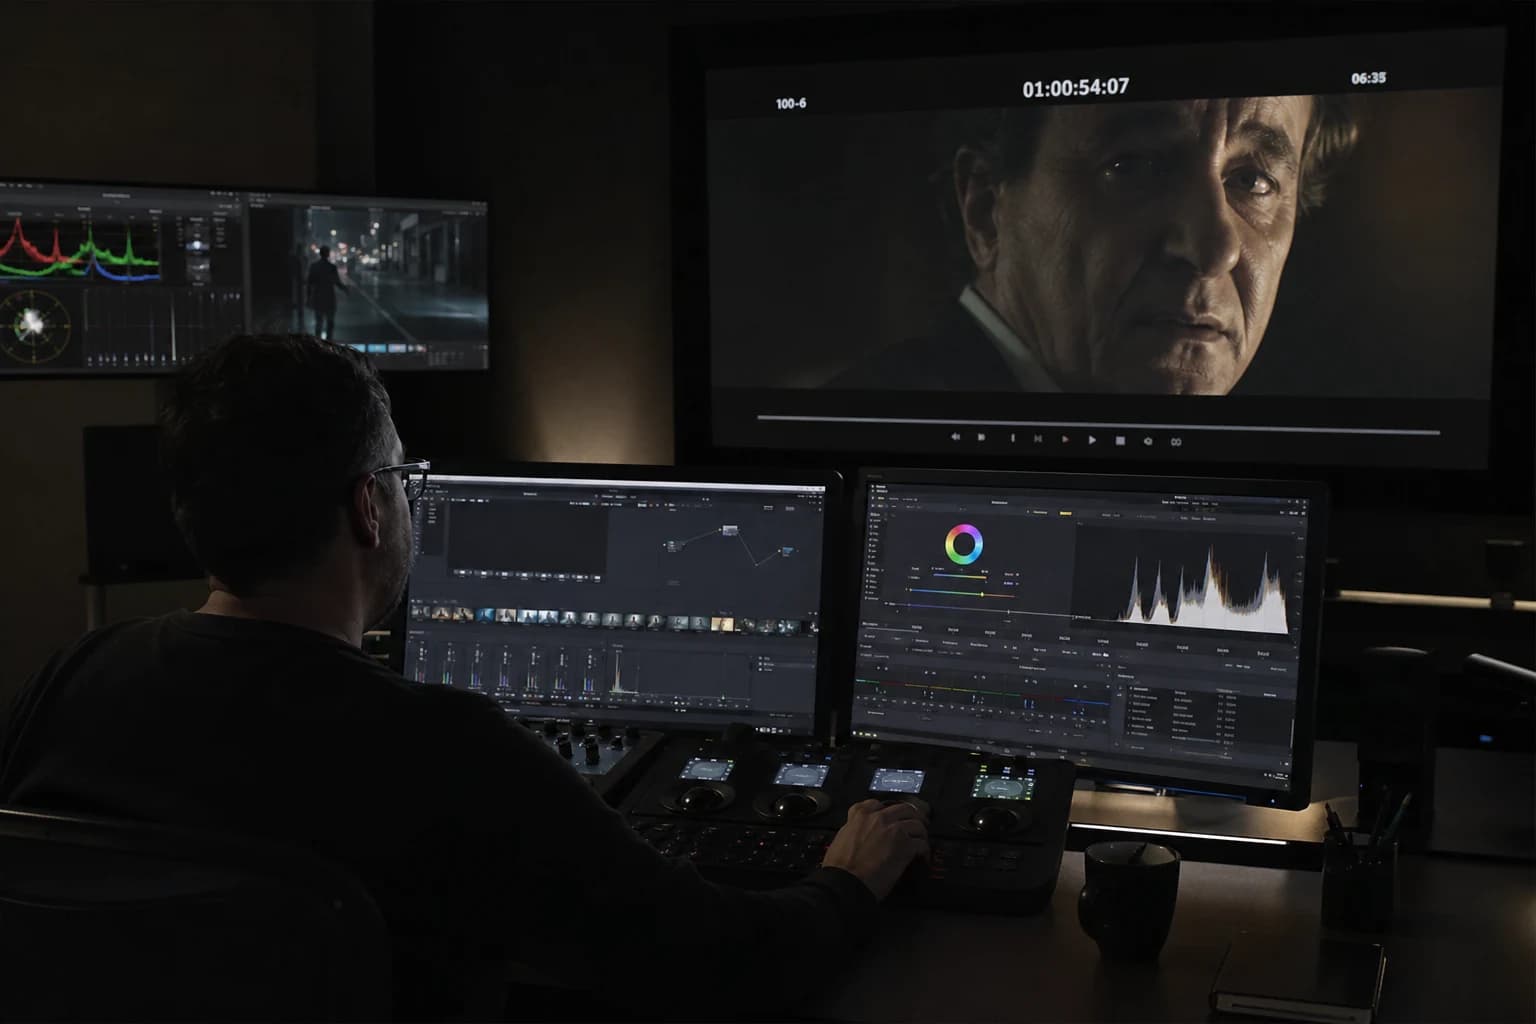
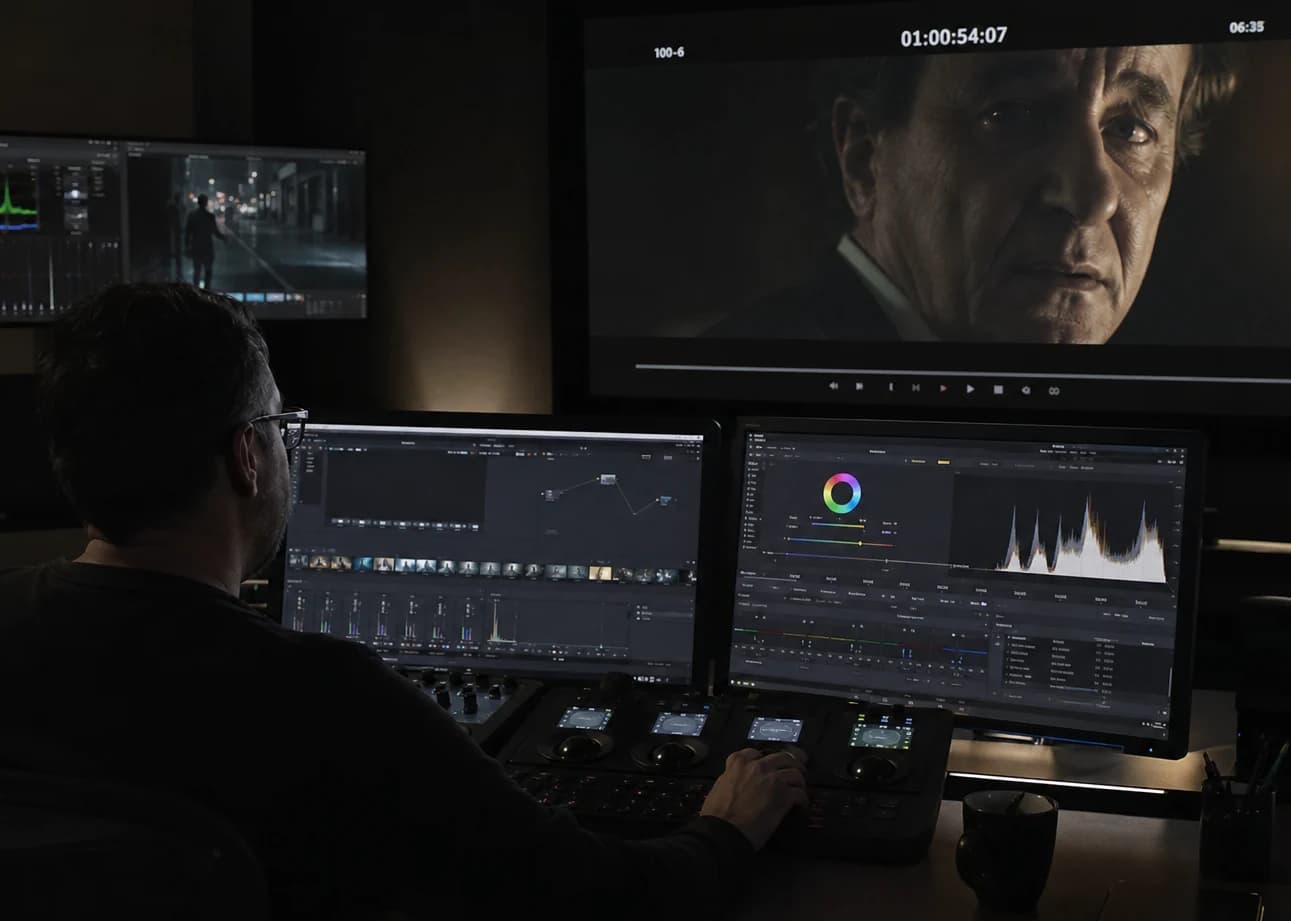
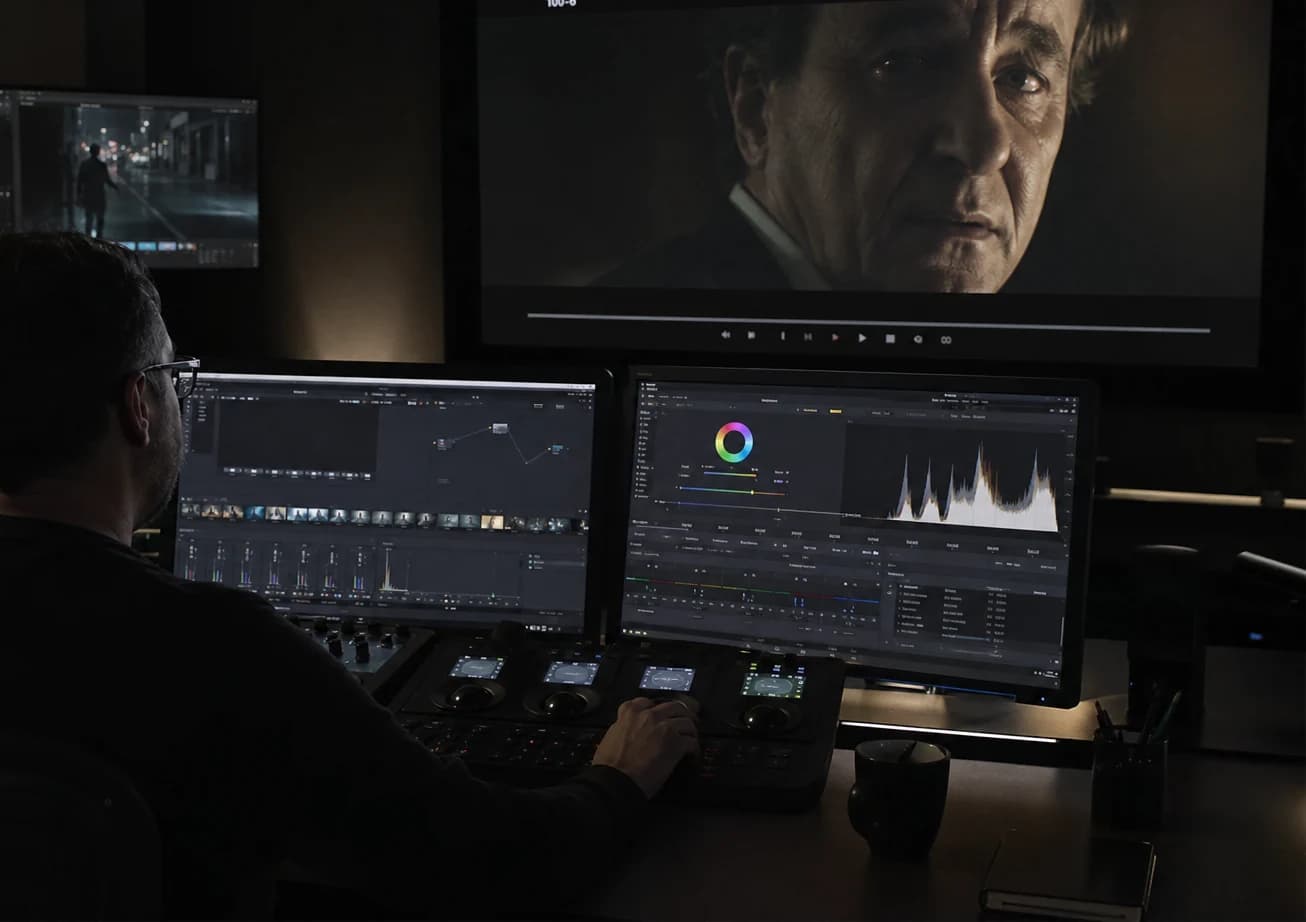
To finish with images as a promise in the project folder: three images speak fast to your team, one for the symbolic hero shot, two to sequence the technical memory (the stack of steps and the final export). In this guide, three visuals remind you that post-production is not abstract but organization + eye + repeatable decisions.
You now know that adding realism in post-production on an AI video does not come down to a filter: it is a contrast hierarchy, a coherent temporal texture, a sound that lends to the face, and a version discipline that keeps you honest. When you are stuck, go back to the internal guides on grain, movement, the Seedance cinema workflow, and images with no plastic: these are the four pillars that make post become finishing rather than a fire.