How to Edit an AI Video in CapCut Like a Pro
A field workflow to edit an AI video in CapCut with no plastic render or chaotic timeline: organization, rhythm, audio, finishing and exports that hold up on mobile as well as on a desktop.
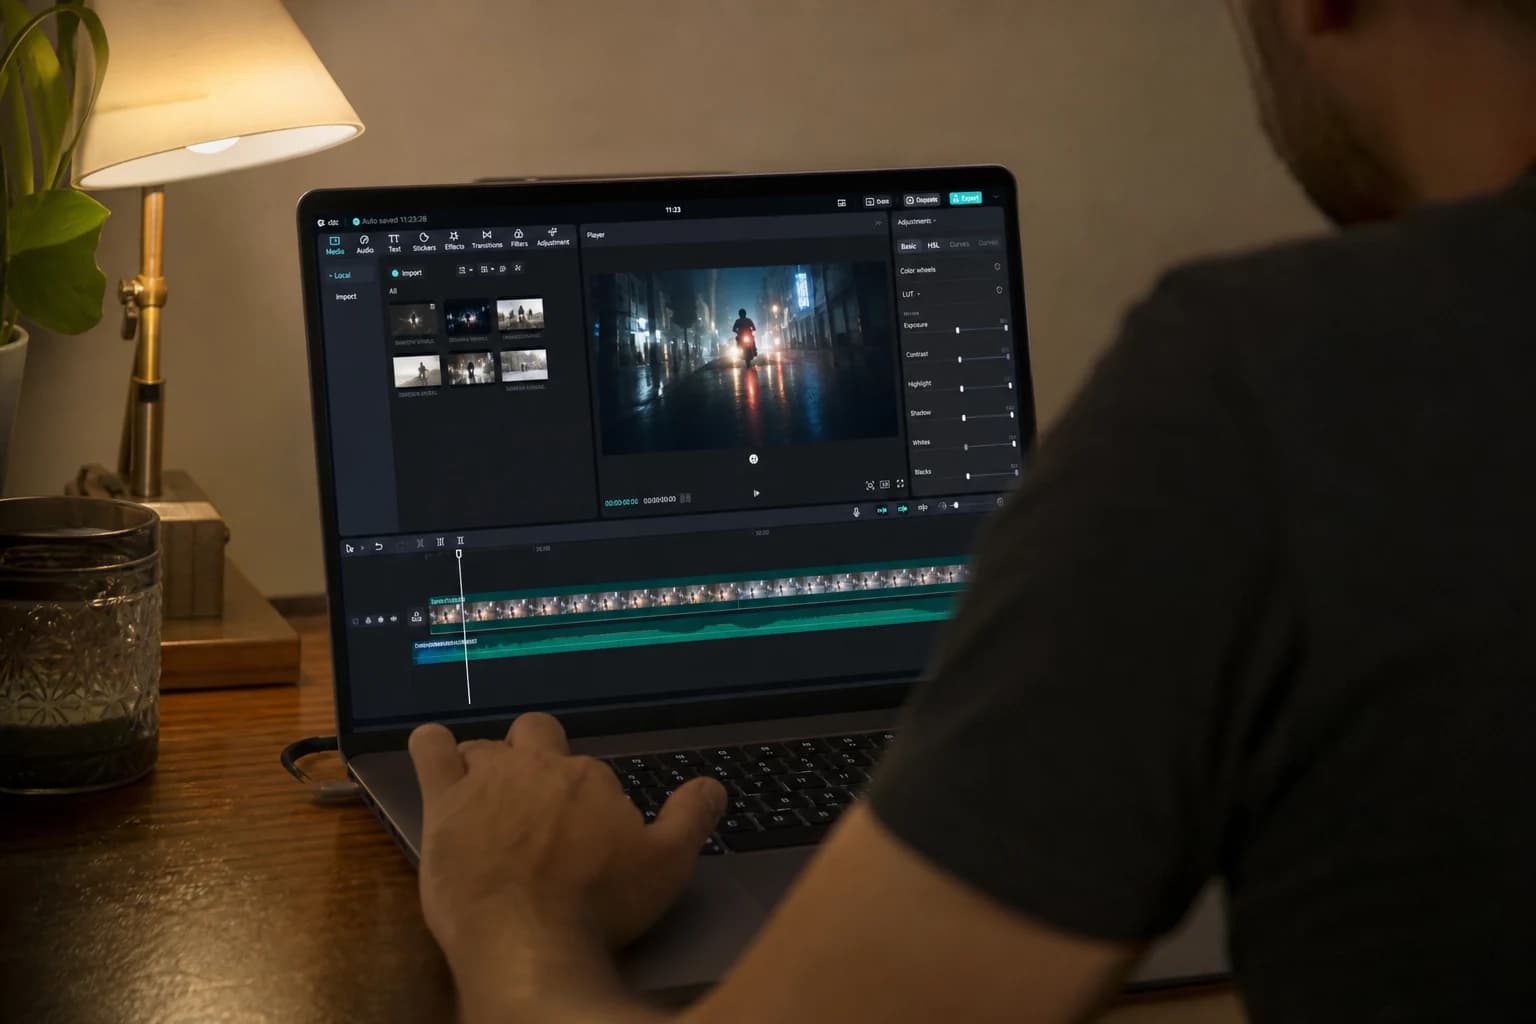
You finally have your shots. Runway, Kling, Seedance, Pika, whatever the engine: the generation has delivered. Now the real work begins. Because an AI video is not a magic-button problem. It is an editing problem. And if you want to know how to edit an AI video in CapCut seriously, you have to accept a simple truth: CapCut is not a toy because it is accessible. It becomes a toy when you use it as an effects box with no narrative hierarchy.
This guide is for creators who want a credible render, not a "turn your clip into Hollywood cinema with three transitions" tutorial. We are going to talk project hygiene, cut decisions, anti-plastic render, sound that holds up, and realistic exports. CapCut is an excellent place for that because it centralizes many modern needs: vertical, subtitles, basic auto-ducking audio, speed, light stabilization, and a short learning curve. The difficulty is not the tool. The difficulty is not drowning in your own AI variants before you have an editorial line.
If you arrive with heterogeneous sources, go re-read the complete guide to AI-assisted video editing. Here, we go into the CapCut trench, with concrete scenarios and traps I constantly see in editors who move from the "demo clip" to client delivery.
Core concepts: what CapCut changes for an AI video
First concept: the edit is a credibility filter. AI gives you textures that can be too clean, too sharp, too "showroom". The edit does not "repair" a lying image, but it can intelligently mask, shorten before the artifact, or reposition the attention. A well-placed cut is often worth ten extra generation passes.
Second concept: homogeneity is won by layers, not by miracle. You will not get five AI shots perfectly identical in film feel if you do not decide on a common treatment at the end of the chain: discreet grain, restrained contrast curve, set saturation, light homogeneous noise. CapCut lets you go fast on these settings if you handle it by coherent looks rather than by "unique snowflake" shot.
Third concept: verticality and social media lie to you about the rhythm. What looks dynamic on a phone can become hysterical on a wide screen. When you edit an AI video in CapCut for several destinations, prepare different reading axes early. It is not "redoing the video three times". It is reframing the same intention with different breathing durations.
Fourth concept: audio is half of the realism. A visually fragile shot becomes acceptable with a credible ambience and a stable voice. Conversely, a magnificent shot collapses if the room "sounds empty" or if the AI voices jump from treatment to treatment between two cuts. CapCut pushes you to go fast: precisely, you have to lock a reference track early to compare the versions.
To structure your intention before opening the app, how to structure an AI video like a real film stays a useful compass. Otherwise you spend your life looking for a transition that "saves" a sequence that never had a clear narrative function.
| Phase | Goal in CapCut | Deliverable | Frequent mistake | Pro fix |
|---|---|---|---|---|
| Preparation | Folders, versions, take choice | Clean project, named imports | Ten unsorted variants on the timeline | A/B/C selection before editing |
| Assembly | Readable narrative with no effects | Stable rough cut | Over-effects from the start | Cut for the meaning, not for the style |
| Rhythm | Ins/outs, density | Fine cut with breaths | Mechanical cut with no hierarchy | Master shots, proofs, breaths |
| Light post | Color, grain, consistency | Unified anti-plastic look | Aggressive saturation | A soft curve plus fine grain |
| Audio | Voice, room tone, music | Mobile-readable mix | Music that eats the voice | Ducking, simple EQ, levels |
| Export | Real destination | Masters per ratio | A single "universal" MP4 | Presets per platform |
💡 Frank's Cut: if your AI image shines like varnish, lower the local clarity a bit, add a very light grain, and avoid aggressive sharpening. The viewer does not read "sharpness". They read "flesh or plastic".
The trench workflow: editing an AI video in CapCut without losing your soul
1. Before the timeline: the sorting that saves you
You open CapCut. Your instinct says "I import everything". Bad idea. First do a pass off the timeline: watch each clip and put a mental label, or a file in a selects folder. Function: proof, ambience, transition, hero shot, insert. Why? Because AI often produces three "acceptable" near-duplicates. If you lay them all down, you will chain repetitions without realizing it. The audience realizes it in fifteen seconds.
Name your files with a simple convention: seq01_takeA_v2, audio_roomtone_office, vo_off_v3. CapCut does not force this rigor on you, but your future self will thank you when a client says "let us go back to yesterday's 2 PM version".
If your problem is upstream (an unstable pilot image, a video that lies from second two), go back to the complete image-to-AI-video pipeline. The edit does not replace a healthy pipeline. It reveals it.
2. Rough cut: a single question
The rough cut answers: is it understandable with no makeup? Not: do I look professional with glitches everywhere. Lay the blocks, remove the redundancies, ensure the logical chaining. If you edit a short AI fiction, check the emotional geography: where we are, who matters, what changes. If you edit marketing, check the promise before the proof.
CapCut excels when you work fast with clean scissors. Use markers on the strong beats rather than relying on memory. When you have AI voices, leave a mini margin before and after the sentences to avoid the too-dry cuts that reveal the synthetic.
3. Scenario A: short vertical ad (15 to 30 seconds)
Intention: a problem, a transformation, a CTA. CapCut structure: three video layers maximum at the start. Track 1 hero, track 2 inserts, track 3 light text. Rhythm: hook in 1.5 to 2 seconds, proof in a sprint, calm payoff.
Anti-plastic: avoid stacking "AI skin" beauty on long close-ups. Cut before the face becomes a laboratory. Prefer contextual inserts: hands, product, environment. Sound: a low music bed under the voice, simple sidechain or manual volume on the emphases.
If you deliver this format often, keep a CapCut template with already-named tracks and a validated 1080 × 1920 export. You gain the biggest lever after the framing: repeatability.
4. Scenario B: 16:9 explainer video (YouTube, website)
Intention: pedagogical clarity. CapCut: a more airy timeline, longer shots, clean subtitles. Trap: over-cutting because you are afraid of silence. Well-placed silences increase the authority, not the boredom.
Rhythm: alternate speech shots and support shots. The AI support shots must illustrate a precise idea, not "something pretty". If an image illustrates nothing, it competes with the voice instead of serving it. Cut it.
Link to how to produce an AI video in 24h if you have to compress this format into a deadline: the minimal-scope logic also serves the final edit.
5. Scenario C: experimental / micro fiction
Intention: tone or ambience. CapCut: you are allowed effects, but in deliberate layers. Distortion, speed, grain, dynamic crop: a single "stylistic engine" at a time. Otherwise the viewer no longer knows what is a bug and what is a choice.
AI continuity: check the hair, hands, phantom logos, textures that breathe. A cut can save a borderline passage with no one seeing the trick. Sound: a simple design consistent with the image. An honest whoosh is better than five gratuitous "cinema" layers that all sound different.
6. Fine cut: breathing, hierarchy, controlled lie
The fine cut is where you stop being an assembler and become an editor. You shorten for the emphasis, you lengthen to let it be understood, you create sound and visual anchor points.
With AI sources, do a simple test: a read with no sound on a key passage to check the visual geography, then a read eyes closed on another passage to check the clarity of the message. If one read collapses, it is not a LUT problem. It is a cut problem.
CapCut lets you adjust the speed of segments to catch up a tempo, but do not abuse it on faces: the motion detection often amplifies the artifacts. Prefer to cut to another shot.
7. Image post in CapCut: the "not catalog" look
I prefer a sober approach: push the blacks sparingly, keep a roll-off in the highlights, decrease the structural sharpness if your image screams "clean 3D". Add a light and uniform grain to link shots of different origins. The goal is not to imitate a perfect film stock. The goal is to remove the software-demonstration impression.
If you export for mobile, always check on a real phone. The screens sometimes mask defects, but reveal others: halos, banding, hisses.
8. Audio: AI voices, music, realism
Mentally normalize your levels before fighting for visual details. Voice: compress slightly if necessary, but do not "radiofy" the dialogues. Room tone: even three seconds of ambience under a sentence help fill the digital void. Music: choose a dynamic range compatible with the speech. If your music rises in the mids, your voice disappears without you realizing it in the headphone.
For the transitions, trust the short fades and the natural breaths rather than the gigantic noise boxes. Consistency takes priority.
9. Export: distribution is a step of the image
Export at the bitrate suited to your destination. An export too light turns an already-fragile image into compression mush. An export too heavy is useless if the platform re-encodes everything. Keep a hierarchy: an internal quality master, social derivatives.
Do a "mobile" pass and a "headphones" pass again. This double test eliminates an embarrassing amount of last-minute errors.
💡 Frank's Cut: if you hesitate between two versions, take the one that is understood on the first tired viewing, not the one that impresses when you are caffeinated at three in the morning.
Troubleshooting: when CapCut confronts you with your habits
Problem: rainbow timeline. Too many layers, vague names, unsorted takes. Solution: lock a rough version, duplicate the project, and restart on a fresh timeline for the fine cut. The deliberate friction forces you to choose.
Problem: "it flickers" between AI shots. Often it is not the transition. It is the difference in color temperature or perceived sharpness. Solution: harmonize before masking with a fade. Two shots that fight stay tiring even in a cross dissolve.
Problem: AI voice that reveals the cuts. Solution: slightly widen the handles, place a micro cut on a plosive sound or an ambient noise, or insert a support image that "carries" the jump.
Problem: effects everywhere, message nowhere. Solution: back to the brief. One sentence: who must do what after the video? If you do not know, neither does the viewer.
Problem: sharp export on a laptop, mud on a phone. Solution: watch the same file on two devices, adjust the contrast and grain for the smaller critical screen.
To frame what concerns the platforms' behavior and the viewer's expectations, the official resources help avoid superstitions. I often use the publishing best-practice documentation on Google YouTube for format and viewer-experience questions, the compression-principles guides on the FFmpeg side when I output intermediate files before a final pass, and the Adobe editing educational references for the editorial logic (even if the tool changes, the grammar stays).
💡 Frank's Cut: anti-plastic is not "less sharpness to infinity". It is a shared texture decision and a light that does not lie over three shots in a row.
FAQ: editing an AI video in CapCut, without getting lost
1. Is CapCut enough for a pro render with AI shots? Yes, if your goal is clear and you respect an editing discipline. CapCut covers the essentials of the current market: multilayer, speed, text, subtitles, audio, multiple exports. The ceiling is not the app, it is often the lack of selection before the timeline and the over-effect as a substitute for the narrative. For very advanced grading work, dedicated suites stay useful, but many social deliverables do not need more if the editing is clean. What makes it "pro" is the consistency of the levels, the breathing of the rhythm, and a stable sound. CapCut can carry that very far when you treat the project as a production chain, not as a sketch.
2. How do I avoid the plastic render when I edit AI visuals? Plastic arrives when everything is smooth, too saturated, and too sharp in the same place. In CapCut, aim for a soft curve, highlights that do not "burn" artificially, and a homogeneous fine grain to link the shots. Avoid pushing the faces in close-up over long durations: cut to an insert or a wide shot before the viewer analyzes the texture. Harmonize the temperature between shots before adding effects. Also remember that the eye adapts: a sequence can pass if the sound and the rhythm are excellent, but rarely the reverse.
3. What is the ideal duration for a first rough cut before polishing? It depends on the format, but the useful rule is: short enough to be read with no fatigue, long enough to be understood. In a vertical ad, your rough must lock the hook almost immediately. In an explainer, let it breathe, but eliminate any repetition. A rough is not a decorative draft: it is a comprehension test. If you spend more than thirty percent of your time on effects before validating the structure, you invert the risk. Finish the skeleton, then only the style.
4. How do I manage ten AI variants of the same shot without going mad? You choose an A/B/C system before opening CapCut. At most three finalists per key moment. Compare them on a single criterion at a time: edge sharpness, set stability, movement credibility, or audio quality if the shot is sync. Do not keep "just in case" on the timeline: archive in a folder, not in the active project. The off-project variant always exists, but does not pollute your decisions of the day. That is how you edit an AI video in CapCut without turning into an anxious archivist.
5. Should the music be laid before or after the voice? Lay a guide music early to judge the global rhythm, but lock the levels after the voice. Many underestimate how much music that is too present forces nervous visual cuts to "follow the beat" without being aware of it. If your video is spoken, the voice is the boss of the mix. Adjust the music so it yields on the consonants and comes back between the sentences. CapCut lets you adjust manually if you do not have an advanced sidechain chain: it is a short chore that pays off immensely on mobile.
6. Subtitles: automation or by hand? Automation saves time, by hand wins precision. For AI, check the technical words and the numbers: they are the first points where the auto-translation or the transcription slips. A simple, readable visual alignment, with not too many gimmicks. The subtitle serves the comprehension, not the typography portfolio. If your audience is in a hurry, they read. If they read badly, they leave. In CapCut, start with an auto pass to lay the structure, then do a read "aloud" cutting the lines that are too long. Two short lines often beat a single sentence that crosses the whole screen.
7. How do I know if I am over-cutting? Signs: no shot holds more than half a second with no narrative reason, the viewer does not have time to understand who speaks or where we are, and you yourself tire during the viewing. Test: watch your sequence at normal speed asking at each cut what function it fulfills. If you cannot say the function in a short sentence, the cut is often decorative. Replace it with a held shot or a real meaning transition (insert, sentence, sound).
8. What minimal export so I do not destroy my AI shots? Keep an internal high-bitrate master, then derivatives. For many uses, a solid file in well-set H.264 or HEVC is enough, but the setting depends on the platform. Avoid re-encoding the same timeline ten times "to see": each pass adds artifacts on fragile textures. Document your presets once they are validated on a phone. When your image is already AI, the aggressive compression on the face and the hair is the first thing that breaks. Aim for an "archive" master with more headroom than a social export, then go down for TikTok or Reels. A single critical encoding from the timeline is better than a chain of tests that stack the mud.
In summary: editing an AI video in CapCut like a pro is not about collecting features. It is about imposing a hierarchy: story, sound, visual consistency, then refinement. CapCut is the workshop. The raw material is your decisions. Keep your AI shots under discipline, refuse plastic as an aesthetic defect, and export for a real screen, not for your own timeline satisfaction. The rest is practice, and firmness in the face of the infinite variants.