How to use AI for cinema location scouting
Practical method to preselect, test and validate cinema locations with AI without losing the field realism.
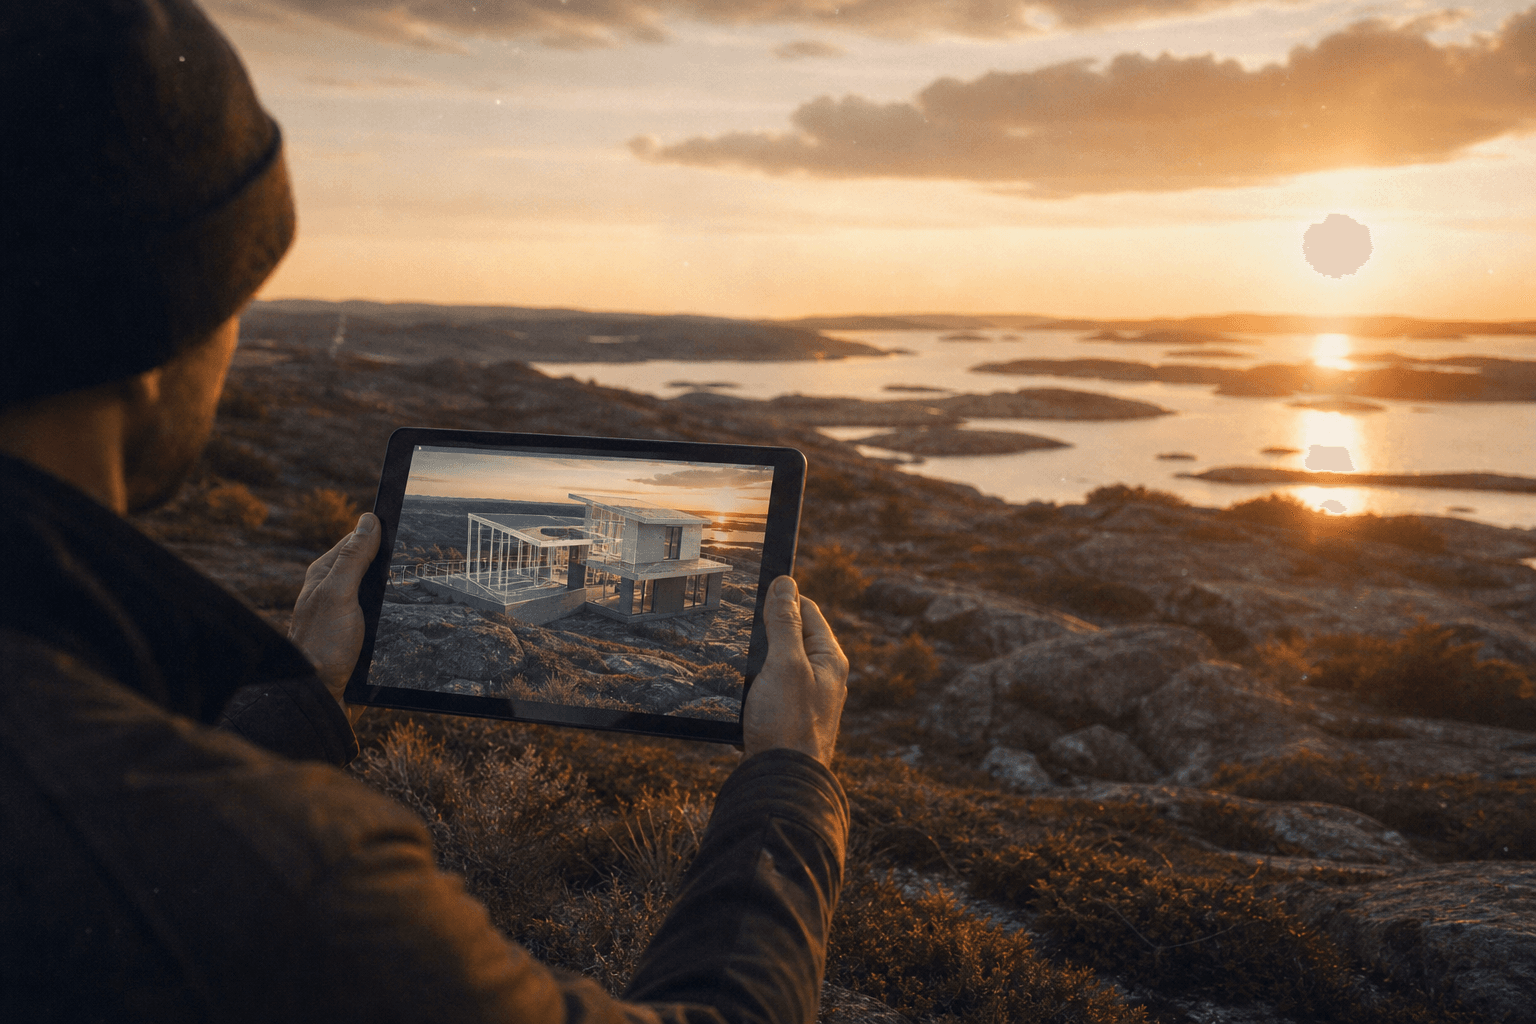
You have already lived this scenario. A location found online looks perfect. On site, it is the reverse. The street is impassable, the noise is unmanageable, the light falls in the wrong place, the truck access is impossible, and your schedule explodes. A failed scout costs a lot, not only in money. It breaks the team dynamic and the client trust.
AI can help you avoid that, but only if you use it as an intelligent filter, not as an oracle. Many beginners think a few generated visuals are enough to validate a location. It is false. The real scouting remains a field job. The AI accelerates the pre-scout. It replaces neither the walk on site, nor the technical tests, nor the logistical reading.
In this guide, you are going to learn to use AI to sort the options, simulate the camera angles, anticipate the risks, then deliver a solid decisional file. The goal is simple: reduce the false positives, secure the choices, and arrive on the shoot with a clear plan.
Core concepts: what AI can really do in scouting
First principle, AI is excellent to quickly explore visual hypotheses. You can test ambiances, axes, location textures, set densities, and light variations in a few minutes. This power of exploration is enormous to prepare a shortlist.
Second principle, AI is weak on the invisible field constraints. It does not feel the noise of an avenue at 6pm, it does not measure the cherry-picker access, it does not validate the permits, and it does not always anticipate the local safety constraints. It is there that the teams get trapped.
Third principle, scouting is a narrative decision before being an aesthetic decision. A beautiful place can be a bad location if its energy contradicts the scene. The AI shows you "looks", not necessarily "dramatic places". You must therefore frame your tests around the staging intention.
Fourth principle, scouting is played as a system. Narration, light, camera, sound, logistics, budget, law. If one of these axes breaks, the location is fragile. The AI becomes relevant when it is integrated into this system, not when it works in a silo.
If you have to reinforce the reading of the visual intentions before the scout, our guide on AI camera angles can help you define more clearly the framing and depth needs.
Fifth principle, the visual continuity remains central. A location very strong in isolation can be incompatible with the adjacent sequences. To maintain the global consistency, our guide on AI film matching mistakes gives you a useful control base from the scouting phase.
| Scouting phase | Real AI contribution | What the AI does not validate | Main risk | Mandatory action |
|---|---|---|---|---|
| Location pre-selection | Fast exploration of styles and ambiances | Access, permits, safety | false sense of certainty | create a field shortlist |
| Framing simulation | Angle and volume tests | exact physical constraints | impossible angle on site | check in a technical visit |
| Light planning | Orientation and ambiance estimation | micro-local weather variations | badly anticipated timing | real-hour test on site |
| Client presentation | Convincing visual file | complete production feasibility | aesthetic over-promise | add a risks/plan B section |
The trench workflow: field method to scout with AI
Always start with the script and the function of the location in the story. Is it a place of tension, of transition, of intimacy, of revelation? Without this answer, you are going to choose a "pretty" location instead of a "right" location. The AI must serve this narrative frame, not replace it.
Then, build a grid of non-negotiable criteria. Light, sound, traffic, equipment access, safety, permissions, weather margin, team capacity, logistical proximity. This grid becomes your decision tool. You apply it to each option, AI or field.
Third step, generate targeted simulations. Not an infinite gallery. A few precise scenarios: morning, end of day, rain, night, wide shot, tight shot. The goal is to filter intelligently before traveling, not to finalize a choice from the office.
Fourth step, go on site with a strict technical checklist. You validate what the AI cannot guarantee. If the place passes, you build a go/no-go file. If it breaks, you switch quickly to the already prepared plan B.
For the render consistency part between previz and execution, our AI-assisted video editing guide gives you a good sequence validation method.
Step 1: prepare a scouting notebook that avoids illusions
Your scouting notebook must fit in one readable page. At the top, scene intention. Then, critical constraints: sun orientation, shootable time slot, acceptable noise level, number of technicians, type of machinery, electricity needs, neighborhood constraints.
Add a "risk zones" section. Example: unpredictable traffic, variable public lighting, private zone, unstable local weather. This section forces the team to look at the limits before getting enthusiastic about the visual.
Also prepare a shared visual vocabulary. If your team talks about "humid urban cold", "lateral domestic warmth", "anxiety-inducing empty space", everyone understands the direction. The AI responds better when the intentions are clear.
Finally, keep a history of the decisions. Why does this place enter the shortlist? Why does this other one exit? This traceability avoids revisiting the same dead ends on each project.
Step 2: simulate intelligently before traveling
AI is perfect to test framing hypotheses. You can quickly explore a low 24mm, a 35mm at eye level, a dramatic low angle, or a compressed axis. This preview helps you know which places deserve a visit.
Also test the light under several conditions. Clear morning, overcast sky, golden hour, humid night. You do not get an absolute physical truth, but you already see if the aesthetic intention stays plausible or collapses.
Create mini moodboards per candidate location. Three images are enough: establishing shot, action shot, emotional shot. These triptychs are very useful for the director/production/photo discussion.
Stay disciplined on the test volume. Too many variants creates decisional noise. Limit yourself to what really influences the field choice.
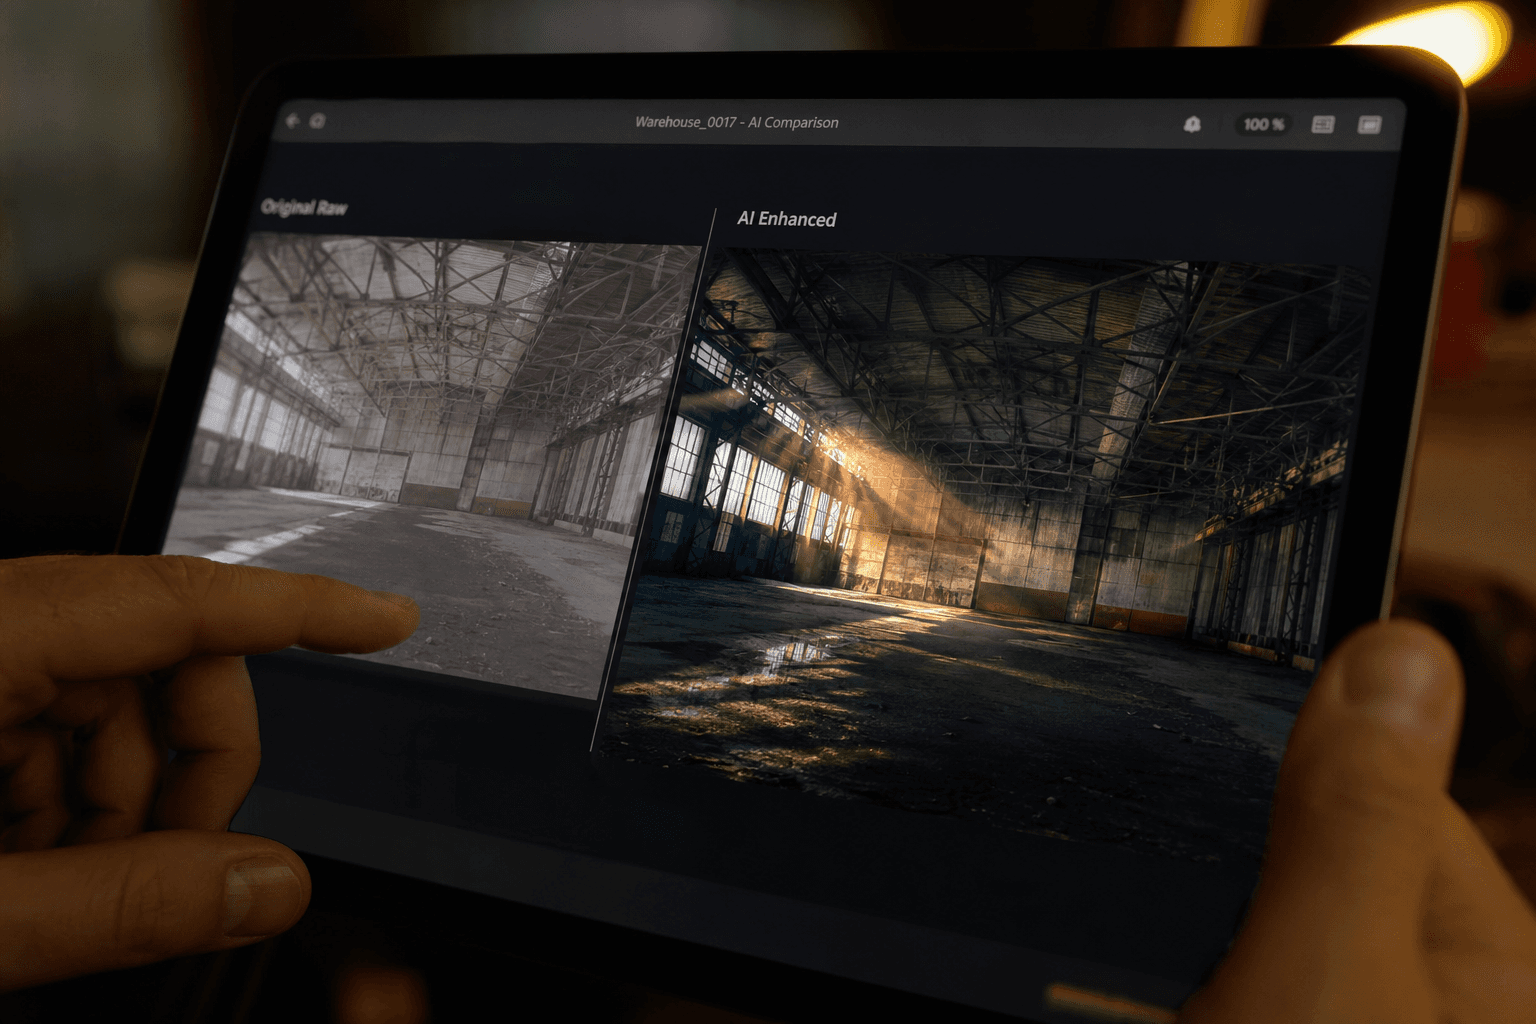
💡 Frank's Cut: if a location is only beautiful in a single angle, be wary. In a real shoot, you need at least two to three reliable axes.
Step 3: check on the field what the AI cannot guarantee
Arrive on site with a simple validation sheet. Ambient sound at different hours, real light quality, team circulation space, vehicle access, cable safety, sanitary availability, neighborhood, permit deadlines. It is this sheet that protects your production.
Take concrete measurements. Subject-to-background distance, ceiling height, passage width, power points, reverberation level. Subjective impressions are not enough when you have to commit a budget.
Test a mini blocking. Have an actor or a team member walk on the main path, camera simulator in hand. You immediately detect the constraints invisible on a photo.
Document the anomalies. Slippery zone, unpredictable lighting, periodic noise, local bans. A good scout is not an album. It is an operational diagnosis.
Step 4: deliver a go/no-go decisional file
Your final file must be short and actionable. For each location: field photos, AI simulation captures, strong points, risks, logistical constraints, time cost estimate, go/no-go status, and plan B.
Add a comparative decision table. When several places are in competition, this table avoids the emotional choices and recenters on the shooting criteria.
Integrate a "validity conditions" section. Example: "go if shoot 7am-11am", "go if silent generator", "go if town hall permit confirmed". This precision prevents the last-minute misunderstandings.
Finally, share the file with the key departments: director, DP, production, prod. A useful scout is a scout transmitted correctly.
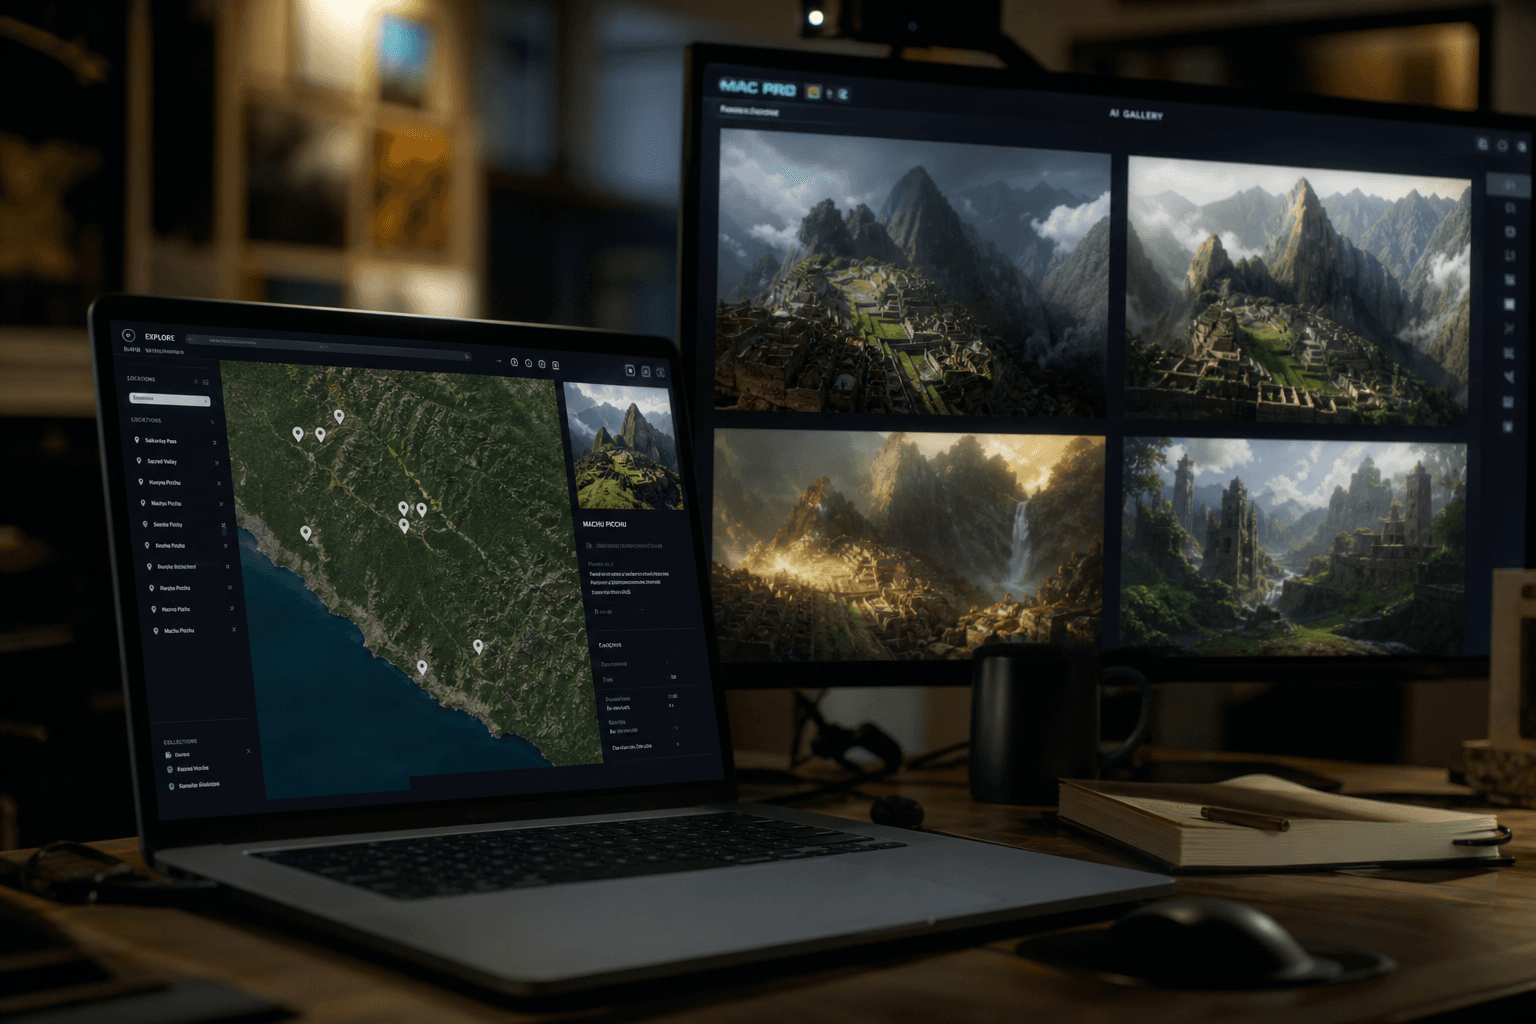
Troubleshooting: the mistakes that ruin an AI-assisted scout
Mistake number one, choosing a location on an AI render alone. The place seems perfect, the reality contradicts it. Fix: AI simulation + systematic field visit.
Mistake number two, confusing aesthetics and feasibility. The place is photogenic but impractical for the team. Fix: mandatory technical feasibility grid.
Mistake number three, forgetting the sound. Many scouts focus on the image and discover too late unmanageable nuisances. Fix: audio tests at critical hours.
Mistake number four, ignoring the real light orientation. The simulated render promises an ambiance the site never gives at the shooting hour. Fix: time test on site + backup light plan.
Mistake number five, no plan B. A single validated location, no alternative. Fix: always prepare a second choice ready to activate.
Mistake number six, vague documentation. The notes are subjective, unusable for the prod. Fix: standardized format with metrics, risks, decisions.
To reinforce your technical and creative frame, lean on references like Location Managers Guild International, the resources of American Cinematographer and the workflow principles of DaVinci Resolve. These bases help professionalize your method.
💡 Frank's Cut: the best location is not the one that impresses at the scout. It is the one that holds the shooting day with no surprise.
FAQ: frequent questions on cinema location scouting with AI
-
Can AI completely replace the scouting visits?
No, and it is a costly mistake to believe it. AI is excellent to pre-filter visual options, simulate framings, and prepare hypotheses. But it does not validate the real field constraints: noise, safety, team access, permits, neighborhood, local light variations. A physical visit remains indispensable before the final decision. The good approach consists of using the AI as a pre-selection accelerator, then confirming with a strict field protocol. This duo is much more reliable than one or the other taken in isolation. -
How to create a relevant location shortlist in less time?
Start with a grid of non-negotiable criteria linked to the script and the production. Then, do targeted AI simulations on 3 to 5 key scenarios, no more. You keep only the places that pass both the narrative filter and the technical filter. Then you visit the best candidates with a standardized field checklist. This process strongly reduces the round-trips and limits the emotional decisions. The speed comes from the method, not from the quantity of generated images. -
What field constraints are most often forgotten by beginners?
The real ambient sound, the equipment access, the cabling safety, the time permits, and the weather margin. These points seem secondary at the start because they are little visible in preview. Yet they are the ones that blow up a shooting plan. I advise having an "operational risks" section in each location sheet and validating it on site. This discipline avoids discovering the problems on D-day, when the costs and the pressure are at the maximum. -
How to test the light of a location without shooting?
Use a mixed approach. Simulate the light intentions with AI to identify the plausible time windows, then do a field pass at the critical hours with a photo/video record and exposure notes. You then compare simulation and reality to calibrate your decision. This method gives you a realistic reading of the place potential. It avoids the visual promises impossible to keep in production, especially in the urban exteriors where the conditions change fast. -
How many locations should you validate for an important scene?
In practice, aim for at minimum a main location and a really usable plan B. The plan C can be useful depending on the budget and the criticality of the scene. The classic mistake is to bet everything on a single "crush" place. In production, administrative, weather or logistical surprises often happen. A prepared alternative protects the shooting continuity. Better two solid places than a long list of seductive but fragile places. -
How to present an AI scout to a client or a production?
Present a short and decisional file, not a vague moodboard. For each option: scene intention, AI-simulated visuals, field photos, constraints, risks, time costs, go/no-go status, and validity conditions. This structure reassures immediately because it links the aesthetics to the execution. The clients understand the arbitrations better when they see the concrete consequences of each choice. A clear file speeds up the validations and reduces the contradictory feedback. -
What tools to use to coordinate scouting, image and logistics?
The most important thing is not the single tool, it is the interoperability. You can combine an AI image generator for the simulations, a shared documentation tool, and an editing pipeline to validate the visual intentions in sequence. Make sure the files are well named, versioned and shareable between director, DP and production. This discipline avoids the information losses and the bad decisions linked to incomplete documents. -
What weekly routine to progress fast in AI-assisted scouting?
Do a 90-minute sprint: 20 minutes of scouting notebook, 25 minutes of targeted AI simulations, 25 minutes of go/no-go analysis, 20 minutes of decisional file with plan B. Repeat this sprint on a different scene each week. In a few cycles, you will build solid production reflexes, much more useful than the simple accumulation of images. You are going to learn above all to decide better, which is the real lever in professional scouting.
Preparing a scouting notebook
Define the narrative, technical and logistical constraints: light, sound, equipment access, safety, permits.
Simulating before traveling
Use the AI to test camera axes and light ambiances. The goal is to filter the options, not to decide alone.
Checking on the field
Validate noise, traffic, time constraints, team space, power points. It is there that the false positives fall.
Delivering a decisional file
For each location: photos, risks, plan B, go/no-go status. It is this document that secures the shoot.
Detailed operational method
To transform a good concept into a really usable result, work with a simple and repeatable protocol. Start by defining a single goal for each production session: improve the conversion, reinforce the emotion, stabilize the continuity, speed up the retakes, or finalize the technical quality. As long as this goal is not explicit, you risk multiplying the tests without learning what works.
Then, impose a short loop in four steps: preparation, execution, control, decision. In preparation, lock the non-negotiable parameters (scene intention, realism level, distribution format, deadline constraints). In execution, produce several targeted variants rather than a single ambitious version. In control, compare the renders in their real context: full timeline, global rhythm, readability on mobile and big screen, sound/image consistency. Finally, make a binary decision: keep, fix, or delete.
Most creators lose time because they evaluate the renders in isolated full screen. Yet a shot can be superb alone and degrade the whole scene once edited. To avoid this trap, define validation criteria before launching the generations: clarity of the message, visual continuity, movement credibility, audio intelligibility, and narrative impact. If two key criteria fail, do not retouch indefinitely: restart on a simpler version.
Quality checklist before publication
Before the final export, systematically go through this checklist:
- consistency of the style from one shot to the next;
- stability of the sensitive elements (face, hands, lips, text, logo);
- audio balance (understandable voice, non-invasive music, controlled noise);
- rhythm suited to the distribution channel;
- call to action, message, or creative intention readable from the first seconds.
This verification takes little time and avoids the technically "impressive" but ineffective-in-real-use deliverables.
Frequent mistakes to avoid
The first mistake is to want to optimize everything at the same time. When you modify simultaneously the framing, the light, the style, the sound and the speed, you no longer know which variable really improves the result. The second mistake is to ignore the versioning: with no clear history, impossible to come back to a good base. The third is to overprocess the finishing, which creates an artificial or tiring render.
Keep a logic of progression: first the understanding of the scene, then the visual quality, then the aesthetic details. This hierarchy protects the narration and saves time.
Concrete action plan
If you want to apply this method starting today, set yourself a 90-minute sprint: 20 minutes of preparation, 40 minutes of production in short variants, 20 minutes of evaluation in context, 10 minutes of decisions and documentation. At the end of the sprint, keep a "safe" version ready to publish and an "ambitious" version to test. This discipline creates a reliable pipeline, lets you deliver more regularly, and improves the project quality project after project.
Related articles
 Tutoriels
How to Use the Rule of Thirds in AI Generation
Using the rule of thirds to immediately improve readability, balance and visual impact in an AI image.
 Tutoriels
How to Use Camera Lenses in an AI Prompt
Focal lengths, anamorphic, depth of field, and the classic face-compression mistakes.
Business
How to Use AI to Create Profitable Ads (Not Just Pretty Ones)
A creative and media method to produce AI ads that perform: angle, hooks, tests, budget and iterations.