How to Mix Audio and Image for a Cinema Render
Mixing audio and image for a cinema render on AI video: sound hierarchy, stems, dynamics, spatialization, calibration with the grade and delivery with no fatigue or 'demo' feeling.
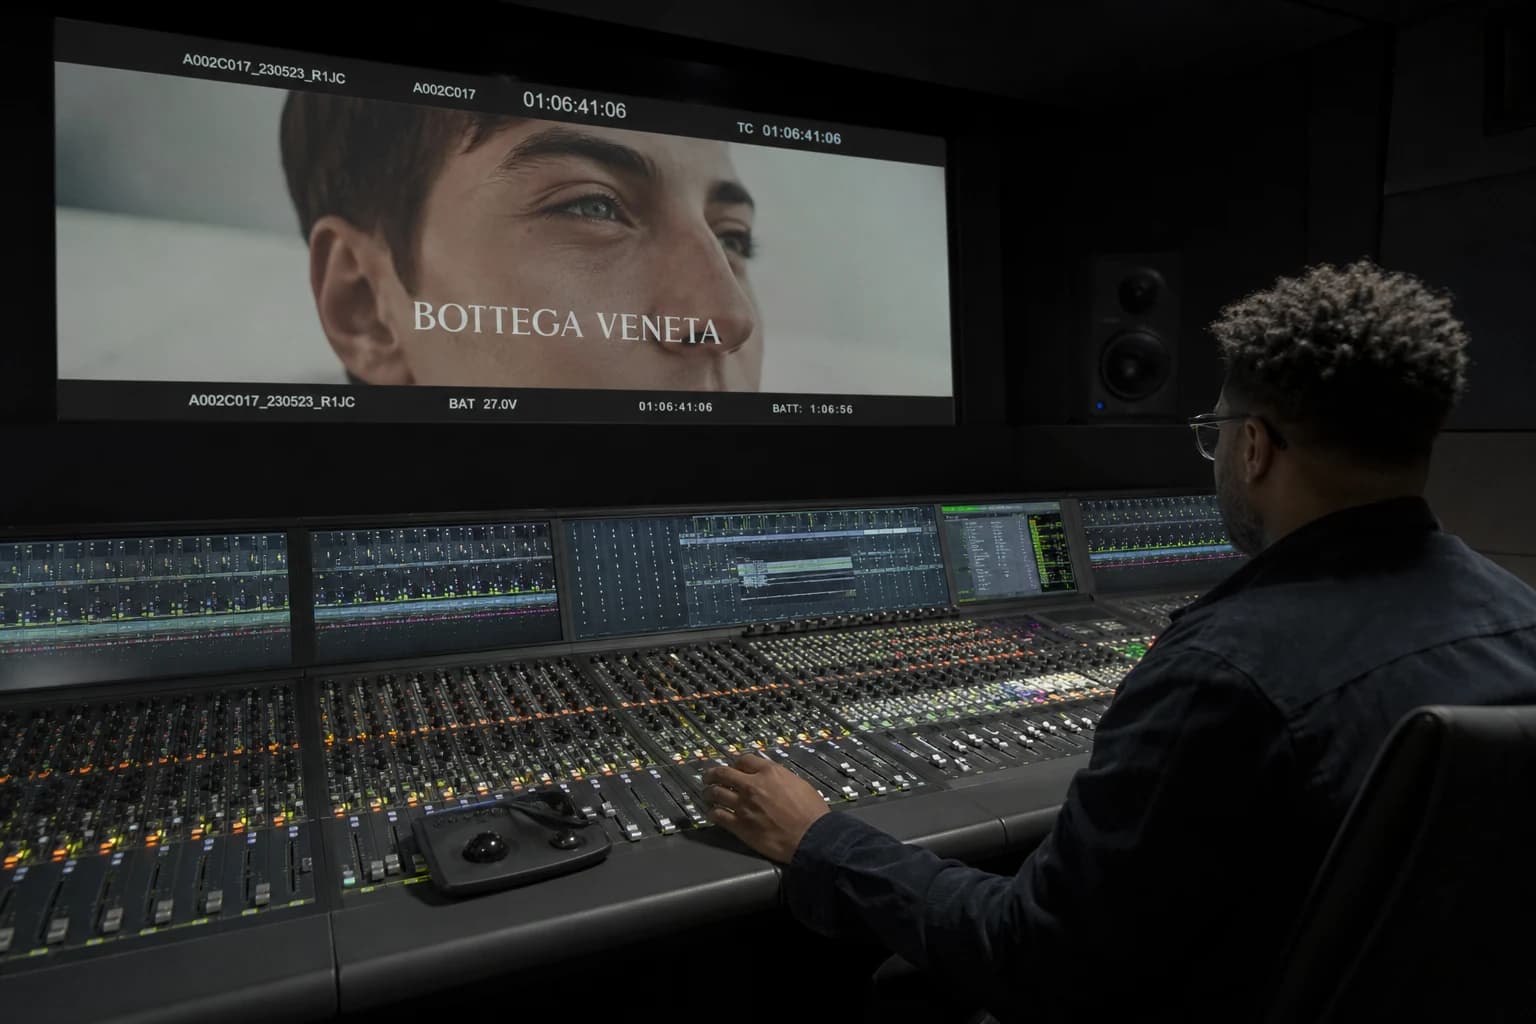
How to Mix Audio and Image for a Cinema Render
You export an AI video that "shines" on paper. On the phone's earbuds, it sounds like a trailer compressed three times. The music crushes the ambiences. The transitions cut the neck to the ear. The voices seem stuck to the set like a badly placed sticker. It is not your fault if you are a beginner: mixing audio and image to get a cinema render is a discipline in its own right. It lives in the contrasts, in the frequency hierarchy, in the way a silence prepares a visual revelation.
This tutorial sets a field grid for your AI video. Not a list of miraculous plugins. A method so your viewer believes in the world even before knowing why. We are going to break down the chain from the edit to the light mastering, talk stems and ducking, "cinema" spatialization with no caricature, synchronization with the story pivots, and close links with color and movement. If you are looking precisely for how to lock the look before pushing the sound, here is also a useful bridge toward how to grade an AI video in DaVinci Resolve.
Why AI video demands a more demanding mix than it seems
The shots produced by artificial intelligence often arrive with a very controlled image and a nonexistent or grafted-after sound. You add a "cinematic" track, a generic ambience, a quickly treated voice. Visually, the clip can look serious. Sonically, it immediately reveals that it was assembled with no session ear.
The difference between an AI video that passes for well-pushed amateur cinema and a video that stays in the demo box rarely comes down to an extra resolution. It comes down to a sensory consistency: what you show must be supported by what you hear, without the viewer analyzing the layers one by one.
Mixing audio and image, in this context, is not turning it up louder to impress. It is creating a stable hierarchy where the speech stays readable, where the music breathes with the edit, where the small noises give weight to the gestures and the sets. When this hierarchy is false, even a splendid image looks suspicious. The reverse is almost true too: an impeccable mix can mask a few minor visual imperfections by keeping the attention on the narrative.
A frequent trap consists in treating the sound as a "final layer" laid on afterward. Serious teams integrate the audio from the rough cut because the narrative rhythm depends as much on the sound entries as on the visual cuts. If you want a solid base on the timeline before moving to the fine mix, go back to the foundations in the complete guide to AI-assisted video editing.
Defining a common intention for image and sound
Before opening your equalizer or your reverb, write a short sentence that summarizes the dominant feeling of the project: tense and nervous, soft and contemplative, ironic and light. This sentence becomes your decision filter when you hesitate between two ambiences or two compression levels.
Then, link this intention to the already-validated visual choices. A very contrasted image with deep blacks often tolerates a leaner music in the lows, unlike a pastel render where a too-present low line can smother the finesse of the frame. You are not looking for a universal truth but for a conversation between two media you push in the same direction.
For AI productions where the shots can change until the last moment, keep a minimal "sound bible" in your project folder: three audio references you listen to regularly, not fifty competing tracks that scatter your ear. If you also have to rebuild or enrich your music track with the generator, the detailed method for a soundtrack that tells rather than wallpapers lives in generating the soundtrack of your film or clip with music AI.
A good rule, common to any field, is to insist on the clarity of the message before the technical sophistication: apply the same discipline here by checking that your mix supports an instant reading of the point, even if you do fiction or pure spectacle.
Sound hierarchy: who wins at each moment
Classic cinema works like a kitchen where the ingredients come to the front of the stage in turn. During an important line, the music steps back. During an intense physical action, the sound impacts can take over for a few fractions of a second. During a contemplative shot, the wind in the trees can become the invisible protagonist.
Build three levels in your head before your timeline:
- Primary level: what must be understood with no effort (key dialogues, informative voice-over, text read aloud if you make that narrative choice).
- Secondary level: what carries the prolonged emotion (main music, continuous ambient textures).
- Tertiary level: what specifies the material of the world (footsteps, clothing rustle, light kitchen knocks, urban micro sounds).
If two elements of the same level fight in the same frequency range, your viewer tires without knowing why. Your job as a beginner mixer often consists in arbitrating these collisions even before playing with the spectacular effects.
Artificial intelligence and synthetic dialogues
Generated or cloned voices can sound "clean" to the point of seeming artificial in a living set. A pragmatic solution consists in reinjecting a touch of very low-level ambient air under the voice, then tracing an EQ that avoids the zones where the music already loads the mids too much. It is not cheating about realism: it is aligning the voice with the acoustic truth of the represented place.
Also avoid the abrupt transitions between synthetic sentences cut too short. Vocal editing deserves the same breaths as image editing. A micro pause can sell a short sentence better than a perfectionist equalizer.
When you run several versions of the same passage with different AI video models, systematically export a stable voice track before reinjecting it into the new image cut. Otherwise you will mix the same intention three times with three different masking problems and you will confuse vocal corrections with musical corrections.
Stems: cutting up to assemble better
On a short or solo production, you are tempted to keep a single stereo music and to lower the global fader when it bothers you. That is rarely enough for a cinema render. If you can obtain or prepare separate stems (percussion, low lines, pads, melodic lines), you gain surgical precision.
Here is a typical separation that works well to mix with an AI video:
| Stem | Role in the story | Main mix lever |
|---|---|---|
| Percussion and pulses | Rhythmic anchoring of the cuts | short compression and ducking |
| Bass and sub-lows | Warmth and diffuse tension | light high-pass EQ under voice |
| Sustained harmony | Stable emotional color | soft lateral panning |
| Identifiable melody | Musical memory of the project | fine automation at the pivots |
When you have no official stems, you can sometimes approximately isolate layers with software separation tools while accepting the artifacts. In that case, use these layers as occasional supports rather than as permanent foundations.
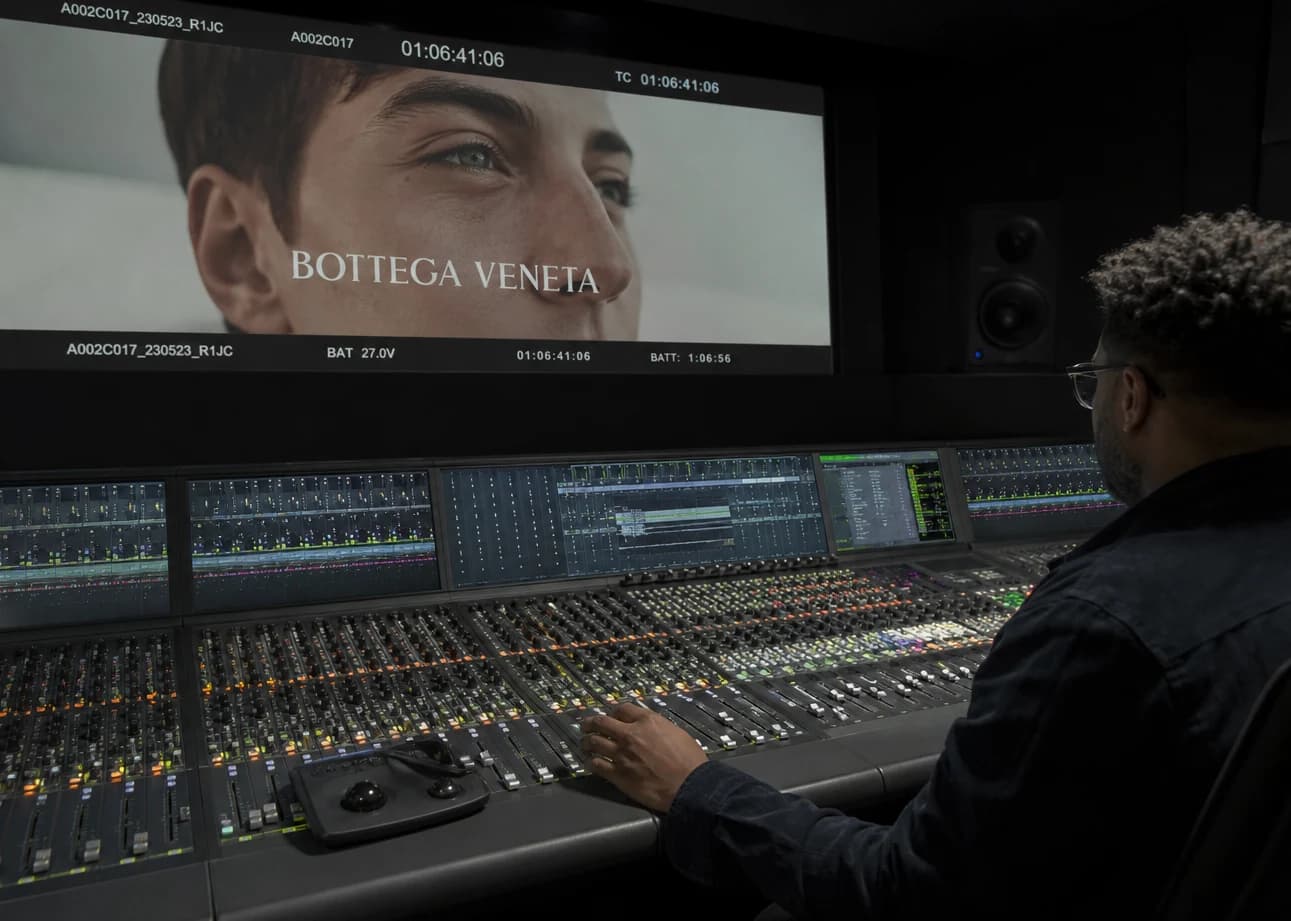
Dynamics and compression: avoiding the TV ad feeling
Mass-market television and some ads push the compression hard to gain instant punch on modest speakers. The cinema render, even in short formats meant for the web, often benefits from a bit more headroom between the pianissimos and the strong moments.
If you compress your music or your main bus too aggressively too early, you remove your image's ability to breathe. The subtle visual contrasts lose their sound counterpart. Conversely, a fully dynamic mix can frustrate on a phone if the spoken passages fall too low relative to the ambient street noises.
A balanced approach to start:
- Treat the voices with a controlled but readable dynamic on a small transducer (a systematic final listen on a phone or small speakers).
- Keep your music on a wider dynamic until the final global level settings.
- Use a very light limiter only on the master or on a pre-master dedicated to the multiple exports.
You can also create two versions: one for very noisy platforms where you accept a slightly higher density, and one for private cinema presentations where you will preserve more dynamic excursion.
Spatialization and depth with no caricature
Cinema uses stereo and surround to suggest depth, not to make the sounds spin like in a 1990s software demo. For your AI video, start with a stable stereo image before fantasizing about complex movements.
If a character enters from the left of the frame, a slight panning displacement can reinforce the spatial reading. But if you exaggerate while the camera stays almost static, the viewer will feel a contradiction between the visual and auditory cues.
For city or nature ambiences, a slight auxiliary reverb can "push" the set behind the voices without drowning them. Choose sober impulse responses rather than generic cathedral halls that stick an epic aura everywhere.
The off-frame voices can be treated with a modest band-pass filter to suggest a wall or a physical distance. Combine this treatment with a deliberate drop of the percussive highs in the music at the same moment to keep the presence of the off-frame readable.
Synchronizing micro sound events and visual pivots
Mixing for a cinema render is not only balancing static levels. It is placing sound events that dialogue with the edit pivots: a gaze to camera, the revelation of an object, a location change suggested by a hard cut.
You can proceed by small windows of three to seven frames around the cut to find where your ear prefers a sound to start or end. This microscopic offset influences the feeling of fluidity or of intentional rupture.
On a generated video where the movements can be slightly irregular, a well-placed sound accent sometimes helps sell a physical action that still lacks a bit of naturalness to the pixel.
For a complete chain that links image movement and narrative finishing with a well-built Seedance loop, you can cross these reflexes with the complete Seedance 2 workflow for a cinema render. You will see how to avoid the image part then sabotaging all your mix work.
EQ and frequency masking with no abusive surgery
Your silent enemy is the saturation of the mid register where vocal intelligibility, dominant musical harmonics and pronounced ambient noises live simultaneously.
A progressive method:
- Identify the zone where your voice carries its main intelligibility (often a precise portion between a few hundred and a few kilohertz depending on the timbre and the treatment).
- Reserve this zone in the music with a dynamic EQ or an automated occasional reduction during the critical sentences.
- Lower the musical lows if your urban or natural ambiences already load this register with a continuous rumble.
Be careful with cuts that are too narrow and make the music hollow or nasal without you understanding why at first. Work in small doses and compare with a known cinematic reference at equal volume.
For the generated or resynthesized sounds that can have metallic resonances, a slight subtractive treatment on the peaks that pinch the ear is often enough rather than a cascade of nested filters.
Foley and "fake silence"
Absolute silence in a "real" scene is rare. Cinema uses what some call fake silences: very low but present ambiences, discreet ventilation, film noise or a light grain added at the mastering to stick to an aesthetic.
On an AI video, adding an almost imperceptible layer of texture can reconcile a very sharp image with an ear that expects physical grain. This grain can be audio only or combined with a visual grain finesse consistent with your grade.
For precise actions like manipulating an object or walking on different surfaces, you can either take advantage of standard libraries, or generate audio textures with dedicated AI tools then edit them to avoid the obvious mechanical repetitions.
Measuring to distribute with no surprises: LUFS and formats
The distribution platforms often apply their normalization or compress again during streaming. Your mix must stand up after these steps without breaking its internal contrasts.
Inform yourself about the recent recommendations of the target platform for the integrated levels (LUFS type) and the allowed true peaks. Keep a small margin under zero decibels full scale to avoid the problematic intersample peaks on some converters.
If you duplicate a short publication for TikTok and for a Vimeo or private festival presentation, plan two master buses with distinct settings rather than a single mediocre compromise everywhere.
Project organization: saving time and keeping your memory
A badly named audio folder destroys your ability to iterate fast when the client or your own eye comes back to a cut late at night.
Recommended minimal structure:
audio/dialogueswith clear dates and vocal versions.audio/musicwith stems if available and backup stereo master files.audio/sfxby simple categories:footsteps,roomtones,transitions.audio/refswith three to five short reference files labeled by emotional function.
Also keep a text note where you write the unusual critical automations ("lateral compression under the music during the argument sequence", "percussion expansions before the reveal"). Your future self will thank you after a break of several days.
Honest control loops
Your tired hearing lies about your lows and your upper mids at the end of a long session. Schedule regular breaks and re-listen to your problematic passages the next morning if you can.
Vary the supports: a precise closed headphone, small domestic speakers, a phone with no deceptive software EQ. If something becomes incomprehensible or aggressive on the phone while your headphone finds it sublime, your average viewer will probably follow the phone.
Also watch your video in a very small window to simulate a social media thumbnail: the sound cues that clarify the micro narrative in this format sometimes deserve a controlled occasional micro rise.
Typical AI video mistakes and quick fixes
Music too present under the voice. Priority solution: proportional musical ducking or a removed musical-mids EQ during the speech, not only a global volume uniformly lowered.
Ambiences cut too dry at the transitions. Add short fades or extend a continuous layer under two different shots to avoid the software-collage feeling.
Disproportionate impacts. Reduce the transient burst or the reverb distance instead of lowering the whole level if you want to keep some body without slapping.
Approximate lip sync with a speaking avatar. Push microscopically or lengthen phoneme by phoneme in your editor if available; otherwise mask with a camera cut or a visual insert that diverts the attention for a few frames.
Mini checklist before the final export
- Critical sentences understood on the first pass with no forced subtitles if you aim for that experience.
- Music never stuck too long at the same emotional level with no local variation.
- Continuous noises present even during the useful narrative near-silences.
- Platform loudness measures respected with a reasonable anti-peak margin.
- A complete listen with no correcting during the playback to judge the overall crossing.
💡 Frank's Cut: if you have to choose between an extra aesthetic correction on the image and a pass to clarify two essential sentences in the mix, often choose the sentence. People forget a slight visual glitch before they forget that they did not understand what is happening.
Conclusion: cinema as a sensory pact
Mixing audio and image for a cinema render on an AI video means turning a technical demonstration into a suspended experience. You align hierarchy, dynamics, space and narrative so nobody mentally segments your clip into separate "image then sound" bricks.
Your work continues after this tutorial: listening to carefully mixed short films, analyzing two minutes with attention to the ambiences under the speech, testing your own pivots with one less automation or a shorter reverb to see what lies or tells the truth.
Keep this grid as a foundation. Reinvest the time saved by your generative tools into critical listening and the multiple versions adapted to the real broadcasters. That is where your project will stop "looking like AI" and start to sound like a film.
Related articles
 Tutoriels
Complete Seedance 2 workflow for a cinema render
From the set sheet to the final export: end-to-end Seedance 2 pipeline for a credible film render, with no demo look or sterile all-nighter.
 Tutoriels
How to Go From an Amateur Render to a Cinema Render
Grade decisions, motivated light, grain, shot rhythm, and rejection: cinema is a discipline of choices, not a preset.
 Tutoriels
How to Get a Cinema Render with Seedance 2
Settings and work habits to push a video engine toward a film render, with no demo look.