Artistic Dubbing: Preparing the Image Before AI Lip-Sync
Takes, phonemes, safe shots and tools for a dubbing that fits the lips with no puppet effect.
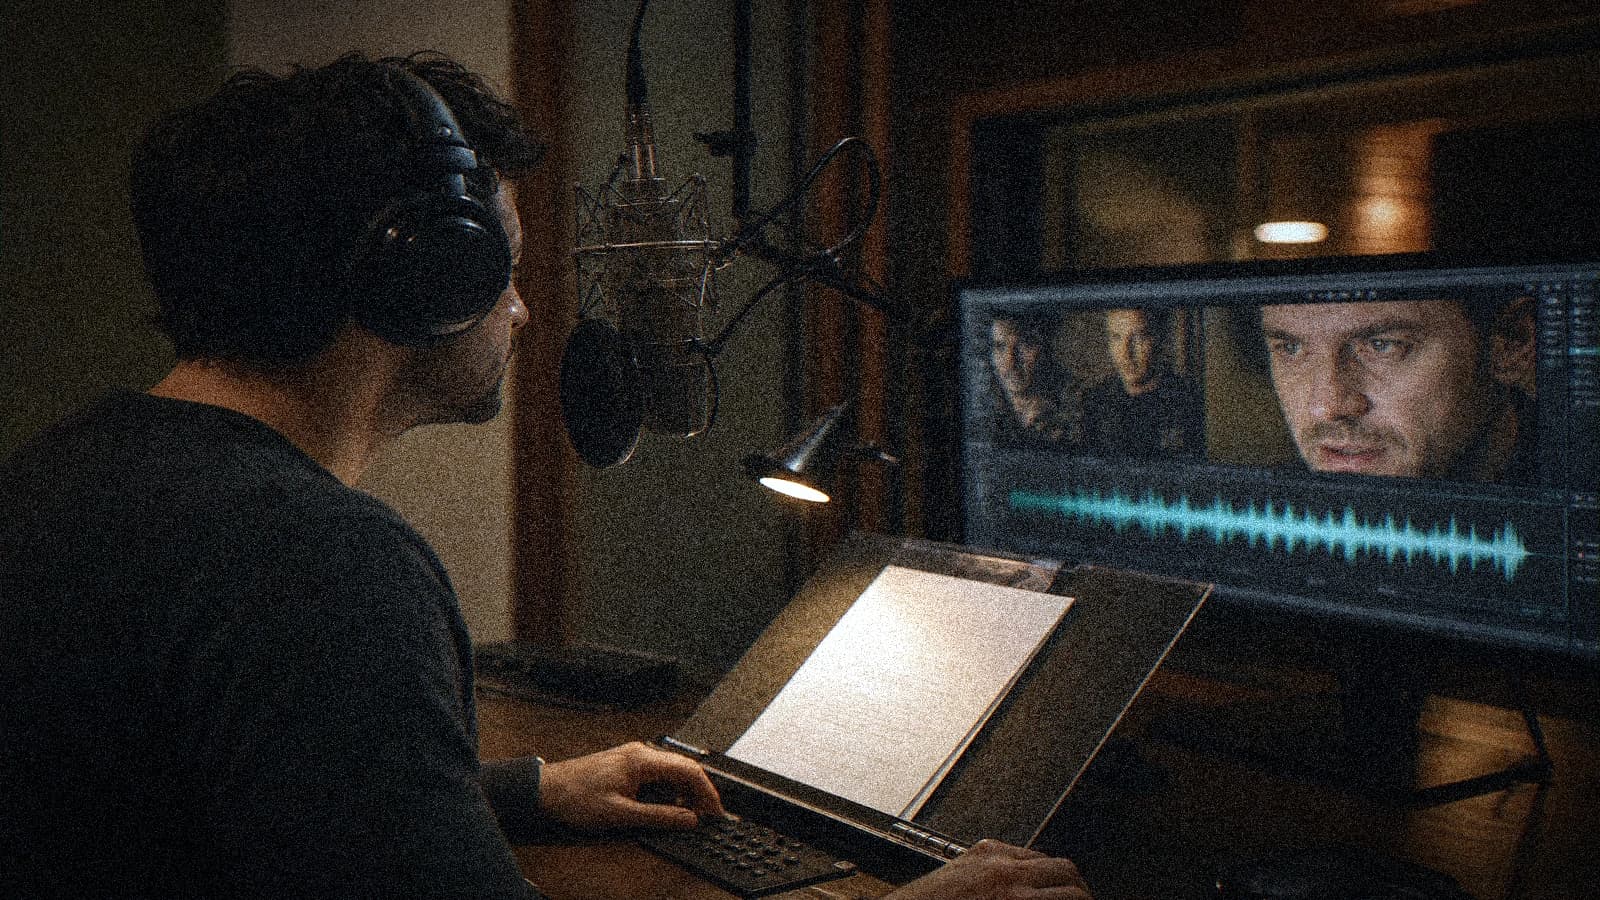
You lay the generated voice on the shot. The lips move like a puppet. The client says "it looks like 1980s Polish dubbing". Lip-sync is not a magic button. It is the last layer of a work that starts on the choice of shots and the voice take.
This guide: preparing the image before AI lip-sync, phonemes, safe shots, segmentation, and tools to fit the lips with no horror effect.
Lip-sync compatible shots
Yes: chest or tight front shot, visible mouth, stable lateral light, low head mobility, 3 to 5 s.
No: strict profile, hands in front of the mouth, jaw in the shadow, tracking shot, big laugh with a wide opening.
💡 Frank's Cut: if you can tell the scene in voice-over off + OTS, avoid the lip-sync. You gain hours and credibility.
Phonemes and voice take
Segment the voice-over by short sentences aligned with the shots. The consonants P, B, M demand a visible lip closure. F, V the lower lip. Record two takes, choose the clearest, not the most "beautiful".
Avoid strong music under the voice during the lip-sync analysis if the tool uses the audio as a reference.
Image preparation workflow
Step 1: an honest mouth pilot
No mouth frozen in a plastic smile. Natural lip texture, shadow under the upper lip.
Step 2: video with minimal movement
Stable head, micro movement. No rotation.
Step 3: final voice-over before lip-sync
Never the opposite on a client deliverable.
Step 4: lip-sync tool (HeyGen, etc.)
Compare lip-sync: which AI tool to choose. A single pass, then frame-by-frame QA on P/B/M.
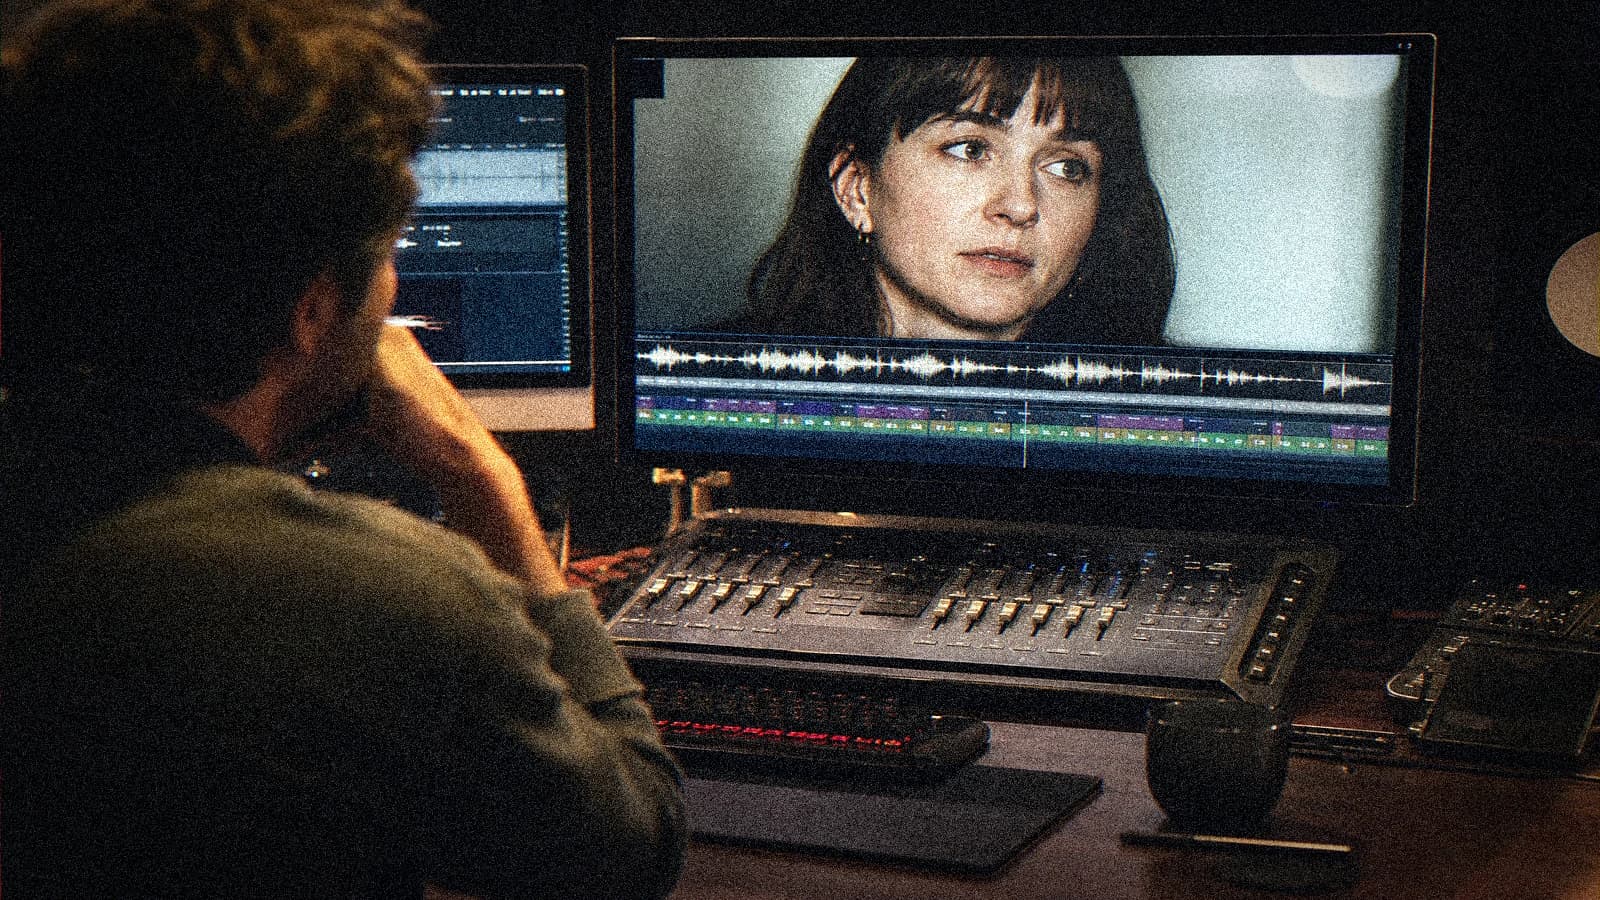
Step 5: local retouches
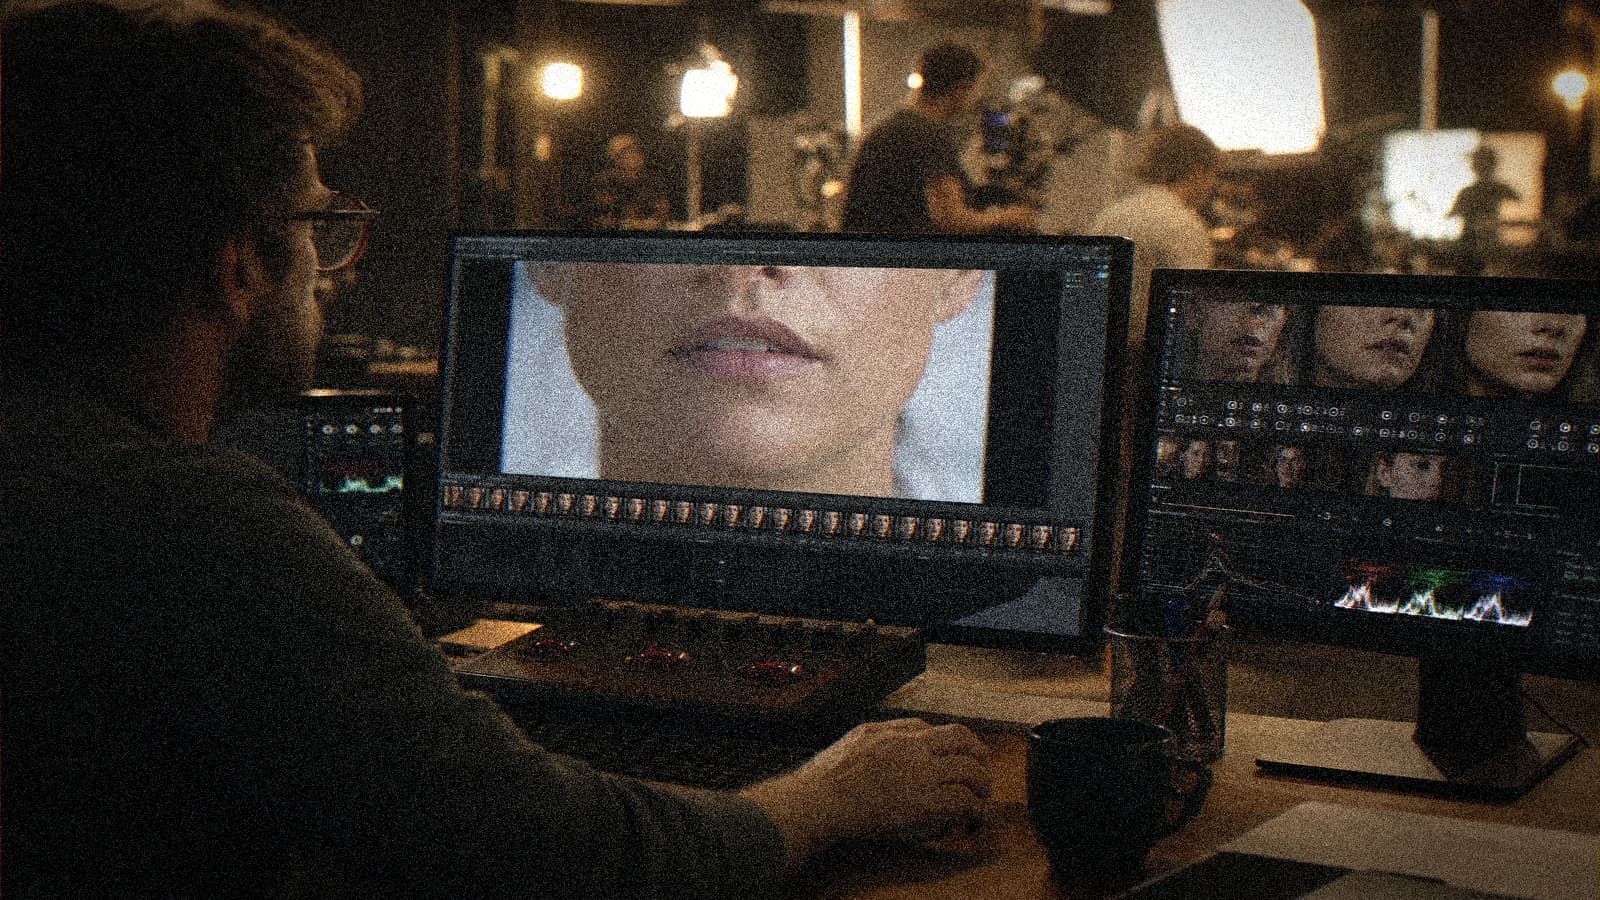
If a frame breaks, mouth inpainting or re-cut. Do not relaunch the whole shot for one frame.
Scenarios
Trailer: little lip-sync, a lot of epic voice-over + wide shots. Corporate: calm front shot, short sentences. Fiction: dub in 3s segments edited together.
Troubleshooting
Puppet: tool amplitude too strong, reduce it. End-of-sentence desync: realign the audio, do not regenerate the face. Melting teeth: wider shot, less extreme smile.
- the complete Seedance 2 workflow
- a two-character dialogue scene with no broken match
- turning an AI image into a fluid video
- structuring an AI video like a real film
Foire aux questions
Réponses rapides aux questions les plus fréquentes sur cet article.
Which lip-sync tool in 2026?
It depends on the shot. Test on a 3s excerpt before committing to a project. Keep the voice-over constant between tests.
Dubbing an English AI video in French?
Possible if the mouth is visible and the FR voice-over is aligned. Otherwise voice-over off.
Does the lip-sync fix the bad eyes?
No. It can worsen the mouth zone. Fix the pilot first.
Should it be 24 or 25 fps?
Stay consistent across the project. Lip-sync on a badly aligned timeline = catastrophe.
How many lip-sync shots per minute?
The fewer there are, the better. Target static shots for 80% of the visible dialogue.
Sung voice?
Avoid classic AI lip-sync, another pipeline or a real shoot.
How to QA quickly?
Playback at 0.25x on 3 random segments, focus on P/B/M.
Client delivery?
Mention the tool and the possible debt on the teeth, propose an OTS plan B.
Artistic dubbing in AI starts by refusing the bad shots. You prepare the mouth, the voice, the tempo. The lip-sync button is only the cherry on a cake that is already well baked.
Field practice: client brief and shared QA
When you work on AI lip-sync dubbing in real conditions, the chaos comes from the deadlines, not from the tutorials. This field practice is what I put in the deliverable folder so that the team lands on its feet a week later without me.
Before each batch, reread the brief in five lines. A "fast" prompt change without rereading the brief creates gorgeous but unusable-at-the-edit shots. The editor will thank you if each file carries a logical name and an A/B/C note.
For the validation, impose two screens: bright phone + neutral monitor. Many flaws on artistic dubbing only appear on one of the two. If it holds on both, you can move on. Otherwise, a single lever changes, not five.
In the client meeting, show a ten-second excerpt with sound, not a gallery of stills. The movement and the audio sell the credibility. Still images lie about the final quality of AI videos.
Document the owned debts (grain, micro drift, text composited in post). Transparency avoids the "redo everything" when the creative director sees the master on a big screen.
💡 Frank's Cut: if you do not feel like explaining a technical choice to the client, that choice is probably a debt to own in black and white, not to hide.
Always cross-reference with why my AI videos look fake when you doubt the global realism. Often the problem is not the subject of the article, but a missing pilot or sound upstream.
Typical session (45 min): brief 10 min, generation 20 min, QA 10 min, post 10 min, mobile export 5 min. If you have no A shot in one hour, pivot the brief, not the caffeine.
Final checklist: message readable with no sound (if subtitles), message audible with sound (if voice-over), consistency with the charter, platform export tested privately, files named and archived. Keep an archive of the seeds and prompts, test the mobile compression, and pivot the brief after twelve unsuccessful tries rather than insisting on the same lever.
Related articles
 Tutoriels
Multilingual Voiceover Localization: AI Workflow and Lip-Sync
Adapted scripts, voices, rhythm and QA for FR / EN / ES versions without losing the intention of the edit.
 Tutoriels
Preparing a Shot Breakdown Before AI Video Generation
The AI version of the shooting plan to avoid useless generations and deliver usable shots faster.
 Tutoriels
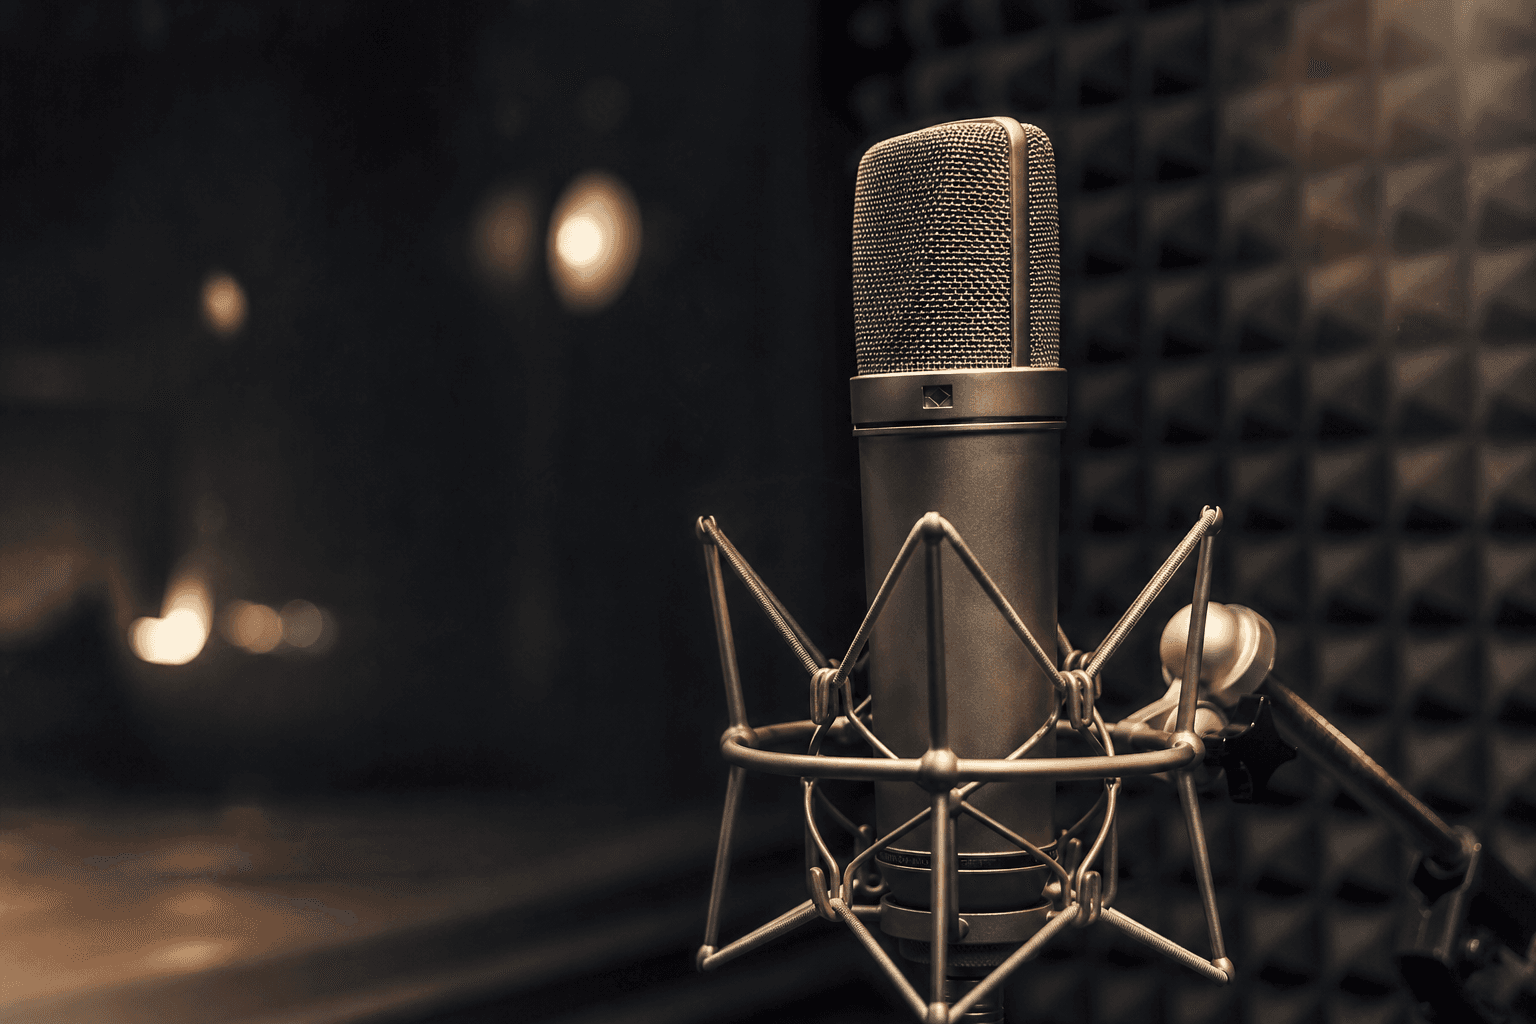
Dubbing and Voice-Over: Cloning and Directing a Voice for Your Film
A complete method of dubbing and voice-over with AI to clone, direct and mix a credible voice, with no robotic render or audio artifacts.