Two-Character Dialogue Scene: Gaze and Light Matches in AI
Shot reverse shot, 180° and character sheets for an AI dialogue that does not break at the cut.
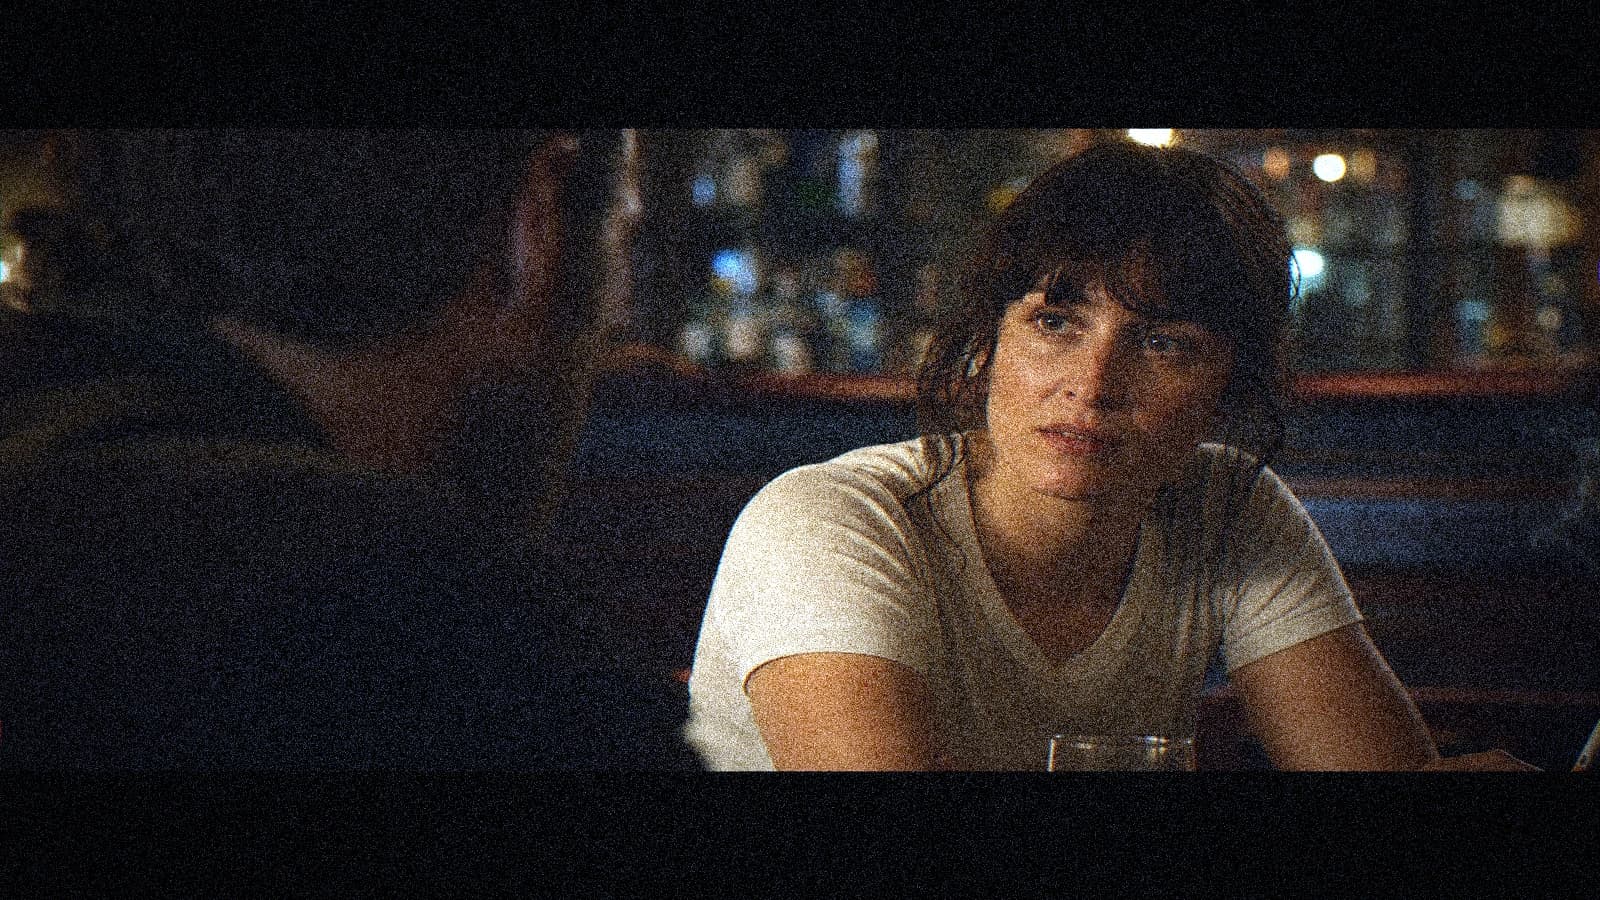
The most fragile moment of an AI scene is the cut between two characters. You can have two superb shots separately, then lose all credibility when the gaze jumps, when the light turns 40 degrees, or when the eye height changes between shot and reverse shot.
In a two-character dialogue, the viewer forgives nothing. They first read the eyes, then the gaze direction, then the light consistency. If a single one of these markers breaks, the scene becomes a technical demonstration instead of a real dramatic exchange.
This guide gives you a set method designed for AI video: 180-degree line, character sheets, common light architecture, and fast validation before editing. The goal is not to produce ten "almost good" versions. The goal is to deliver a sequence that holds at the cut and to the ear.
Key match concepts for a credible dialogue
The 180-degree line is not a classroom theory. It is a border you do not make the camera cross with no reason. If A looks left in the shot, B looks right in the reverse shot, with a consistent dialogue space. In AI, a line error makes the gaze jump: the viewer loses who is talking to whom.
The eye axis must stay stable. Same camera height, same approximate focal length, same key logic. If shot A is in 50 mm eye level and shot B in 24 mm low angle, you tell two different films.
The shared light is your weapon. Describe the same source for both: left side window, soft fill, no contradictory neon. The edit does not repair two incompatible light worlds.
The reaction shots are worth as much as the speech shots. A silence, a gaze that lowers: three seconds that sell the listening. Generate them as short separate shots.
The sound before the long lip-sync. Lay the voice, the room tone, the pauses. The ear accepts micro visual offsets if the dialogue rhythm is right.
Set notes
On an AI dialogue, I note: line, eye height, gaze direction, light source, locked costume. Five boxes. If one box changes between two shots of the same exchange, I reject before the edit.
I number DIA_01_A, DIA_01_B, DIA_02_A. Each export carries the number in the file name. In a client meeting, it is what saves you when someone asks to redo shot 3 of the kitchen dialogue.
Field workflow: two-character dialogue scene: gaze and light matches in AI
Step 1: brief in five lines
Situated physical subject. Dominant emotion in one word. Duration and format. Three light references (films, not adjectives). Explicit prohibitions (no neon, no hands in close-up at the start).
The background blur must follow a distance law. If the nose is sharp and the wall behind is blurry like cream while it is fifty centimeters away, the brain screams fake. Describe the camera-subject distance and the subject-background distance, even approximate.
The clean project folder is worth all the viral-workflow promises. Name your files, keep a screenshot of the settings, copy the prompt into a txt. In two weeks, you will thank yourself when a client says "we redo it like version 2".
The viewer looks at the eyes first, then the mouth. If the eyes are sharp but the mouth melts, it is over. Prioritize the sharpness on the face triangle, let the rest breathe in the optical blur. It is also how many real lenses work.
Too-bright and too-blue eyes are a classic AI signal. Lower the saturation on the white of the eyes, add a micro shadow under the eyelid, avoid the perfect double-symmetric catchlight. The human eye is slightly imperfect, exploit that.
Step 2: locked pilot image
You only move to video with an image that holds up at skin and fabric zoom. PNG export, archived prompt, noted seed.
The multiple lights with no hierarchy give a cheap photo studio. Choose a key, a weak fill or nothing, maybe a rim. Three equal strong sources is the death of depth. Write who dominates in EV if you can, even roughly.
The working files must survive a computer change. Also export a version readable for you in ten years: mp4 h264 for preview, wav for sound, png for references. The technology changes, the archives stay.
The fear of the black pushes beginners to raise the shadows to gray. Keep a real black, especially in cinema. The black gives the volume. The gray gives the demo.
Too-bright and too-blue eyes are a classic AI signal. Lower the saturation on the white of the eyes, add a micro shadow under the eyelid, avoid the perfect double-symmetric catchlight. The human eye is slightly imperfect, exploit that.
Step 3: modest video generation
Duration 3 to 5 s, movement 20 to 45%, one action, almost static camera or light push. Batch of four, brutal A/B/C sorting.
The too-centered framings give a poster, not a scene. Offset the subject, leave space in the gaze direction. The rule of thirds is not a law, it is a tool to avoid the symmetric postcard by default.
The rhythm of an AI clip is built in the edit. If you wait for the generation to give you the rhythm, you will be dependent on chance. Generate shots longer than necessary, then hard cut. The hard cut gives the intention. The fade gives the parenthesis. Too many fades, and you fall back on the demo clip.
The background noise of a night scene is never silent. Even "silence" has a breath. Add a low room tone, then cut in the edit where you want the real void. The contrast between almost nothing and nothing makes the tension.
The "cinema" AI transitions are often demo transitions. Real cinema cuts. If you use an AI fade between two different images, you mix two geometries. Prefer a hard cut with a sound that chains. The ear makes the continuity, not the fade.
Step 4: sound and editing
Immediate room tone. Hard cut rather than AI fade between different geometries. Fine grain, curve before saturation.
The too-centered framings give a poster, not a scene. Offset the subject, leave space in the gaze direction. The rule of thirds is not a law, it is a tool to avoid the symmetric postcard by default.
The social compression noise is a second design layer. If you export too clean, the platform adds its own ugly. Export with a light grain and a control of the highs, you will gain stability after upload. It is not cheating, it is knowing the medium.
The background noise of a night scene is never silent. Even "silence" has a breath. Add a low room tone, then cut in the edit where you want the real void. The contrast between almost nothing and nothing makes the tension.
The sound is half of the realism. A visually clean AI clip with an absolute silence looks like a showroom. Add a room, a distant street, a fridge, a light wind. Then compress slightly to stick to the social medium. Lay the atmosphere before locking the video master, otherwise you tell yourself stories about the quality.
| Phase | Goal | Fast test |
|---|---|---|
| Brief | clarify | readable in 30 s |
| Pilot | lock the look | skin zoom OK |
| Video | movement credibility | hands and jaw stable |
| Post | glue the shots | mobile reading |
| Delivery | client / festival | documented folder |
💡 Frank's Cut: if you hesitate between two versions, keep the one that holds on mobile without you explaining why it works. The explanation in a meeting is already a debt.
Scenario A: intimate interior
North window pilot, wool sweater, single action (opens a letter with no hand close-up). Video 4 s, push 3%. Light rain sound.
Scenario B: dusk exterior
Wet coat pilot, reflections on the ground, subject stops. Static camera. Post desaturation 8%, fine 35 mm grain.
Scenario C: client deliverable
Eight shots max, same LUT, no tool change in the middle of the dialogue scene. One-page PDF: owned debts, AI chain mentioned if the contract requires it.
The phone monitoring is not optional. Half of your audience will see your clip on a small and bright screen. If your grain disappears and your contrast explodes, you must rebalance. Modern cinema is dual-target, cinema and pocket.
When you talk cinema to a model, think physical camera. A 35 mm in interior is not the same thing as an 18 mm in the same spot. The 35 mm brings the face closer without distorting the shoulders. The 18 mm lengthens the hands toward the camera and turns a simple gesture into a geometric catastrophe. If your character has hands in the foreground, choose a longer focal length or move the camera back virtually.
The too-wide shots in AI reveal the geometry. If you do not need the ceiling and five windows, tighten. Fewer people in the frame, fewer chances that a wall breathes. The framing is a director's decision, not a sensor defect.
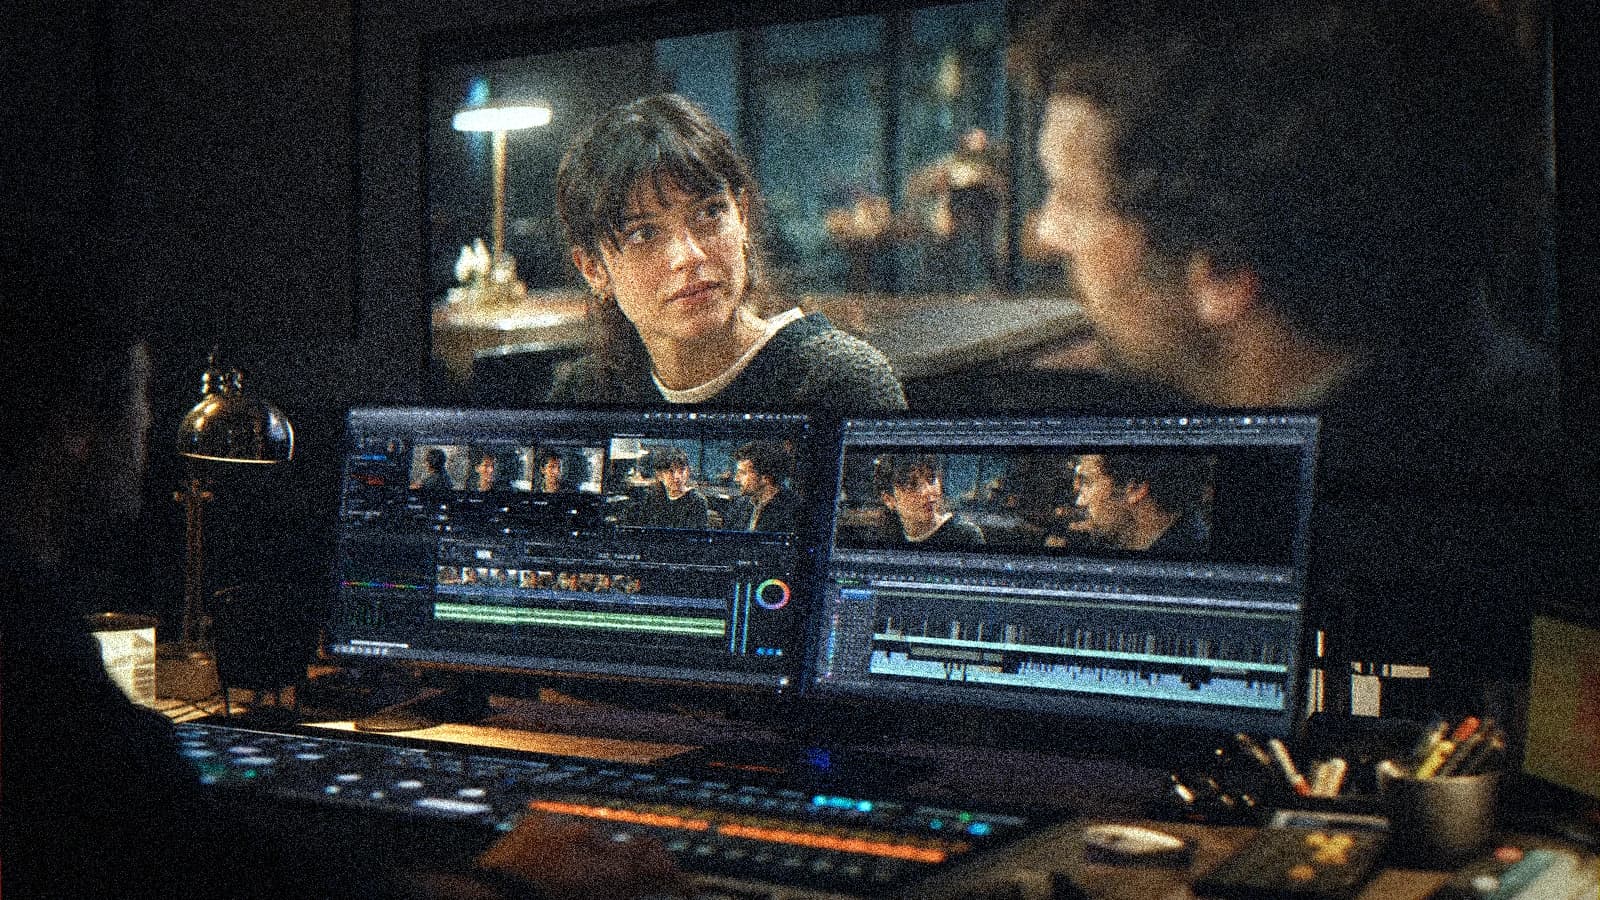
Troubleshooting: what beginners break
Face that breathes. Movement too strong or pilot too smooth. Lower the amplitude, take back the skin texture.
Color that jumps between shots. Two contradictory prompts or no common grading session.
Fused hands. Close-up + complex gesture. Wider shot or hands off-frame.
Setting that undulates. Travelling on vertical lines. Static camera.
2005 TV ad look. Saturation and sharpen before the light. Take back the source hierarchy.
Sleepless night at 40 attempts. No pivot rule. Twelve attempts max then change a lever.
The intermediate resolution is your laboratory. Work where you can iterate in ten minutes, not in three hours. When a sequence holds, upscaling or regenerating high makes sense. Otherwise you optimize a perfect pixel in a false scene.
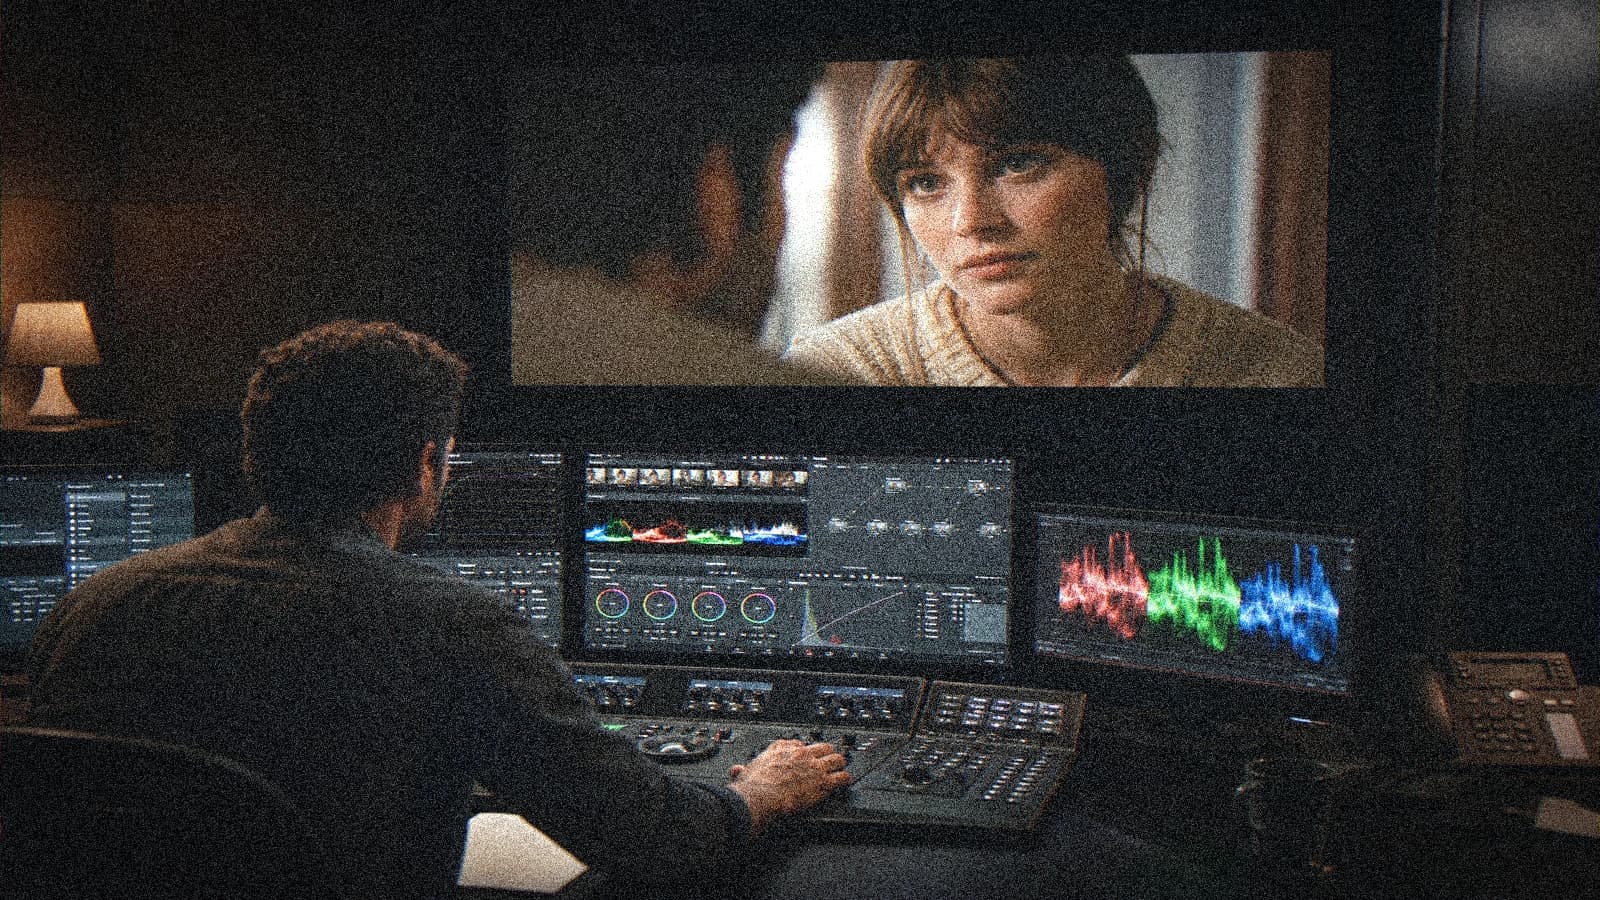
The palette consistency over several shots is a LUT or a curve, not a hope. Export a reference, stick it on the edge of your screen, grade shot by shot. The eye tires fast, the reference does not.
The "ultra detailed" prompts often contradict each other. Adding five different styles in the same paragraph is asking the model to cheat. A dominant style, a concession, a prohibition. Three layers, not fifteen.
The too-centered framings give a poster, not a scene. Offset the subject, leave space in the gaze direction. The rule of thirds is not a law, it is a tool to avoid the symmetric postcard by default.
The "teal and orange" grading works when the skins stay human. If everything goes orange, the faces burn. Isolate the skin with a soft mask, bring a real blood tint back into the reds. Even in AI, you will often finish in post. Accept the round trip.
The grain is not an Instagram filter applied at the end. It is a glue that harmonizes too-clean zones with too-dirty zones. Start light, fine virtual 8 mm, then go up if your screen is calibrated cold. On a consumer laptop, the grain disappears, so you put too much, then on a good screen it becomes muddy. Test on two screens before validating.
Computer animation and H.264 compression remind us that the compression and the temporal consistency count as much as the resolution.
Foire aux questions
Réponses rapides aux questions les plus fréquentes sur cet article.
Where to start with the two-character dialogue scene: gaze and light matches in AI without getting lost?
The intermediate resolution is your laboratory. Work where you can iterate in ten minutes, not in three hours. When a sequence holds, upscaling or regenerating high makes sense. Otherwise you optimize a perfect pixel in a false scene.
The sound is half of the realism. A visually clean AI clip with an absolute silence looks like a showroom. Add a room, a distant street, a fridge, a light wind. Then compress slightly to stick to the social medium. Lay the atmosphere before locking the video master, otherwise you tell yourself stories about the quality.
The fabric textures betray the plastic before the skin. A wool sweater must have micro variation, not a mannequin smoothing. If your sweater looks like resin, lower the local clarity on the clothes, raise the grain a bit, take back a reference photo of real knit.
How much time to plan for a first credible A shot?
The skin colors under neon must stay in a credible family. The neon tints, yes, but leave a part of blood in the cheeks. If everything goes magenta, lower the selective saturation on the skin reds, raise the luminance slightly.
The rhythm of an AI clip is built in the edit. If you wait for the generation to give you the rhythm, you will be dependent on chance. Generate shots longer than necessary, then hard cut. The hard cut gives the intention. The fade gives the parenthesis. Too many fades, and you fall back on the demo clip.
The seeds serve to reproduce, not to magically improve. If an image is bad, changing the seed at random is playing roulette. Change the prompt, change the light, then lock a seed when you approach the goal. Note the seed in your session file, like an operator notes a focal length.
What is the number-one mistake on this subject in generative AI?
The film references must be light references, not subject references. Saying "like Blade Runner" without specifying interior, rain, indirect neon means nothing to a model. Say rather: rain, reflections on the ground, neons in the background, face lit by a close soft source.
The grain is not an Instagram filter applied at the end. It is a glue that harmonizes too-clean zones with too-dirty zones. Start light, fine virtual 8 mm, then go up if your screen is calibrated cold. On a consumer laptop, the grain disappears, so you put too much, then on a good screen it becomes muddy. Test on two screens before validating.
The rhythm of an AI clip is built in the edit. If you wait for the generation to give you the rhythm, you will be dependent on chance. Generate shots longer than necessary, then hard cut. The hard cut gives the intention. The fade gives the parenthesis. Too many fades, and you fall back on the demo clip.
Should I do everything in a single tool?
The English prompts are not a betrayal of your language. Many models have more data on technical English tags. You can write in your own language for yourself, then translate the photo terms: key light, fill, rim, bokeh, anamorphic, stop, mental ISO.
The storyboard, even rough, saves you hours. Three boxes drawn with a pen are worth ten blind prompts. You know where the horizon line is, where the gaze is, where the cut is. The model does not guess your next shot, you must give it to it like a frame.
The vertical format imposes another reading. A wide horizontal shot tells the environment. A vertical asks for a clear subject, a strong line, few parasitic elements on the edges. If you recrop a horizontal into a vertical with no rethinking the composition, you get cut heads and hands that enter by surprise.
How to validate on mobile before delivering?
The skin colors under neon must stay in a credible family. The neon tints, yes, but leave a part of blood in the cheeks. If everything goes magenta, lower the selective saturation on the skin reds, raise the luminance slightly.
The reflective objects, glasses, windows, screens, are traps. If you do not need them, remove them. If you need them, plan a camera angle where the reflection does not show an impossible setting. Simplify the reflection before complicating the setting.
The grain is not an Instagram filter applied at the end. It is a glue that harmonizes too-clean zones with too-dirty zones. Start light, fine virtual 8 mm, then go up if your screen is calibrated cold. On a consumer laptop, the grain disappears, so you put too much, then on a good screen it becomes muddy. Test on two screens before validating.
Can I mix AI and real shooting on the same project?
The partial face cover, hat, lock of hair, can help the consistency if your tool struggles on the features. It is not cheating, it is stylizing. Many real films use the off-frame for the same reason.
The sound is half of the realism. A visually clean AI clip with an absolute silence looks like a showroom. Add a room, a distant street, a fridge, a light wind. Then compress slightly to stick to the social medium. Lay the atmosphere before locking the video master, otherwise you tell yourself stories about the quality.
The clean project folder is worth all the viral-workflow promises. Name your files, keep a screenshot of the settings, copy the prompt into a txt. In two weeks, you will thank yourself when a client says "we redo it like version 2".
What to document to find the same result again in two weeks?
The subtle camera noise, micro tremor, can save a too-clean shot. But a pixel that dances on a cheek is an alert. If the tremor modifies the skin, reduce the amplitude or freeze the face and move only the environment. Separate face and setting in your movement strategy.
The multiple lights with no hierarchy give a cheap photo studio. Choose a key, a weak fill or nothing, maybe a rim. Three equal strong sources is the death of depth. Write who dominates in EV if you can, even roughly.
The historical square Instagram format is not the same as the vertical TikTok. The visual center of gravity rises in vertical. Place the important information in the upper third, otherwise the phone eats it under the viewer's thumb.
Related articles
 Tutoriels
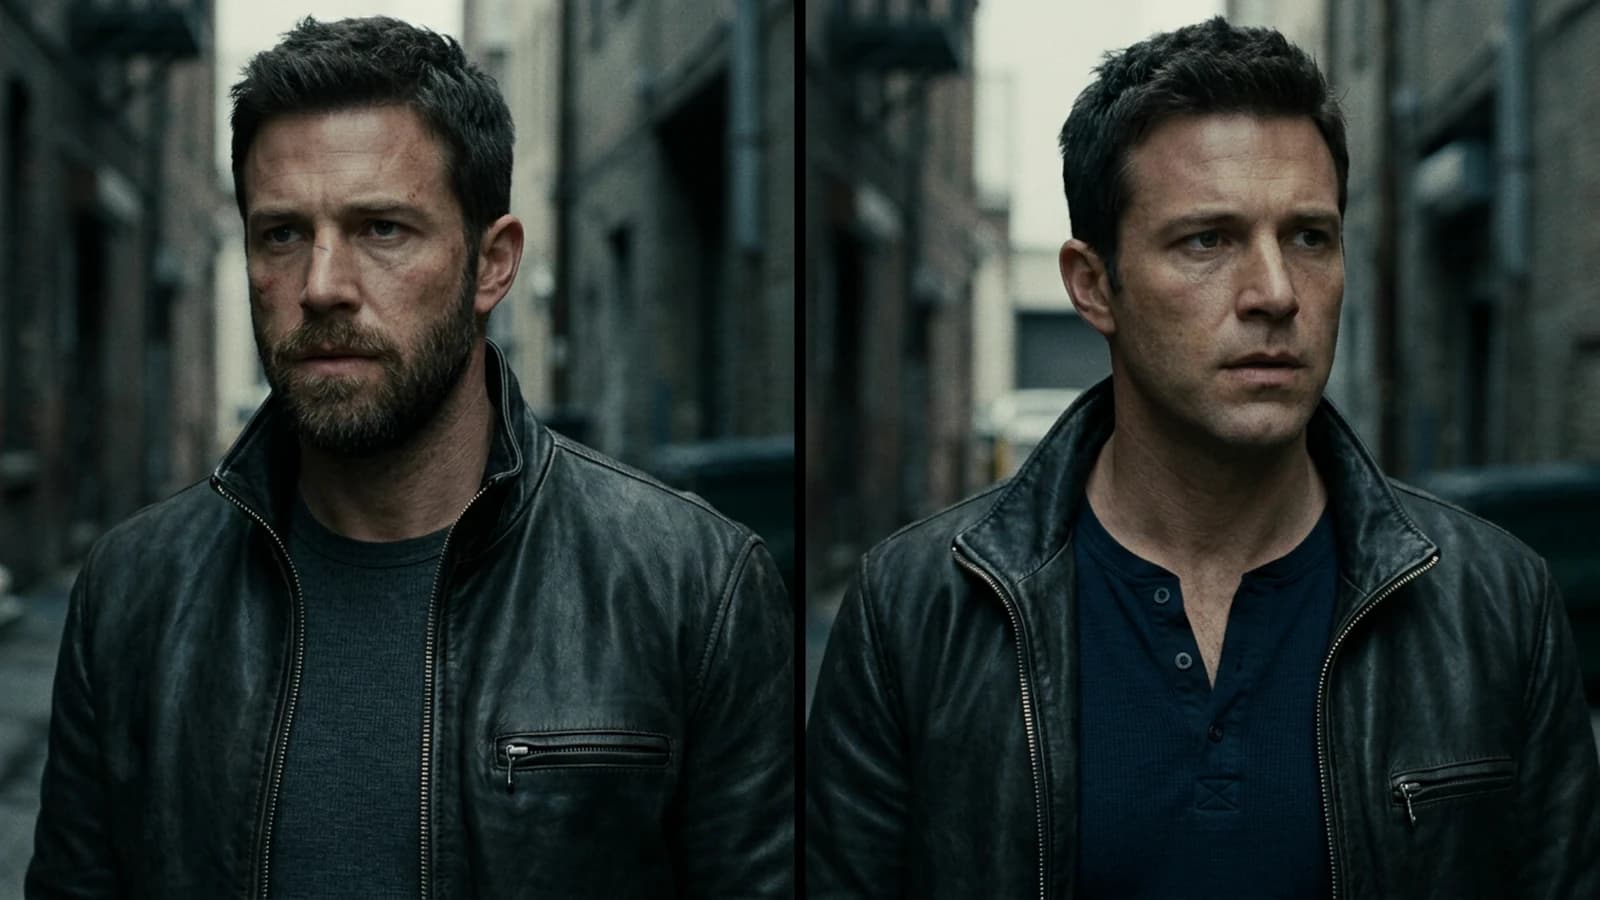
Directing the Gaze and Micro-Expressions of AI Characters
Acting direction technique applied to prompts to get accurate gazes and stable expressions.
 Tutoriels
Why Do My Characters Change in Every Scene
Unstable prompt, uncontrolled seed, synonym costume, and absence of a sheet: continuity is a protocol, not a model option.
 Tutoriels
Office Interior: Fixing the Cyan Light of AI Offices
Why AI open spaces turn blue and how to bring back a credible tungsten / window hierarchy.