AI Storyboarding: Turning Your Script Into a Cinematic Vision
A field method to storyboard with AI with no decorative gallery: key shots, spatial consistency, staging prompts, animatic and frequent mistakes.
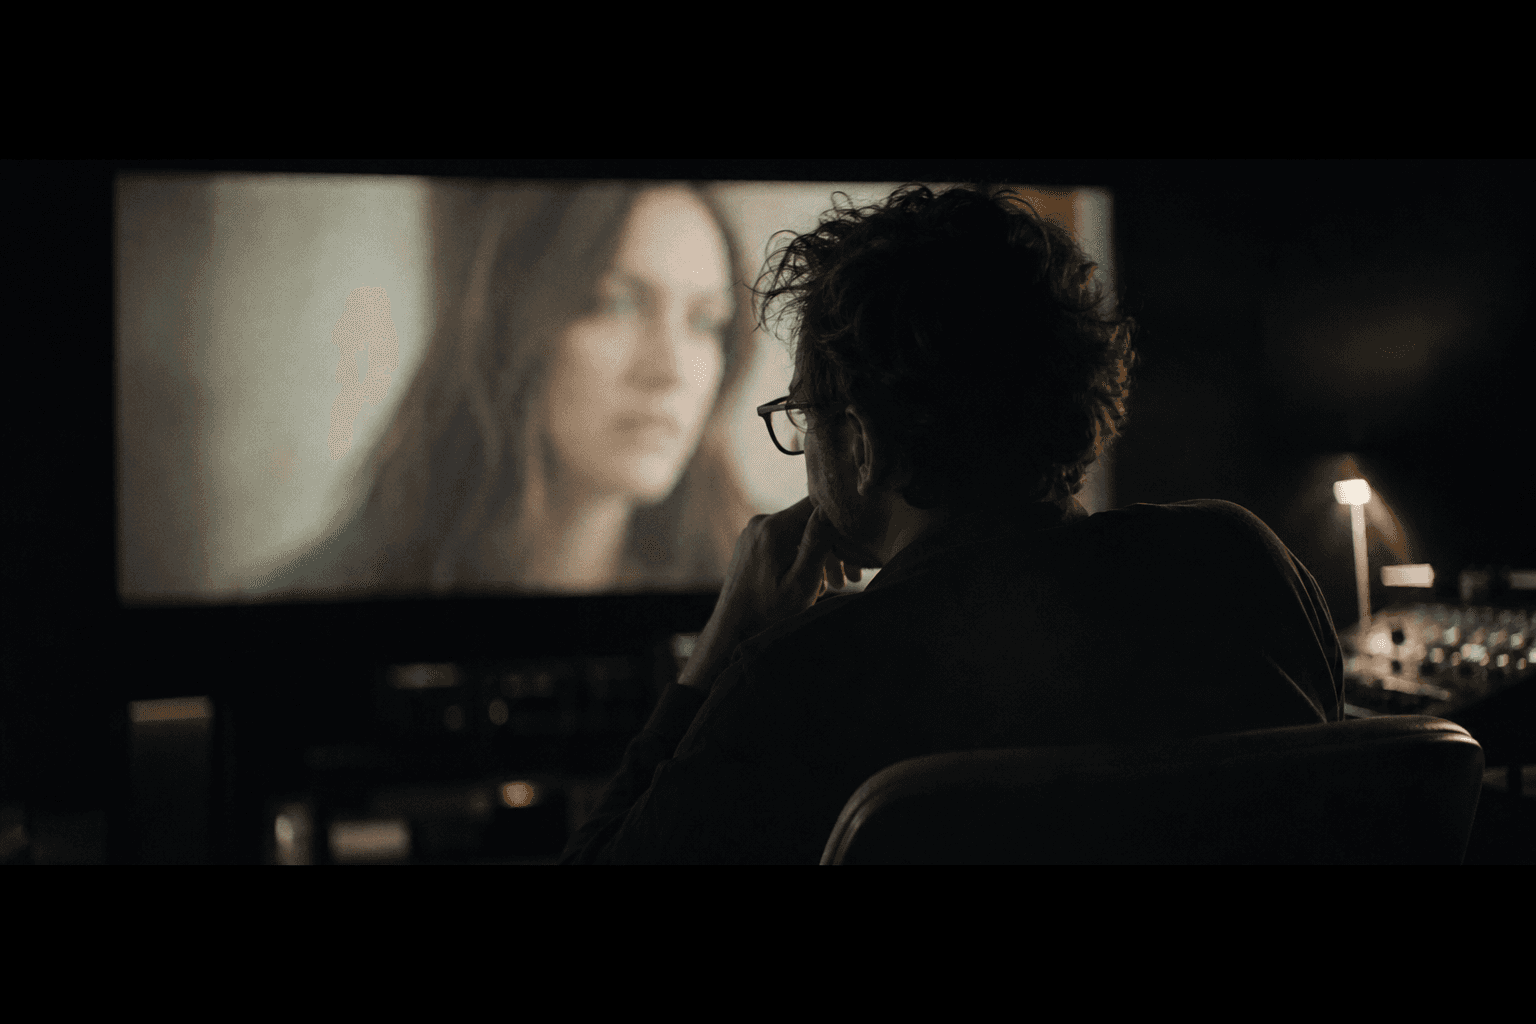
You have a script that holds up. The scenes breathe. Then comes the moment when someone asks you how you see this shot by shot, and your brain empties. You are not an illustrator. You do not have three weeks to sketch. You want to move forward. AI storyboarding can become your best ally on one non-negotiable condition: you use it as a directing tool, not as a dispenser of pretty images.
If you generate seductive but inconsistent panels, you are going to impress on a moodboard and crash on the shoot. The efficient storyboard answers silly and essential questions: where is the camera, what do we see, why does this shot exist, and how does it chain to the next one. This guide gives you the concepts, a trench workflow, three scenarios, a massive troubleshooting, and an FAQ to lock your pipeline. Keep in mind an obvious truth that stings: an AI storyboard does not replace a directing decision. It makes it visible, therefore debatable, therefore improvable before it costs dearly. It is exactly why it is worth gold when you work with a team, even a small one, even remote, even tired. When you want a shareable document, our storyboard PDF generator assembles your panels into a clean deliverable.
Core concepts: what makes a storyboard really useful on an AI or hybrid project
A professional storyboard serves the narration. Each panel must justify its existence by a dramatic or informative intention. If you cannot explain in one sentence why the shot is there, it is probably decorative. The shot hierarchy is not an aesthetic whim. It is the rhythm. A film where everything is in medium shot becomes flat even with expensive images. You alternate wide to situate, medium to play the action, tight for the intimate or the tension.
The spatial consistency is your number-one battle with AI. The models love to subtly vary costumes, hair, architecture, light. Your work consists of fixing visual constants and repeating stable textual anchors in your prompts: same jacket, same haircut, same window, same dominant light direction. You prefer a less wow panel but linked to the previous one, rather than an isolated masterpiece.
The axis continuity is the second trap. A gaze that does not respect the line of action, a camera that jumps to the other side of the 180 degrees with no intention, a setting that pivots: all this explodes in the edit. The storyboard must reveal these mistakes before the set. If you do not see the axis at the storyboard, you will not see it better with a tired team at ten at night.
Finally, think production document. Numbering, indicative durations, camera notes, logistical constraints. A beautiful PDF with no indexing is an album, not a tool. Also add a risk column: what can go wrong on this shot at the shoot or at the generation? A mirror, a crowd, an animal, a shot in a narrow staircase: as many elements that must appear early, not as a surprise on D-day.
A sixth useful concept is the gaze readability in the panels. Even in an imperfect drawing, we must understand who looks at whom. With AI, the eyes often go in an almost consistent direction. Almost is enough to break a dialogue scene. Control this point like a mechanic controls a brake: with no artistic judgment, with a checklist.
A seventh concept is the focal-length consistency. If your story surreptitiously alternates extremes with no intention, the viewer feels an artificial nervousness. Choose a focal grammar for the scene: for example 35 mm feel for the situation shots, 50 mm for the dialogues, 85 mm for the intimate tensions. You are not obliged to write exact millimeters at the storyboard, but you must avoid focal chaos.
For the overall consistency when you chain several generated shots, our guide to build a cinematic scene shot by shot directly extends this logic.
💡 Frank's Cut: never validate an isolated panel. Always validate a block of three to five panels in continuous reading. Cinema is judged in the transition, not in the screenshot.
The trench workflow: a step-by-step field method
You start with a script breakdown into filmable units. One action, one intention, one potential shot. You produce a usable list rather than an abstract text. Then you choose the key shots per scene: entrance, emotional pivot, revelation, exit. You do not storyboard each micro-movement at the start. You lay the backbone.
You generate in short batches, five to ten panels maximum, then you compare and you correct. The long sessions with no control lead to the stylistic drift. After each batch, you do a fast slideshow reading. If your brain jumps, your viewer will jump too.
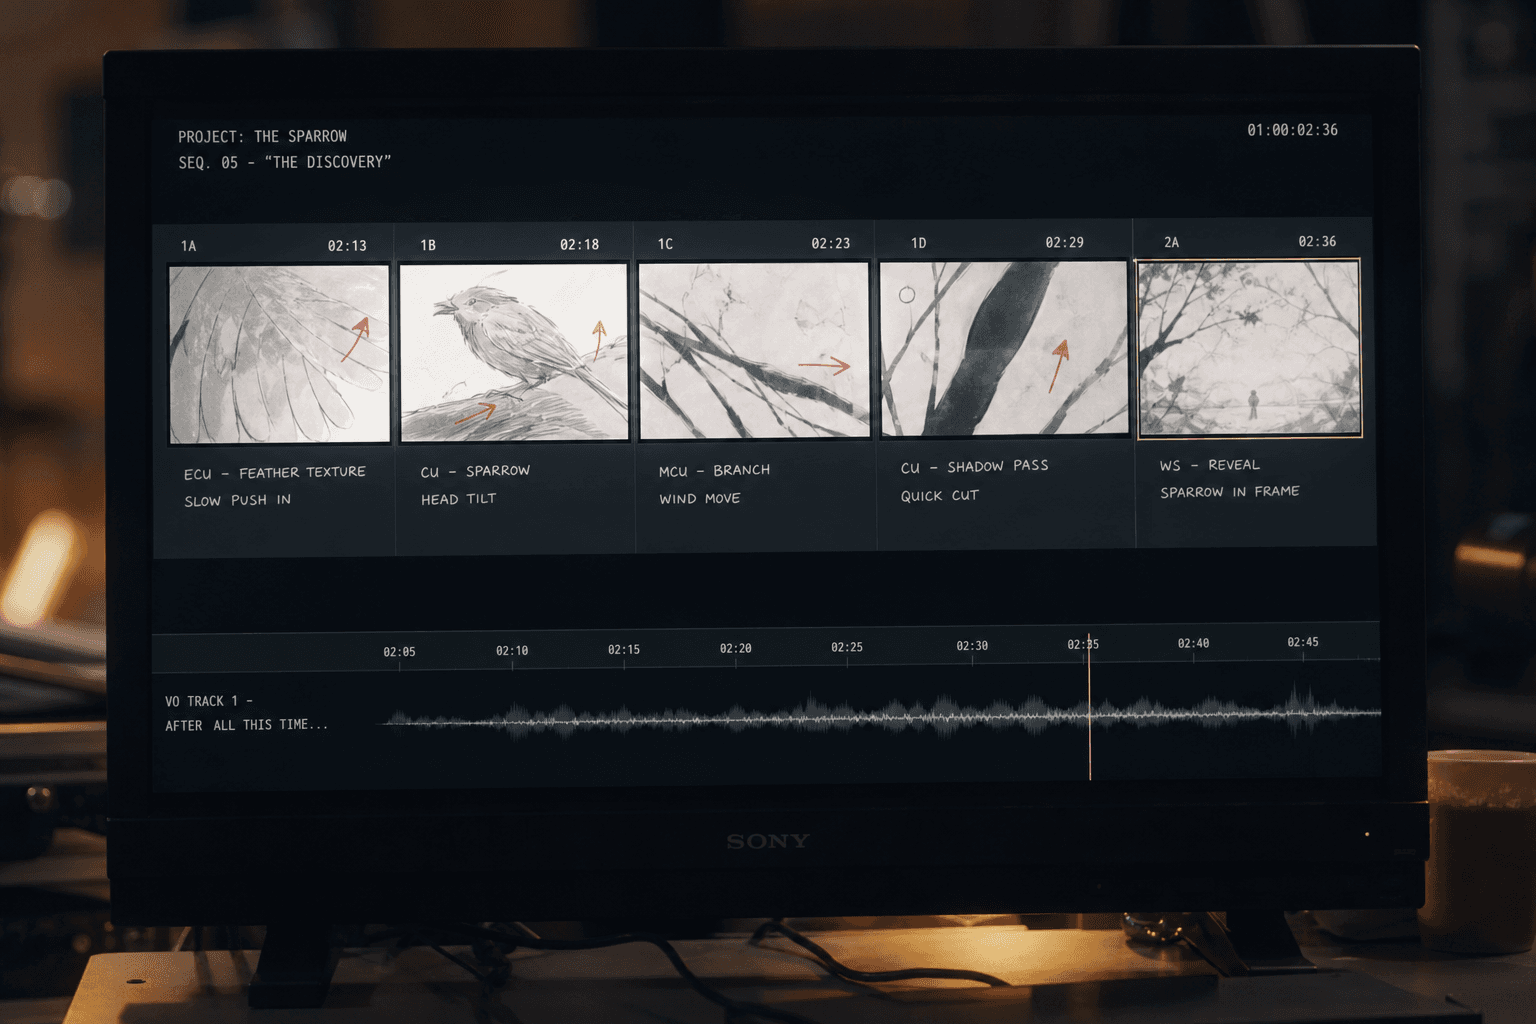
You add a layer of annotations: shot type, focal feel, movement, estimated duration, intention note for the actor or the camera operator. It is this layer that turns images into shooting language. To animate fixed images toward rhythm tests, our Runway Gen-3 tutorial to animate a fixed image into a film shot gives a concrete base.
You loop with an animatic, even rough. A storyboard with no temporal test lies about the rhythm. Two magnificent shots can collapse when you chain them in twenty seconds instead of six.
Add a sound reading pass if your film is dialogued. Read the lines softly over the animatic timeline. You quickly notice the shaky lengths, the missing silences, and the gazes that should last half a second longer for the line to land right.
Finish with a distributable version: paginated PDF, links to source files, and a minimal changelog. When a team grows, this version avoids the which board is the right one? that costs hours.
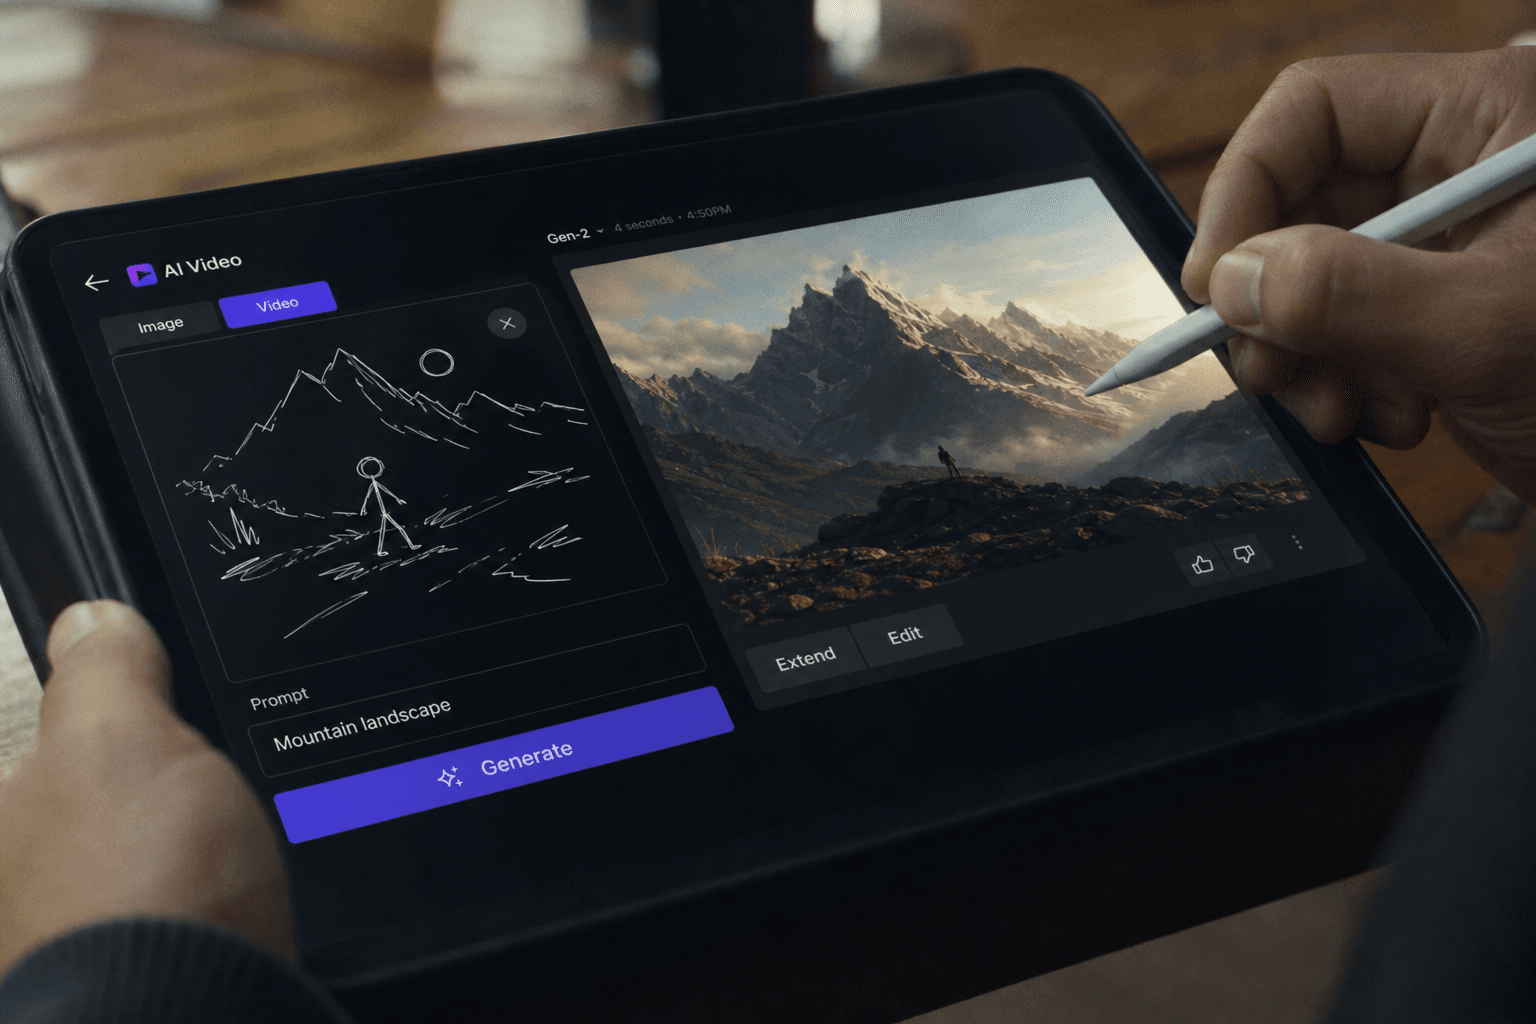
Scenario A: interior dialogue, two characters, calm tension
You define the line of action and you draw it on a sheet even imperfect. You generate a wide to situate the table, a medium on character A listening, a medium on character B who lies, a tight on a hand detail. You refuse any panel that inverts the left-right position of the actors with no motivation. Your prompt insists on the continuity of the windows and the lamp.
Scenario B: short action, camera movement, risk of chaos
You first storyboard the anchor moments where the viewer must understand the geography. Only then do you add the movement: lateral travelling, push in on the useful detail. If the AI proposes a movement impossible with your gear, you cut it now. The storyboard is not a virtuosity contest. Add a backup shot note for the physical sequences: if the travelling does not fit in the corridor, which static shot saves the reading? This habit saves you on a real set as on a generative pipeline where the physics does not exist but must still seem credible on screen.
Scenario C: almost fully AI project, need for a visual bible
You create a character sheet and a location sheet with short repeatable descriptions. You generate simplified turnarounds or reference plates before the scenes. You link this work to our article on generating a complete professional storyboard with AI if you have to deliver a more formalized client document.
Step 1: translate the script into useful shot lines
Write one line per shot with a fixed structure: subject, action, framing, emotion. This discipline stabilizes your prompts and reduces the decorative hallucinations. Fix the ratio early: wide cinema, vertical social, or owned mix. If you storyboard wide then force a brutal vertical crop, you lose the composition.
Prepare character and setting references before the generation. With no references, you get seductive but unusable variations in continuity. Add a mini decision document: why this shot exists. This file saves you when a better panel arrives and tries to make you betray your intention.
Step 2: staging-oriented prompts, not vague adjectives
Favor camera, distance, height, focal feel, gaze direction, motivated light. Avoid the clouds of epic, magnificent, incredible adjectives that give no stable instruction. Systematically check the gaze axes between adjacent panels.
Raise the complexity by steps. First a stable character and setting, then movements. If a panel is beautiful but inconsistent, delete it. The consistency beats the wow. To avoid the visual inconsistencies later on an AI film, keep in mind our guide on continuity mistakes and inconsistencies.
Step 3: annotate for the team and lock the animatic
Add simple arrows for push in, pan, tilt. Place the critical lines under the panels that carry the timing. Export an animatic even rudimentary: approximate durations, possible temporary sounds. You will immediately see the weak shots.
The documentation on the film grammar helps to clearly name what you want. The Film studies vocabulary page of the BFI and the educational resources of the American Film Institute are stable markers to align vocabulary and intention, even on an independent project.
Comparison table: previsualization methods before shooting or generation
| Method | Speed | Cost | Narrative control | Main risk |
|---|---|---|---|---|
| Manual storyboard | Slow | Low | Very high | Drawing time |
| AI storyboard | Fast | Moderate | High if disciplined | Visual drift |
| Complete 3D previz | Very slow | High | Very high | Heavy pipeline |
| Set improvisation | Fast at the start | Variable | Low | Delays and losses |
| Script alone + moodboard | Very fast | Low | Low | Team misunderstandings |
Troubleshooting: what beginners break in AI storyboarding
The first mistake is to confuse storyboard and gallery. If your document is a collection of strong images with no logical sequence, you have not storyboarded. You have moodboarded.
The second mistake is to forget the real constraints: available focal length, ceiling height, location, safety, number of actors. An impossible shot stays impossible even if it is sublime in AI.
The third mistake is the absence of clear numbering. With no index, the team loses time, the editor goes crazy, and the iterations mix.
The fourth mistake is to change visual style every five panels. You must install a stable grammar: palette, grain, light type, realism level.
The fifth mistake is to skip the animatic. You discover too late that two magnificent shots smother each other.
The sixth mistake is to storyboard too early before locking the geography of the scene. You lose hours regenerating because the door changes wall.
The seventh mistake is to not version. You must be able to come back to sequence 03b with no crying.
The eighth mistake is to confuse final storyboard and exploration. You can explore wide, but you must lock a clean set version. Otherwise you shoot with a fuzzy document.
The ninth mistake is to ignore the motivated light. If your board mixes contradictory shadows, your DP spends a crazy amount of time reconciling the impossible. Give a dominant direction and plausible sources, even simplified.
The tenth mistake is to under-break-down the action scenes. A single fight shot is rarely enough for the preparation. Even if you change in the edit, the board must show clear reading points.
💡 Frank's Cut: if your DP does not understand your board in three minutes, the problem is not them. It is the clarity of the document.
Foire aux questions
Réponses rapides aux questions les plus fréquentes sur cet article.
Which tool to choose when you are really a beginner?
Choose a simple combo: stable image generation, then clear assembly, then basic animatic. The trap is to pile up five tools before having a fast loop. What counts is the time between idea and five consistent panels. If you can loop that in under an hour, your pipeline is healthy. Only then do you add refinements: upscaling, advanced character consistency, or integration with a previz software. The tool must serve the learning speed, not the opposite. Also start with a modest but stable visual style: better a simple board than a spectacular one if the spectacularity breaks the continuity. When your method is solid, you raise the complexity without paying the price in chaos.
How to keep the same character over the whole scene?
Use constant references and repeat simple anchors in each prompt: clothes, hair, accessories, setting markers. Avoid adding random details that multiply the degrees of freedom. When the drift arrives, correct early on the faulty panel rather than at the end of the scene, otherwise you rewire everything. If your tool offers image references or seeds, learn to use them without abusing them to the point of freezing the expression. For long scenes, segment into micro-sequences of three panels, validate each segment, then chain. This method reduces the error accumulation. If an accessory disappears, reintroduce it explicitly in the next prompt instead of hoping the model remembers it.
Should you storyboard all the shots?
No. Storyboard the risky scenes: complex geography, action, transitions, gaze comedy, reveals. The simple scenes can live with a shot list and an intention note. The goal is to invest your energy where a mistake costs dearly. On a tight budget, the targeted storyboard is often the best ROI of all the pre-prod.
Is the AI storyboard useful in low budget?
Even more. You cannot afford hours lost on the set looking for a frame or repairing an axis. A clean board reduces the endless debates and speeds up the decisions. It also helps to negotiate with partners: when everyone sees the same intention, the discussions become factual.
How to present this storyboard to a producer?
Show a readable, sequenced document, with short intentions and visual consistency. Add an animatic if possible. The producer looks for a proof that you know how to execute, not that you know how to generate isolated images. Highlight the choices that reduce the cost: fewer shots, fewer setups, fewer impractical movements.
Why is my board beautiful but my shoot stays chaotic?
Often because the production layer is missing: durations, shooting order, gear constraints, light logistics. A magnificent board with no operational notes stays incomplete. Add these elements and your document becomes a set tool, not a portfolio. Also plan a shooting order by axis to limit the useless camera moves, and a time estimate per setup. Even imperfect, the estimate forces realistic choices and reduces the costly improvisations.
How to avoid the 180 degrees without feeling it?
Draw a simple line of action on paper or in a diagram. Mark the camera and the characters. Each time you generate a shot, check which side of the line you are on. If you have to cross it, do it explicitly as a dramatic choice, with a transition shot that reorients the viewer.
Should you stick to the final format from the storyboard?
Yes as much as possible. If you know you will deliver 2.39 for the film but 9:16 for the promo, prepare two passes or an owned recrop from the start. The late recrop often breaks the careful compositions. For the 9:16, think centered subject and face readability earlier, otherwise you find yourself cropping magnificent but vertically impractical horizontal framings. Also document the safe zones if you have graphic elements or future text overlaid.
How to integrate the storyboard into a distant team?
Use a single source file, a naming convention, and a brief page at the top: goals, constraints, contacts. Add short comments directly on the critical panels. Do a twenty-minute synchronous check after the first version, then switch to asynchronous for the iterations. The goal is to avoid the misunderstandings about the axes and the focal lengths, which spread fast when no one is in the same room.
Related articles
 Tutoriels
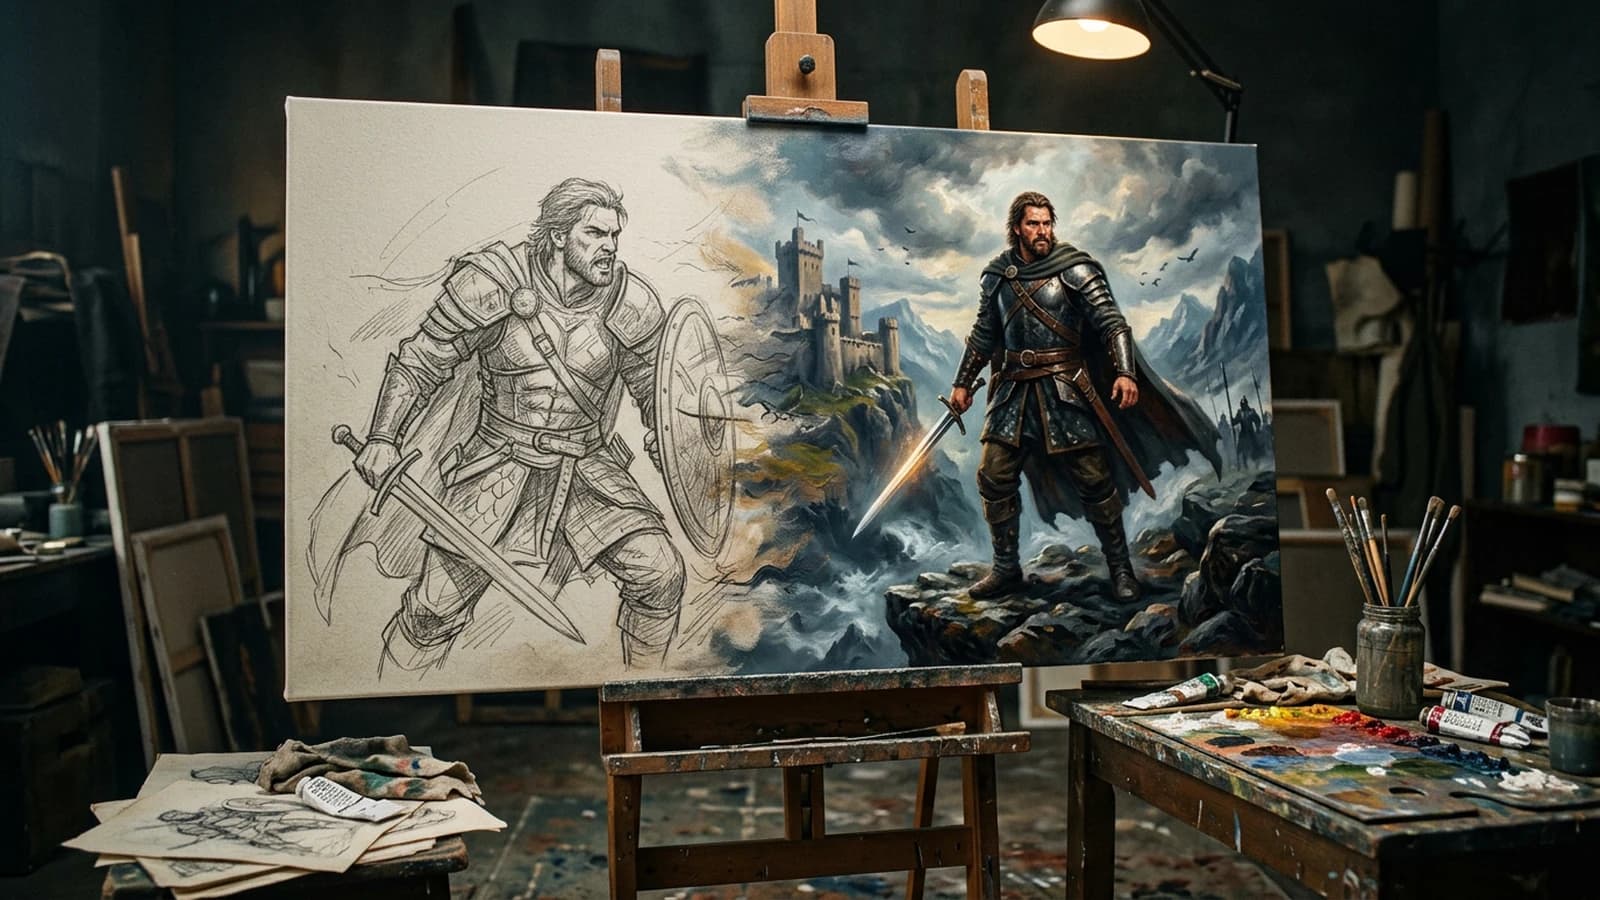
Turning a Simple Sketch (Drawing) Into a Masterpiece With AI
ControlNet, img2img, mass preservation, and hand retouch: from the useful line to the final render without losing the soul of the drawing.
 Tutoriels
How to Integrate Sound Design into an AI Video
A practical method to integrate sound design into an AI video: audio layers, synchronization, synthetic voices, ambiences and a mix for a credible render with no noise or amateur collage. The keyword AI video sound design becomes a delivery protocol here, not a catalog of effects.
 Tutoriels
How to Turn an AI Video Into a Premium Ad
A complete method to turn an AI video into a premium ad: conversion-oriented creative frame, disciplined visual consistency, serious post-production and media quality control like an agency. The keyword turn AI video premium ad becomes here an executable checklist.