Flux workflow for ultra-detailed images
An end-to-end protocol to get credible details, from the microtexture to the global consistency, with no plastic effect that kills the realism.
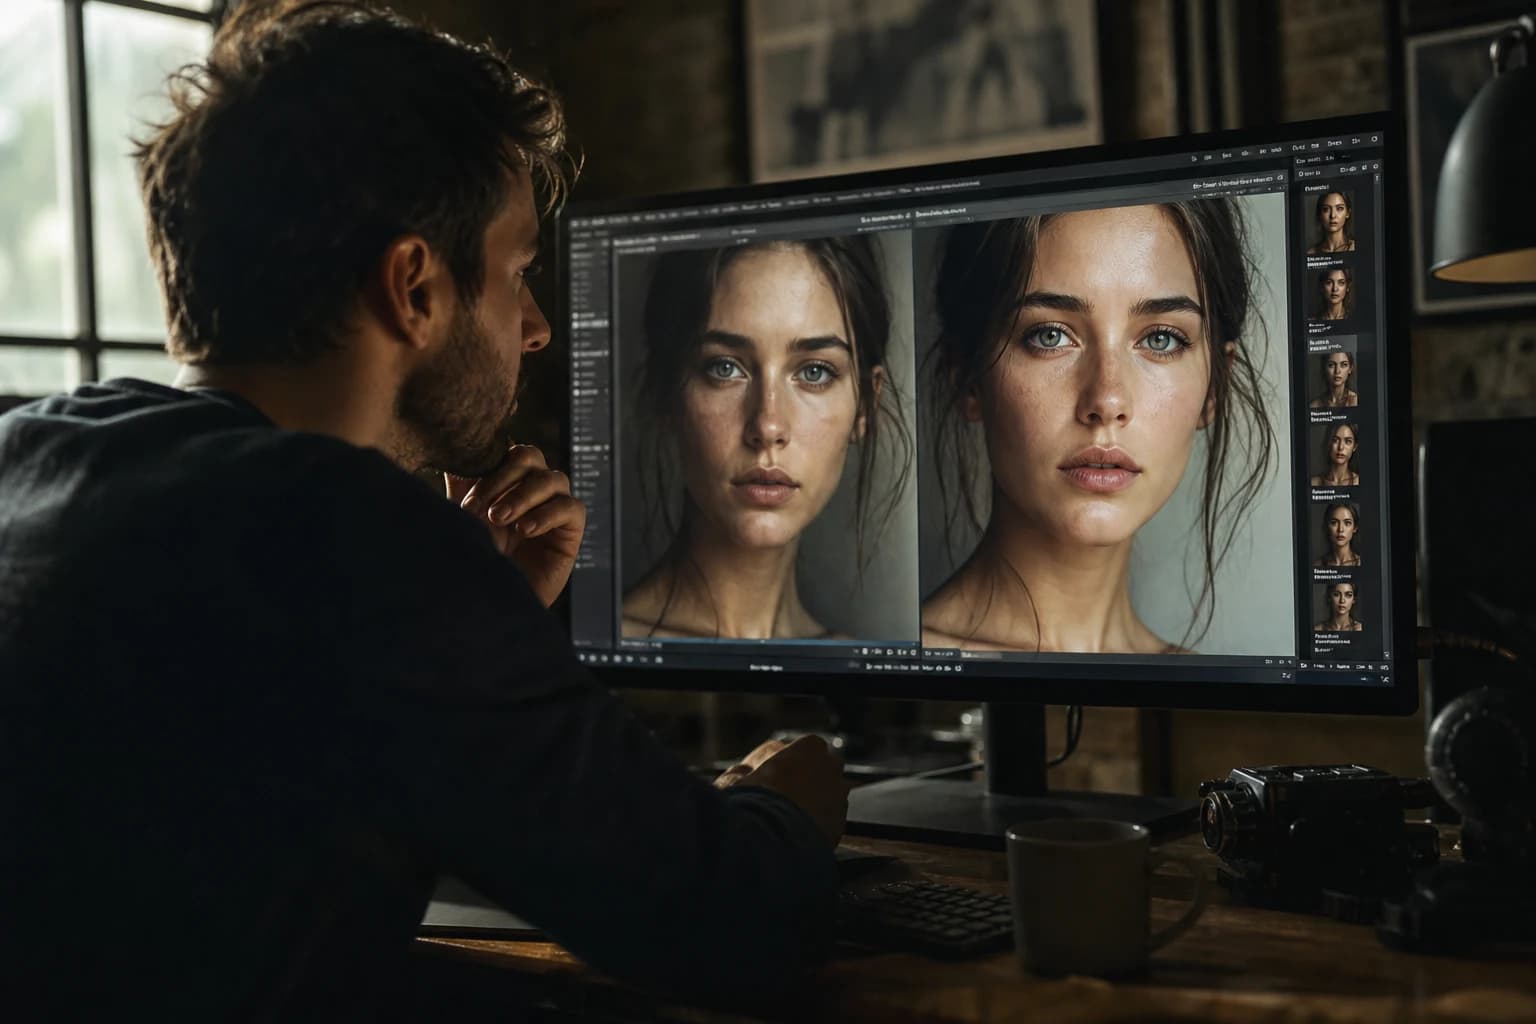
You spend hours pushing the resolution, multiplying the upscale passes, and yet your render stays clean in the bad sense of the term: smooth, uniform, with no real optical hooks. It is not a question of "AI morality". It is a question of optics, useful noise, material, and above all chain. Here, we talk about a Flux ultra-detailed images workflow like a laboratory device: each step has a role, a risk, and a rejection criterion. You do not seek Instagram perfection. You seek cinema credibility, the one where the skin breathes, where the fabrics keep micro-irregularities, where the light has a direction and a controlled luminous dirt.
If you come from SDXL or a classic comparison, first take the measure of the ecosystem differences in our article Flux vs SDXL: which AI to choose for realistic images. This guide does not replace the anti-plastic fundamentals: How to generate photorealistic AI images with no plastic effect remains your lexical and luminous safety net. For the skin in particular, link what you do here to How to improve the skin texture of an AI image. And if you then think about movement, keep a serious video chaining at hand, for example Complete Seedance 2 workflow: cinema render.
The concepts that make a detail "true" rather than "flashy"
Optical detail versus algorithmic detail
When an engine promises you ultra-sharp images, it often sells you algorithmic detail: edge reinforcement, artificial micro-contrast, "texture" painted on top of a smooth surface. The optical detail, on the other hand, resembles what you get when a real lens, a real focal length, and a real light resolve a scene together. In a good Flux ultra-detailed images workflow, your goal is to get closer to the second category. That implies stopping confusing sharpness and information.
You can have an image displayed very sharp on the screen and little real information on the material. Conversely, an image slightly softer optically can contain more tactile truth if the high frequencies are coherent, not synthetic. That is why aggressive sharpness settings are often counterproductive when you aim for cinema. You gain an immediate visual shock, you lose the continuity of the pores, the fibers, the micro-scratches.
In practice, a useful test consists of comparing two exports on the same brief: one with global reinforcement, the other with minimal sharpness and finesse carried on the grain and the targeted local contrast. You seek less "which one jumps out more on the screen" than "which one survives thirty seconds of zoom on the same skin zone". If you cannot hold this reading, you do not yet have a Flux ultra-detailed images workflow, you mainly have a visual saturation contest.
Also think viewing conditions. A calibrated panel and a mobile screen do not tell the same micro-contrast story. Your detail must stay credible on both, otherwise you optimize for a single audience and you deliver plastic elsewhere.
The light, material, distance triangle
Any photographic scene obeys a simple triangle: the light reveals the material at a given distance. If your light is soft and frontal, you will never have the micro-sculptural relief of a hard side key. If your subject is too far for the chosen focal length, no upscaler will invent details that do not exist in the original sampling. A Flux ultra-detailed images workflow therefore starts by setting these three variables as shooting constraints, not as magic post-generation buttons.
On the cultural plane, the way cinema describes light and lens remains a solid reference. The ARRI page and its product documentation teach you the vocabulary of sensors, transfers and optics. You are not obliged to buy an ARRI camera to talk like on a set. You only have to understand what a side key means, a controlled fill, a practical visible in the frame, and how a fixed focal length disciplines the composition.
The color temperature and the quality of the fill also change what you read as texture. A too-cold light on the skin brings out micro-disorders that resemble noise, not material. You first fix the light in the brief, not in revenge in a blind texture mask.
Flux does not suppress this triangle, it makes it more forgiving on certain scenes where SDXL already struggles. You remain however responsible for the decision: a model cannot guess you wanted a dry skin rather than a studio hydrated skin if you do not write it in the material contract.
Noise, grain, and useful high frequencies
The grain is not a vintage decoration. It is a layer of consistency that masks the artifacts of the digital demosaicing, that unifies the skin regions, that gives a common texture to the sky, the metal, the fabric. The "too-clean" AI images often read like CGI with no final layer. In a serious Flux pipeline, you decide early if you add fine photographic grain in control, by harmonizing intensity and perceived sharpness.
Keep in mind that excessive grain can also kill the detail. It is a dosage, not a religion. The good reflex: apply late, on a conservative blend, and compare at low scale and at strong zoom to check you have not created a mush in the eyes or the small texts.
In post, compare your grain on two angles: at poster size and in portrait crop. It must help the global reading without creating a grainy mustache on the light-dark transitions.
Avoid heavy grain on anything that must stay readable to the pixel: small text in the frame, logos, numbers if you aim for documentary. In these zones, you often link a clean layer and a targeted optical sharpness better than a general texture laid with a wide brush.
Scale consistency and micro-object readability
An "ultra" detail only makes sense if it respects the scale. A shirt seam cannot have the size of a coaxial cable. A skin grain cannot become wall plaster when you frame a bust. Your chain must therefore integrate a consistency control at several reading distances: whole thumbnail, main subject, aggressive crop. If the crop lies, everything lies.
The text-to-image diffusion models, including the Flux family, can hallucinate "plausible" but physically incoherent microstructures. Your framing eye must become the arbiter again. It is not an optional artistic task. It is quality control.
Sometimes add to the brief a witness object of known size: can, phone, book. It is not a gadget, it is an alarm bell on the scale. If the witness object lies, your nearby textile lies too.
For the textile patterns, check the periodicity: a plaid repeating the same square twenty times on a shoulder sends an immediate AI statistical signal. You prefer a plausible irregularity, even modest, to a perfect repetition.
Subsampling, supersampling, and where it breaks
When you go up too fast in resolution with no strategy, you ask the model and the upscaler to invent relief where the information does not exist. It is the classic source of scale textures and plastic skin. Conversely, staying too low in base resolution can condemn certain fine transitions, like the eyebrows against the skin, or the hair net against the sky. A Flux ultra-detailed images workflow therefore orchestrates base resolution, targeted reinforcement, layer blending and final passes with a laboratory discipline.
A simple rule to not lose yourself: note the native resolution, the resolution after reinforcement, the delivery resolution in a session table. When one of these three diverges with no documented reason, the next image risks plastifying because of a ghost step.
💡 Frank's Cut: even before Flux, set a simple rule: a resolution rise must always come with an aggression reduction on the local contrasts. If the shape already lies at the base, pushing the sharp only crystallizes the error in high definition.
After this lock, synchronize blending and masks: an aggressive rise never needs to be global. The zones you want to refine accept a higher information density, the background can stay softer to simulate a real depth of field.
Why your "ultra detail" drifts toward plastic
The plastic almost always comes from the same couple: global smoothing plus synthetic micro-contrast. The smoothing erases useful signals your brain uses to read the flesh and the natural fabrics. The micro-contrast adds edges that are too clean, too regular, "grains" that repeat. Result: a cheap advertising aesthetic, not a flat aesthetic.
As long as you do not treat this couple, changing model will only displace the problem. Flux can help you because it tends to better compose certain complex scenes and to better hold the materials, but it is not a permission to relax your protocol. On the contrary. The convincing images with Flux are often those where the human refused the ease of the free polish.
If your pipeline favors the "clean portrait" presets, you often inject structural smoothing without naming it. Pivot toward settings that preserve the midtone texture: less global clarity, more conservation of the transitions in the "creamy" zones of the skin.
Also document your refusals. An image rejected with a note "plastic on the nose" is worth more than an image accepted by fatigue. It is thus that your Flux ultra-detailed images workflow becomes a workshop memory rather than a collection of impressions of the day.
Field: the Flux workflow in practice, with no headlong rush
Here, we leave the Discord folklore. We set a pipeline you can execute tomorrow morning, with passing and rejection criteria. The vocabulary stays deliberately generic: depending on your interface, the names of the nodes or the buttons vary, but the logic holds.

Phase A: the brief as a material contract
Phase A generates nothing. It locks the intention. You write three clear blocks. Subject block: apparent age, posture, expression, costume, wear state of the clothing. Optical block: plausible focal length, camera height, distance, wanted depth of field, type of light source. Environment block: dominant materials, humidity, dust, era, "anchoring" details like a sign, a window, a puddle.
This brief guides a Flux ultra-detailed images workflow because it forces the model to choose among fewer plausible hallucinations. A vague brief gives a vague result, and you will compensate with sharpening, so with plastic. A precise brief gives an image whose defects are localized, so repairable.
Phase B: base generation at a healthy resolution, not maximalist
You set a base resolution compatible with your VRAM and your implementation, but above all compatible with the simulated focal length. A frequent mistake: going up too early in pixels to "keep the detail", while you have not yet locked the composition. The base must be stable, not gigantic. If your tool proposes settings of the guidance type, stay in a measured range. The over-guidance often pushes caricatural textures.
Observe particularly three diagnostic zones on the first series: eyes and orbits, hair-skin transition, clothing joints. If these three zones already lie, do not move to phase C. You take back the brief or the base parameters. Fixing a crazy geometry with upscale is financing a disaster in high definition.
Phase C: light geometric correction before any reinforcement
Before amplifying the details, you align the perspective, the problematic head tilts, the hands if they are in the foreground. The tool matters little: local erasing, inpainting, light photo-bash. The important thing is to put the visual skeleton back in an acceptable range. It is the phase many skip out of impatience, then they accuse Flux or the upscaler of being "bad on the hands".
On the cultural background of network-assisted image synthesis, you can lean on the historical popularization of deep learning to remind yourself why these systems extrapolate statistically, not physically. Your geometric retouching work is the safeguard that reintroduces a human intention.
Phase D: iterative detail reinforcement with a ceiling
You apply a detail reinforcement by short passes, never a single maximal hit. At each pass, you control the local crisp: do the pores become a grid? Does the denim become grooved plastic? Does the metal lose its random micro-scratches? If yes, you lower the intensity, you simplify the mask, you change algorithm.
Here, the iterativity is your anti-plastic. A small step preserves the statistical consistency of the render. A brutal leap breaks the continuity of the materials.
Phase E: upscalers, blending, and prudent frequency separation
When you go up in resolution, mentally separate low-frequency content (global shape, wide light) and high frequencies (micro-texture). The accidents almost always come from an upscaler that attacks both with no distinction. If your pipeline allows it, work a path that first preserves the shape, then reinjects a measured texture.
The frequency separation in classic photo retouching can adapt as long as you avoid exaggerating the high layer. The goal is not an "Instagram micro-relief" face, it is an almost invisible but perceptible-at-zoom continuity. If you see halos around the edges, you are already too far.
Phase F: constrained color grading, before the final grain
The grading changes the reading of the detail. A too-aggressive global contrast transforms micro variations into hard borders. You first fix the wide exposure, then the color relations, and you only touch the global clarity sparingly. Think cinema, not flash advertising.
For the color and the cinema transfer science, the basic reading on the site ARRI on image and workflows helps you master a useful vocabulary: log, LUT, highlight rendering. Even if you work on a synthetic image, this frame disciplines your curves.
Phase G: grain, light optical vignetting, delivery
The grain is often done last or second-to-last, never in the middle of a series of heavy upscalers that will crush it or amplify it inhomogeneously. A very light optical vignetting can also help recenter the gaze and mask peripheral weaknesses, as long as you avoid the amateur tunnel effect.
You export in 16-bit PNG if you still have to integrate in compositing, otherwise high-quality JPEG for web delivery, on condition of not re-compressing five times behind. Each re-compression kills useful micro-contrasts.

Scenario 1: tight portrait, real skin, eyes with no plastic gloss
You are in a three-quarter portrait, simulated long focal length, shallow depth of field. Your danger: too-wet eyes, too-saturated, with Disney reflections. Your protocol: luminous brief with a soft but directional key, plausible single catchlight, shadow under control. Base generation at a healthy resolution, then micro-pupillary correction if necessary, then low iterative reinforcement on the skin except the eyes.
On the eyes, you process with a lower intensity and a tighter mask. The skin of the forehead and the cheeks tolerates more micro texture. The eyelids do not. Remember the skin article cited in the introduction: the successful portrait here is not the one with the most visible pores. It is the one with a credible hierarchy between smooth zones and textured zones.
Scenario 2: interior scene, mixed materials, visible practical lights
You are in a bar, neons, glass and wood surfaces, matte paint. The detail must vary depending on the materials. The grained wood does not have the same scale as the brushed metal. Check the reflections: a clean glass shows distinct sources, not a uniform bloom. Your pipeline insists on a base with moderate contrasts to leave a margin before the grade.
Work by material selection if your tool allows it: a more marked reinforcement on the matte zones, softer on the reflections. If you apply the same intensity everywhere, the glass becomes plastic and the wood becomes embossed cardboard. The Flux ultra-detailed images workflow becomes here a zoning exercise.
Scenario 3: urban wide shot, humid night, multiple neons
A wider shot, less micro skin, more reading of the ground and the atmospheric particles. Your detail comes from the micro reflections in the puddles, the asphalt aggregates, the luminous dirt. Do not confuse sharpness and night haze. A plausible night is often softer optically but richer in light points.
Control the halos around the sources. The over-corrections create auras that scream AI. Your upscaler must be chosen with caution on the very contrasted day-night or neon-asphalt zones. If you see purple fringes, stop, lower the intensity, change method.
Troubleshooting: symptoms, causes, actions
The problems repeat. Here is an actionable table to cut short the spirals.
| Visible symptom | Probable cause | Immediate action |
|---|---|---|
| Regular "pore grid" skin | HF reinforcement too strong or mask too wide | Lower the intensity, tighten the mask, start again from a low layer |
| Shiny and "glass" eyes | Local over-contrast, implausible multiple catchlight | Reduce gloss, simplify sources, redo the grade |
| Contrast bars in the hair | Upscaler that invents striations | Less upscale, or hair mask with a soft method |
| Halos around the edges | Global sharpening or aggressive clarity | Cancel the layer, start again with prudent frequency separation |
| Plastic fabric | Same reinforcement intensity on all materials | Zoning by material, lower on shiny synthetics |
| "Fake microscope" details | Resolution raised too early on a fragile geometry | Go back down to the base, fix the shape, go up cleanly |
When "everything is detailed" and therefore incoherent
If your image screams detail everywhere at the same level, the brain refuses the scale. Reintroduce a hierarchy: slightly blur a secondary zone, or locally lower the micro-contrast in the background, to let the subject carry the fine reading. Real photography does it without mercy via the depth of field and the optical dust.
When your upscale "eats" the already fragile transitions
Classic sign: skin-hair transitions that become a dark bulge. Action: isolate this transition, pass a softer reinforcement, or use a method oriented toward edge preservation rather than texture invention. Sometimes, the best improvement is a selective re-entry from the pre-upscale layer, not a brute force.
When you oscillate between two styles because your brief mixes references
The hybrid brief kills the material. A "clean studio" portrait with "dirty 16mm grain" can be done, but you have to prioritize. Otherwise the model will make an ugly compromise. Write in black and white your priority: cleanliness first, or optical dirt first, then adjust the pipeline in this direction.
The trap of stacked layers with no rigorous naming
From five steps on, with no naming convention, you no longer know what to cancel when it goes haywire. Set names of the type BASE_FLUX_v1, GEO_FIX_v2, DETAIL_PASS_A, DETAIL_PASS_B, GRADE_v1, GRAIN_FINAL. It is silly, it saves you ten hours per month.
FAQ: the Flux ultra-detailed images workflow with no blind spots
Does Flux "suffice" to replace my whole post-production chain?
No, and it is not an insult. Flux can excel on complex scenes, but the photorealistic ultra detail still requires human choices on the simulated optics, the masking, and the discipline of the passes. Thinking the model suffices is preparing the plastic, because the material is judged at zoom and in the transitions. The chain remains queen, Flux is an engine, not a post team. A serious Flux ultra-detailed images workflow integrates checks on hands, teeth, fabrics, and edges. Before export, if you cannot explain why a zone is textured this way, you are not finished.
How many detail passes maximum before it degrades?
There is no universal number, but three measured passes almost always beat one giant pass, because each pass creates dependencies in the high frequencies. Beyond that, justify each iteration with a precise zone and a before-or-after capture, otherwise you fall back into the synthetic effect. Workshop rule: if you cannot name the target of a pass, you do not apply it. The discipline prevails over the tool. A healthy Flux ultra-detailed images workflow advances by small touches, like a kitchen where you taste between the steps, not like a single blender.
Do you always have to go up to ultra-high resolution for a cinema render?
Not necessarily. Cinema is also read at the exposure scale, and a storyboard or a web banner does not need 16K if the reading holds at a distance. What honors an image is the material, light, grain consistency, not the pixel fanaticism. Go up in resolution only when the composition is frozen and your transitions hold at strong zoom on eyes, hair, and joints. Otherwise you pay compute to manufacture precise defects you then remove in the blender. Reserve the pixel wall for prints, serious recrops, and shots where the client really pushes the file. In a Flux ultra-detailed images workflow, the resolution is a decision, not a reflex.
What role does the guidance play in the final texture?
A too-high guidance sometimes freezes caricatural features and hardens the surfaces as if everyone wore varnish. A too-low guidance makes the scene conceptually blurry, but can better preserve certain transitions if you reinject detail later with targeted passes. You must calibrate per subject, because a portrait reacts differently from a landscape, and an interior with reflections reacts differently from a backlit field. Do three short tests on your brief of the day, note the reaction of the materials at the crop, choose a range, archive the protocol in your session folder. It is workshop work, not inspiration, and it is part of a Flux ultra-detailed images workflow stable over time.
Can I mix Flux with SDXL-inherited tools in the same file?
Often yes in post, sometimes no in latent, depending on your graph. Separate generation and finishing, because mixing the spaces with no clean conversion gives you lying colors and "stuck" details. After a PNG export, the post can stay engine-agnostic as long as the bit depth and the color space are consistent. In the latent, impose a strict hygiene of nodes and ranges. When you hesitate, output a clean intermediate and start again on a mastered path. Better a great consistency than an unreadable optimization in a Flux ultra-detailed images workflow nobody can replay.
How to know if my problem comes from the upscaler or the base model?
Simple one-minute test: downscale your upscaled result toward the original resolution, compare to the pre-upscale file, and look where the difference concentrates. If the diffs explode on zones already fragile before upscale, the culprit is often the upscaler or its intensity, and you must go down a notch before definitively breaking the render. If the diffs reveal a crazy geometry already present, the problem is upstream, and no post magic will save you with no serious repaint. This test cuts the internal debates, avoids the classic mistake where you torture a layer that is not responsible, and recenters your Flux ultra-detailed images workflow on the right intervention, with no placebo or tool superstition.
Is the "cinema" color mandatory to sell the detail?
Not mandatory, but consistent, because the color orients the eye and can lie about the presence of detail. A cinema grade disciplines the saturations and avoids the cheap HDR. You can stay clear as long as your curves do not create micro-contrasted halos. Cinema is not a magic LUT, it is a governance of the transitions between shadow, midtone, highlight. When you doubt, lower the skin reds a bit and watch the yellows in the highlights. With a Flux ultra-detailed images workflow, the grade is a layer of truth, not a filter for social networks.
Do I have to learn ComfyUI to get the best out of Flux?
Not necessarily, but it helps if you want reproducible pipelines and comparable experiments, especially when you work in a team or on several machines. A node-based interface forces you to name your steps and to isolate the variables, which reduces the mysteries when a render changes after a tool update. If you stay on a closed UI, document everything just as rigorously: captures, versions, numerical ranges, and brief decisions. The enemy of the Flux ultra-detailed images workflow is the implicit step you cannot replay tomorrow morning, because the real quality is born from the constancy, not from the one-off stroke of luck.
You do not build a "sharper" image. You build an image more optically readable, with a material hierarchy that survives the zoom. Flux can be the central engine of this adventure, on condition of treating the detail as a consequence of light and distance, not as an afterthought filter. Come back to the anti-plastic fundamentals, compare honestly with other model families when you hesitate on a GPU investment, and export with a trace of your passes so the success is reproducible, not magic.
Related articles
 Tutoriels
Complete Seedance 2 workflow for a cinema render
From the set sheet to the final export: end-to-end Seedance 2 pipeline for a credible film render, with no demo look or sterile all-nighter.
 Tutoriels
Kling 3 workflow for a fluid and realistic animation
Kling 3 pipeline from A to Z: pilot image, movement control, temporal QA and post for fluid and credible animations, with no demo effect.
 Tutoriels
Nano Banana workflow to create consistent characters
Identity sheet, frozen prompts, visual QA and disciplined iterations: the Nano Banana pipeline for consistent characters over a whole series of images.