How to Use Photoshop's Generative AI (Firefly) to Extend Your Shots
A practical masterclass to extend shots with Photoshop Firefly without breaking perspective, light and visual continuity.
How to Use Photoshop's Generative AI (Firefly) to Extend Your Shots
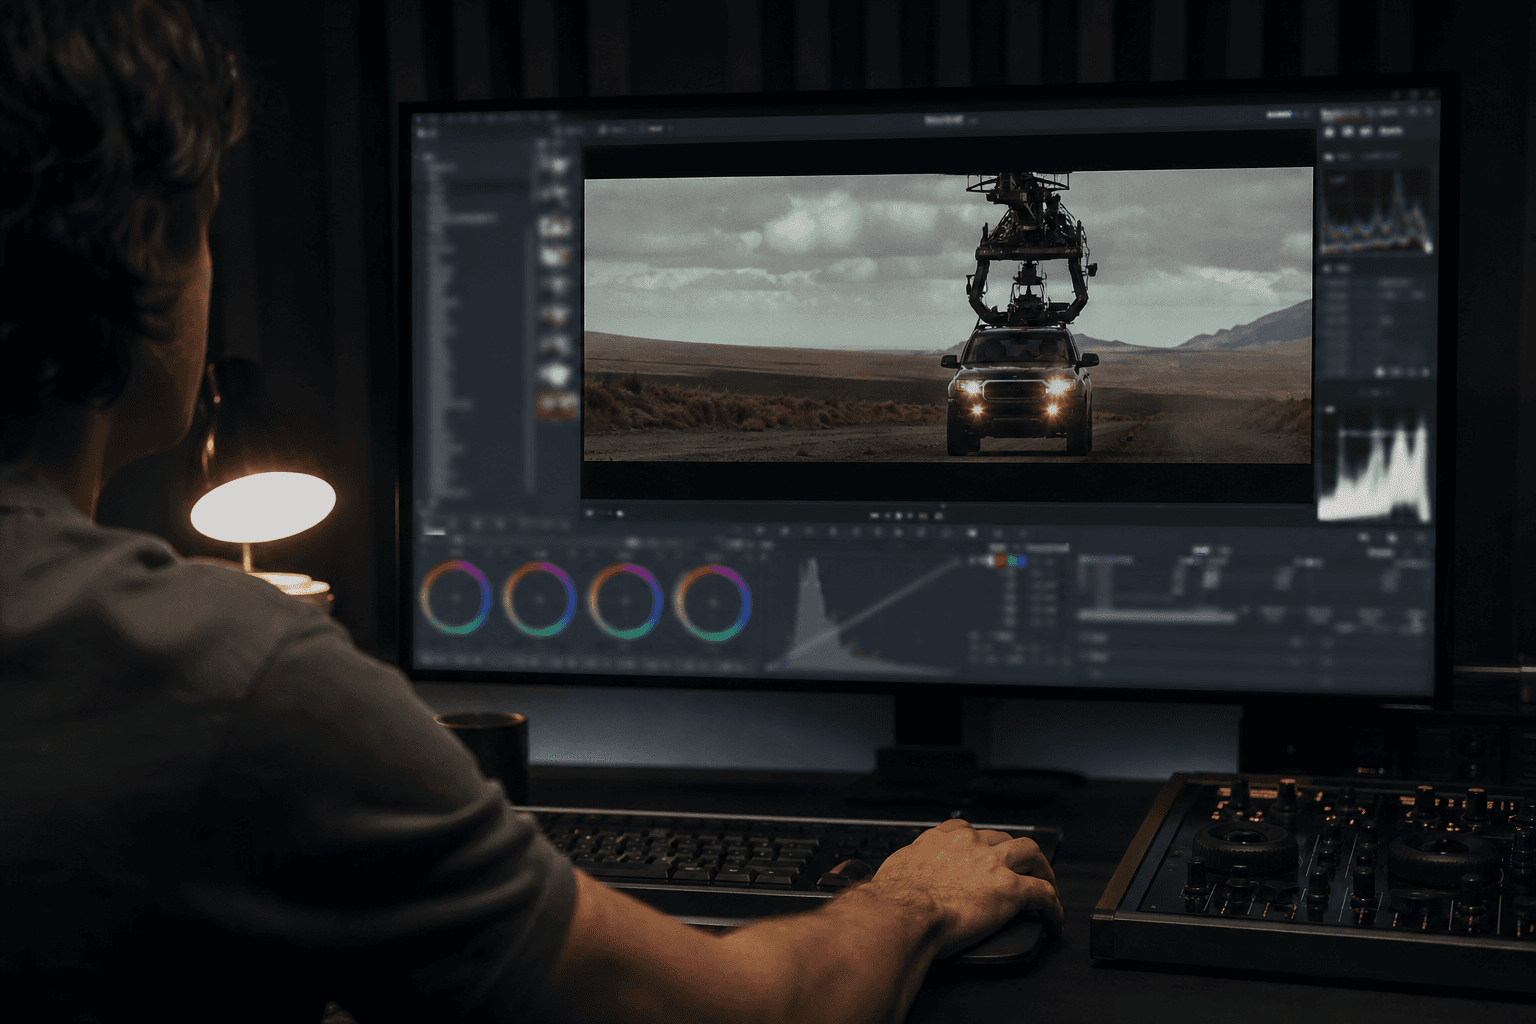
You have a strong shot. Nice composition, good emotion. Then you have to adapt it in 16:9, in vertical, in a safe-title version for YouTube, and everything goes haywire. The generative extension invents impossible walls, plastic textures, and lines that immediately betray the fake. It is exactly the wall that all beginners hit on Firefly.
The key point: Firefly is excellent for extending a shot if you treat the tool as a VFX assistant, not as a magic wand. The real lever is your frame preparation, your selection method, and your local-correction discipline. This guide gives you a clean workflow to extend shots without losing the cinema render.
What makes a credible shot extension with Firefly
The first principle is the geometry. Firefly can generate convincing material, but it does not invent a realistic perspective if your starting frame is ambiguous. You must identify the vanishing lines, the horizon and the dominant masses before extending.
The second principle is the light. Failed extensions often have a correct exposure but an inconsistent light logic. Key-light direction, shadow intensity, global temperature: these elements must stay constant, otherwise the viewer feels the break in under a second.
The third principle is the texture. A "too clean" extension is seen immediately. You must harmonize grain, sharpness and micro-contrast with the source image. It is what turns an AI patch into visual continuity.
The fourth principle is restraint. The extension is a framing tool, not a total redesign. The more you ask Firefly to reconstruct a complete world, the more the artifact risk climbs.
Trench workflow: extending a shot without destroying it
Step 1: prepare the source shot like a VFX element
Start by cleaning your source image before any extension. Remove the obvious defects, correct the extreme dominants, and lock a stable exposure. A badly prepared shot produces fragile extensions.
Then, duplicate your layer and work non-destructively. Create a canvas margin according to your final goal: horizontal to vertical, vertical to horizontal, or simple breathing room for recropping.
Define the intention of the extension in one sentence: "I add breathing space on the left without drawing the eye." This sentence prevents you from over-generating.
Finally, create a protection mask on the critical zones of the subject (face, hands, silhouette edges). Firefly must work around the subject, not reinvent its identity.
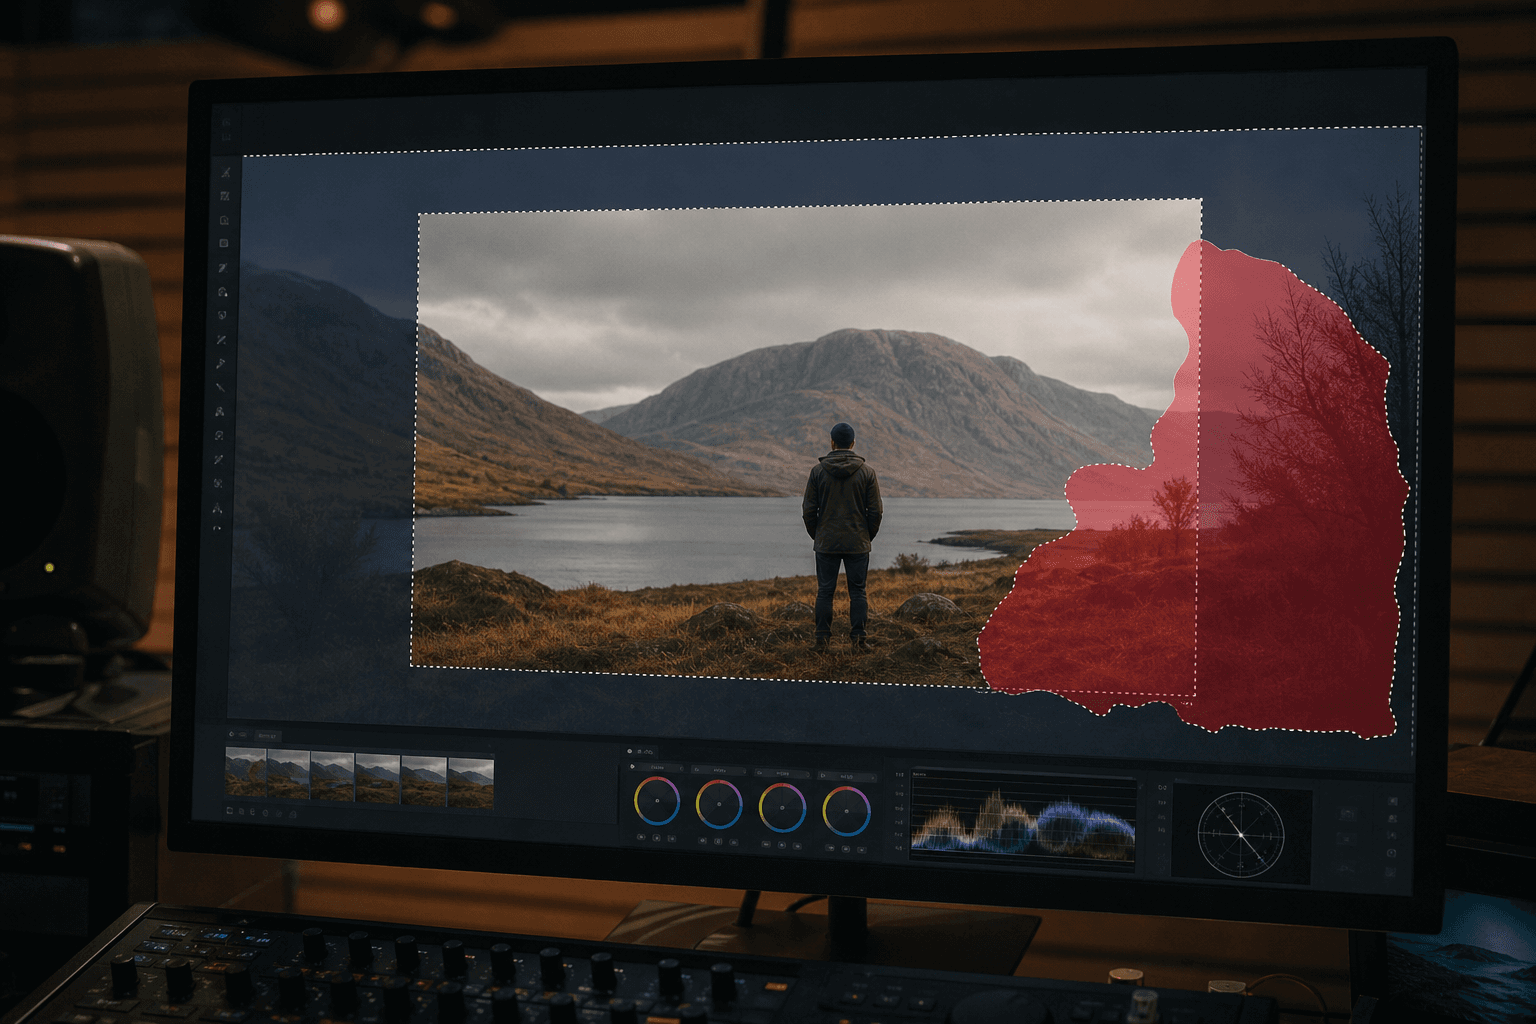
Step 2: generative fill with continuity-oriented prompts
Select the extension zone in simple blocks. Avoid hyper-complex selections at the start. You first want to stabilize the main volumes.
Use concrete descriptive prompts, not vague adjectives. Example: "raw concrete wall slightly worn, soft light coming from the right, realistic texture, moderate contrast."
Generate several variations, then compare only on three criteria: perspective, light, material. The "prettiest" variant is not always the most continuous.
Do not validate too fast. Do a 100% zoom on the junctions. If the texture is too different from the source shot, you correct immediately in a local pass.
💡 Frank's Cut: always do a first extension with no prompt (empty prompt), then a second with a prompt. Often, the base with no prompt gives a more natural continuity than the over-directed version.
Step 3: local correction for an invisible seam
Once the base is validated, switch to fine correction. Use soft masks to blend the texture transitions. The goal is to eliminate any "visual seam" between source and extension.
Adjust the local luminance of the generated zones. Even a 5% difference can betray the AI intervention on a calibrated screen.
Then add a subtle harmonized grain on the complete image. Never only on the generated zone. The global grain unifies the perception.
If necessary, apply a slight sharpness reduction on the extension to match the original depth of field.
Step 4: multi-use export with no starting over
Prepare masters according to uses: 16:9, 9:16, 1:1. Always keep a master PSD with named groups (source, extension, light_correction, global_grain).
Test your exports on mobile and desktop. An extension that passes in full screen can break in a compressed social format.
Document your prompt and the chosen version in a notes file. You will be able to quickly reproduce the same render on the other shots of the sequence.
Finally integrate the image into your global post-prod workflow. If you use a consistent pipeline, also read our complete guide on the Flux models, our grading method for AI videos, our visual continuity protocol, and our continuity checklist.
Comparison table: fast extension vs pro extension
| Approach | Time | Artifact risk | Light consistency | Distribution quality |
|---|---|---|---|---|
| One-shot extension with no mask | Very fast | High | Low | Low to medium |
| Block extension + prompts | Medium | Medium | Good | Good |
| Extension + local correction + global grain | Longer | Low | High | High |
Troubleshooting: what beginners break the most
Mistake 1: asking for a too-wide extension at once. Fix: cut into successive zones.
Mistake 2: ignoring the light direction. Fix: annotate the key light before generation.
Mistake 3: too-clean texture. Fix: grain and micro-contrast harmonization.
Mistake 4: subject touched by the generation. Fix: strict protection mask.
Mistake 5: no final-format check. Fix: 16:9 + 9:16 test before validation.

Extensions according to the type of shot (portrait, architecture, nature)
Not all images react the same to Generative Fill. On a tight portrait, the main danger is the drift of the face and the hands: you must lock the silhouette before even thinking about the setting. On an architecture, the geometry imposes a progression by horizontal or vertical bands that follow the lines of the building; a "free" selection that cuts a window in the middle almost always produces a weird symmetry or a reflection that corresponds to no source. On a natural scene with foliage, the grain and the micro-variation are your friends: where the beginners sharpen, the pros harmonize and add a residual texture consistent with the simulated sensor in your brief.
When you prepare a series for several ratios (YouTube, reels, shop thumbnail), work from the widest master and reduce afterward. Extending several times from an already recropped file accumulates the artifacts at the successive edges. If you have to deliver a 16:9 and a 9:16 from a 4:5, consider two intermediate masters rather than a chain of five AI passes on the same pixels. For the inlaid texts (safe-zone titles), keep a real margin in Photoshop with guides: Firefly does not read your After Effects grid; it is up to you to anticipate where the readability must stay intact.
Finally, link this workflow to the other guides of the site when you mix pure AI and classic post-prod: the continuity between several shots, the move from an AI image to a credible video, and the choice between photorealistic and stylized approaches to not mix two render philosophies in the same sequence.
Light brief before each Firefly session
Note five lines in a text file pasted to the PSD folder: final ratio, light direction observed on the master, "plausible" focal length, list of the zones forbidden to generation, and the reference grain level on a capture of the source shot. This mini-sheet avoids the drift where you retry at random because you forgot your own main constraint. It also serves someone else who reopens the project three weeks later.
When to prefer a "geometric" extension over a "descriptive" one
On regular surfaces (smooth interior wall, moderately clear sky, asphalt road), start with an extension with no prompt to let Firefly interpolate the structural repetition. On rich motifs (old brick, stained glass, irregular stripes), quickly add a prompt that names the material and the scale of the motifs, otherwise the model invents a too-regular version that reads as a procedural texture. If you hesitate between two strategies, do a short pass on a narrow band of the frame before engaging the whole height: you validate the logic without paying the cognitive cost of a big failed mask.
FAQ
Foire aux questions
Réponses rapides aux questions les plus fréquentes sur cet article.
Can Firefly replace a real set in post-production?
Firefly can efficiently extend an existing set, but it does not replace a complete art direction when the scene requires a complex reconstruction. On reasonable frame extensions, the results can be very clean. On massive reconstructions, the perspective and light inconsistencies become more likely. The good use is to add narrative space around a solid shot, not to totally transform the environment. Think "targeted extension" rather than "global reconstruction".
What extension size is the safest to start with?
To start, aim for extensions of 10 to 25% of the frame on one side, then validate. This range lets you keep a strong visual logic without forcing the model to invent too much structure. If you have to extend more, do it in several passes with intermediate controls. The more brutal the extension, the more the risk of a material/light break increases. The best pro pipelines advance in small increments, with continuous validation.
Should you always write a prompt for Generative Fill?
No. In many cases, especially on simple backgrounds, an empty prompt gives a more natural continuity because Firefly directly extrapolates the visual context. The prompt becomes useful when you want to guide a specific material or a precise light direction. The good method is comparative: version with no prompt, then version with prompt, then a choice on objective criteria (perspective, texture, light). Never assume a long prompt will do better.
How to avoid visible edges between source and extension?
Use progressive selections, correct the luminance locally, then unify the grain over the whole shot. The visible edges often come from a different local contrast, not from a "bad model". A light dodge/burn pass can be enough to make the transition invisible. Also avoid too-hard straight-line selections on organic textures. Realistic blending is a finishing job, not only a generation.
Is Firefly suited to a film video workflow?
Yes, especially to prepare keyframes or fixed shots used in a larger video pipeline. It works very well for recrops, matte extensions and format variations. For animated sequences, you then have to manage the temporal consistency with other tools and a rigorous edit. Firefly is a very useful brick, not a complete video pipeline on its own.
Which formats to export to keep flexibility?
Always keep a master PSD with named layers, then export in TIFF or PNG according to your pipeline. For distribution, derive compressed formats from a clean master, never the opposite. If you work multi-platform, prepare the main ratios from the extension phase. This anticipation avoids relaunching generations at the last moment when a social recrop breaks the composition.
Useful external references
For reliable bases, check the Adobe Firefly documentation, the Adobe Photoshop guides, and the workflow analyses of Frame.io Insider.
Field deep dive
How to use Photoshop's generative AI (Firefly) to extend your shots: this chapter extends the angle "A practical masterclass to extend shots with Photoshop Firefly without breaking perspective, light and visual continuity." for the real subject behind photoshop-firefly-etendre-plans-ia-generative. The goal is not to pile up adjectives, but to install a short QA loop you can reuse on every deliverable: capture, note, compare, decide, archive. Most creators lose time because they mix three variables in one session, then blame the model. When you separate light, composition, texture, intention, you get back an honest diagnosis and a measurable progression.
"One variable" protocol (30 minutes)
Minute 0 to 5: write the sentence "what the viewer must believe with no caption". Minute 5 to 12: list three possible visual proofs (cast shadow, use-worn prop, consistent reflection). Minute 12 to 22: generate two images that differ only by one of these proofs. Minute 22 to 28: test in mobile thumbnail and full screen. Minute 28 to 30: choose A or B and name the winning criterion in the project file. This protocol avoids the drift where each regen changes everything except the initial problem.
Scenarios A, B, C with pivot
Scenario A. Render too clean, too showroom. Pivot: add a localized use trace and a more marked side light, without touching the subject if the geometry is good. Scenario B. Image overloaded with no hierarchy. Pivot: remove two objects from the prompt, recenter the contrast on the subject, or tighten the framing. Scenario C. Spectacular but cold image. Pivot: slightly lower the global saturation, add a fine homogeneous grain in post, then regenerate only if the geometry or the perspective still lies.
Trench warfare: ten frequent traps
- Correcting everything at once. You no longer know what saved the image.
- Comparing only on full screen. Mobile often betrays the fake luxury.
- Ignoring the upstream video rhythm. Even upstream, think about the cutting and the breathing of the shots.
- Copy-pasting prompts with no local brief. The words must stick to your real subject.
- Aggressive global sharpen. Garish edges read as "digital".
- Too many contradictory adjectives. One dominant intention is enough at the start.
- No archive text file. You lose seed, version, and reason for the choice.
- Validating tired. Fatigue makes "beautiful" what is only familiar.
- Multiplying models the same day. You compare different chains, not settings.
- Delivering with no A/B. The client or future you will not know what was acceptable.
Quick decision table
| If you observe | Priority action |
|---|---|
| light inconsistency | simplify the sources |
| subject drowned | framing or contrast hierarchy |
| plastic texture | fine grain or less HDR |
| impossible hands | off-frame or trivial action |
| catalog setting | micro wear and functional prop |
| empty sky | cloud volume or motivated haze |
| impossible reflections | reduce the contradictory sources |
Client or sponsor workshop
Even for yourself, write a mini brief: audience, channel, expected reading time, prohibitions (violence, brands, real faces). For a team, add a "compliance proof" column: capture of the service terms, model version, export date. This column saves you when a broadcaster asks where the image comes from.
Recurring questions (workshop)
Should I deliver two versions? Yes, A and B with a named difference sentence, otherwise the discussion stays fuzzy. Should I document the prompts? Yes, even partially: it is your internal quality assurance. What to do if the model changes? Set a test brief and compare before continuing a series. Does manual retouching cheat? No if you own the chain and the contractual limits. How much time per serious image? Often longer in validation than in raw generation, plan for it in the quote. Do I need a technical target? Yes: final resolution, color space, headroom on highlights if social compression. And intellectual property? Check the terms and the rights on the references included in the prompt.
Multi-screen control station
Minimal chain: main monitor, standard laptop, smartphone. If you only have two screens, send a test export to your phone via a clean channel (not a messenger that recompresses endlessly). Note the perceived difference on the skin tones, the edges, and the micro-contrasts. Many "AI" images become so mostly after a second involuntary compression.
Useful internal links
Cross-reference with why your prompt does not work, and how to fix it, the prompt mistakes that make an AI image artificial, and how to control the visual style in an AI generation. If your subject touches video, also link to how to structure an AI video like a real film and to how to improve the realism of movements in AI video.
End-of-session log (template)
Date:
Slug / file:
Hypothesis of the day:
Variable tested:
Result A vs B:
Decision:
Next test:
Operational synthesis
For photoshop-firefly-etendre-plans-ia-generative, keep three lines in your notebook: intention in one sentence, light law in one sentence, material proof in one sentence. If one is missing, you are not ready to regenerate massively: you are ready to diagnose. Long-term quality comes from this discipline, not from the latest model released on Tuesday.