Over-the-Shoulder Shot: Eye-Line Continuity and Depth
OTS framing, axes and prompts to link two characters without crossing the line of action.
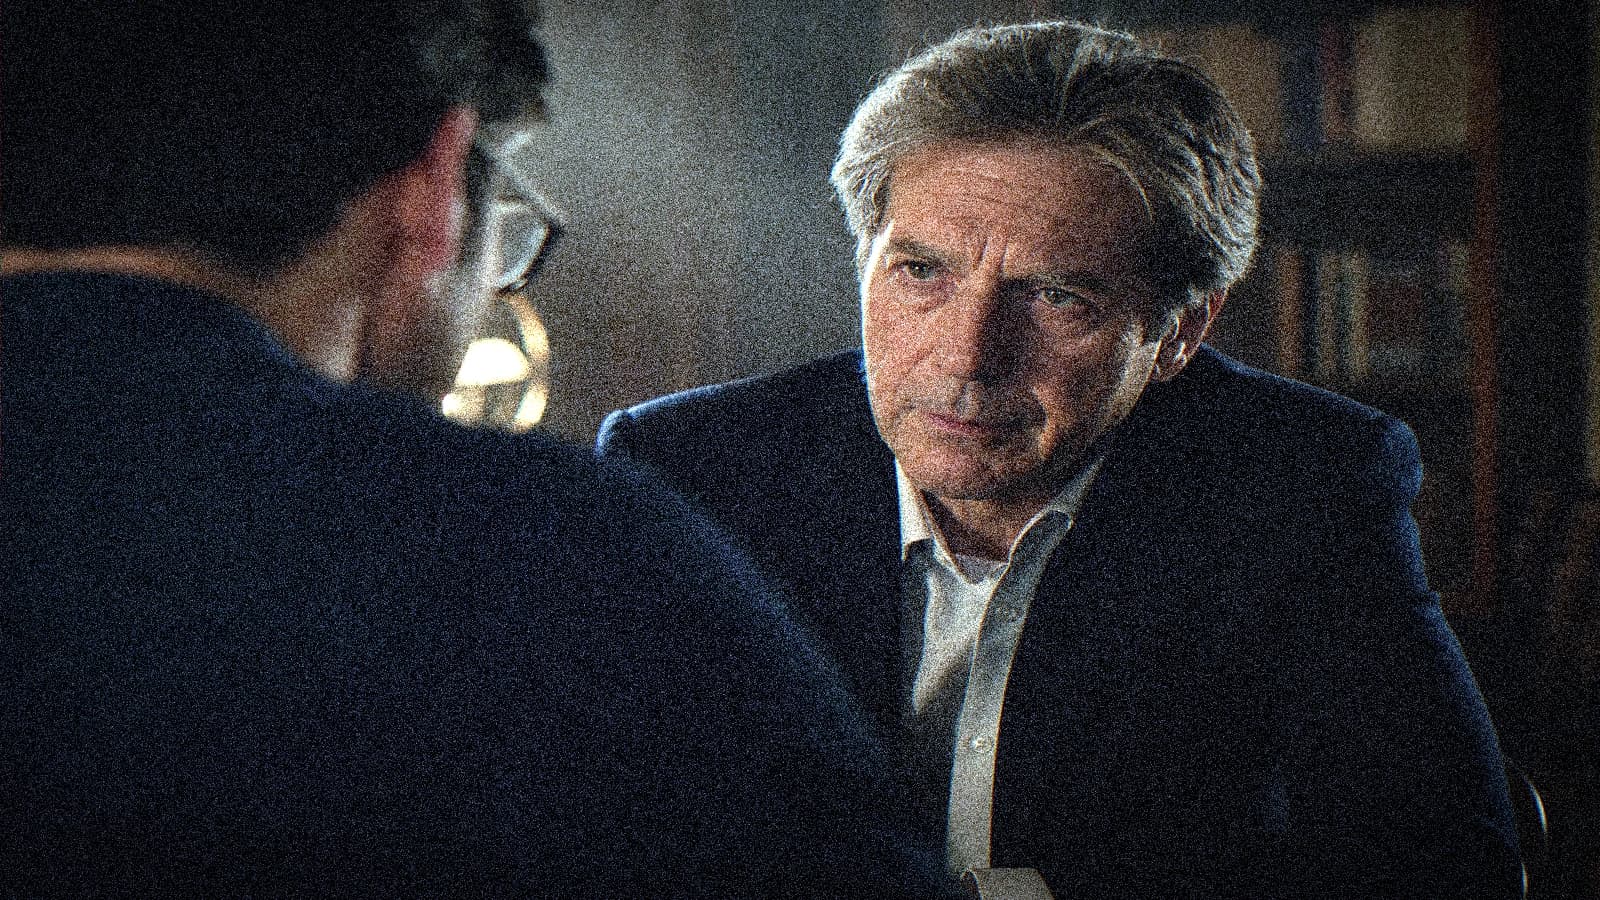
You edit your first AI dialogue. Shot A: over-the-shoulder, magnificent in thumbnail. Shot B: facing character B. And there, the gaze no longer lands in the right place. The viewer no longer knows who is talking to whom. It is not your editor who failed. It is the line of action that was never locked before the generation.
The over-the-shoulder shot (OTS) is the most used weapon of dialogue cinema. In AI, it is also one of the framings that fastest betray an amateur production: shoulder that changes size, gaze that floats, depth of field inconsistent between the two faces of the shot-reverse-shot. This guide gives you the set method I use on fiction, ad and social content scenes when two characters have to really talk to each other.
Why the over-the-shoulder breaks in AI (and not in shooting)
On a real set, the director and the camera operator share the same mental map: who is on the left, who is on the right, where the gaze lands, which shoulder occupies the foreground. The AI does not see your next shot. Each generation is an isolated world. If you do not document the geometry of the scene, the model improvises a different spatial relationship on each attempt.
The human brain reads the dialogue in three layers before even hearing the sound: position of the bodies, direction of the eyes, light continuity on the faces. When one jumps, the emotion collapses. You can have perfect skin textures and a dead dialogue.
The 180-degree rule is not a school whim. It is an invisible border: once you have placed the camera on one side of the axis between two characters, you stay on that side for all the shots of the sequence (except a camera movement that explicitly crosses the axis, rare in AI). Crossing the axis is inverting left and right in the viewer's mind. In OTS, the classic mistake is to generate shot A with character A on the left, then shot B with A on the right with no transition.
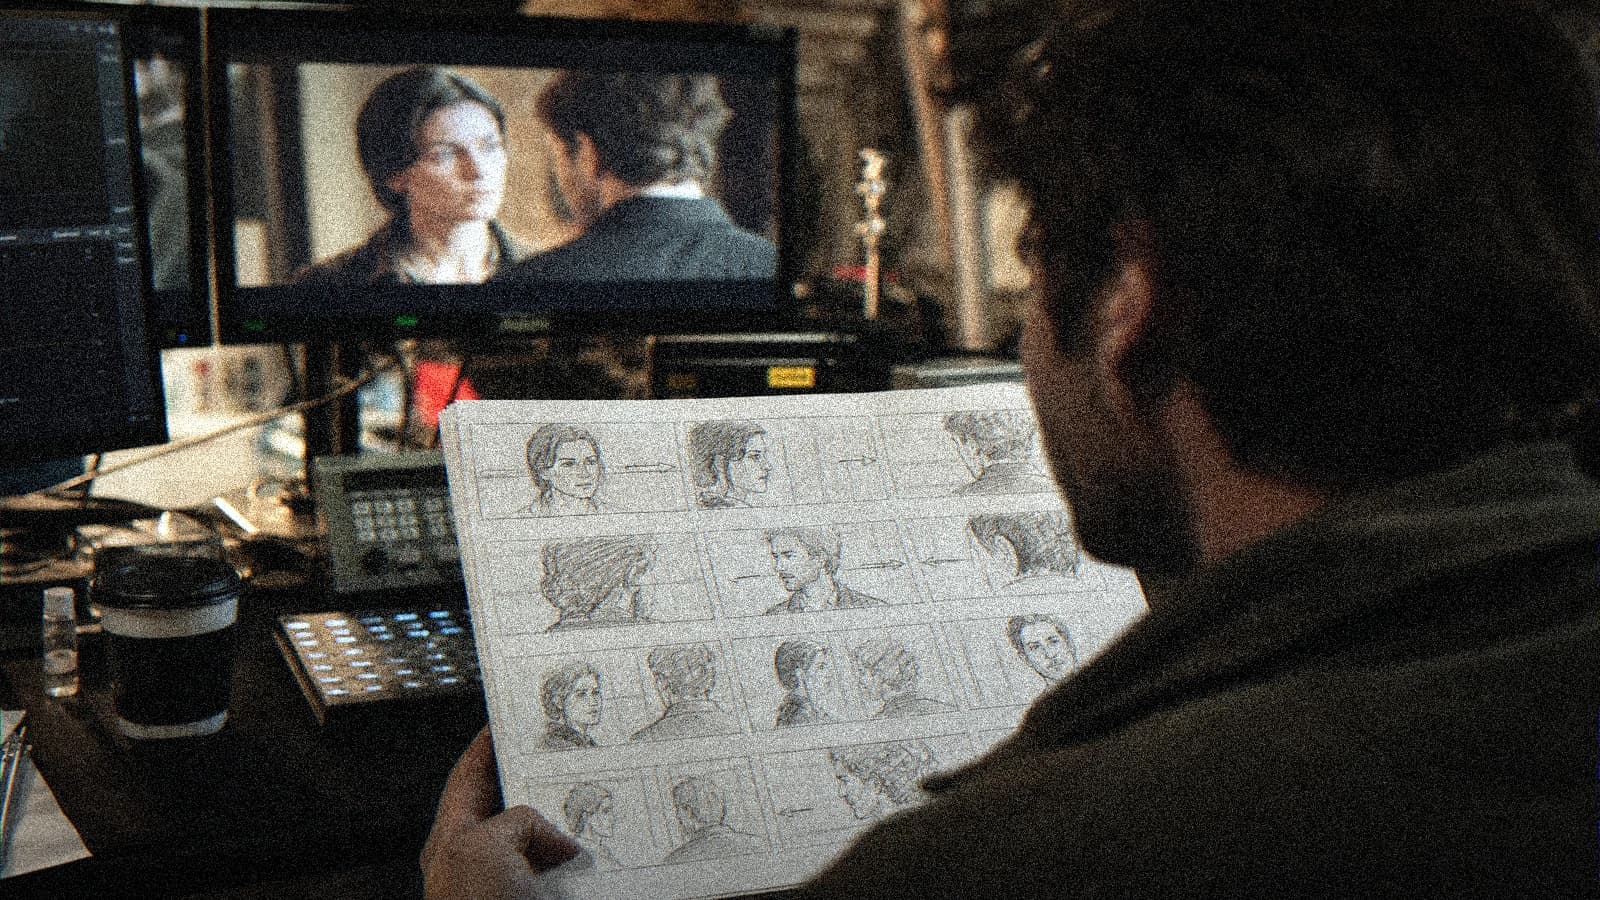
💡 Frank's Cut: draw the scene seen from above in thirty seconds before any prompt. Arrow between the two heads = axis. Tick which side of the axis the camera lives on for each shot. Photograph this sketch. It is your bible, not the prompt of the day.
For the global continuity of the dialogue, cross-reference with two-character dialogue scene: gaze and light matches. The OTS is a particular case of the same problem: geometry + gaze + light.
OTS settings table in AI production
| Parameter | Starting value | Goal | Frequent drift |
|---|---|---|---|
| OTS angle | 30 to 45° from the axis | Read both faces with no confusion | Pure profile, unreadable gaze |
| Camera height | Eye level of the filmed character +2 cm | Stable relationship between the bodies | High angle that crushes the secondary role |
| Equivalent focal length | 35 to 50 mm | Credible depth, proportioned shoulder | Wide angle that distorts the foreground shoulder |
| Clip duration | 3 to 5 s | Limit jaw and eye drift | Long shot, face that "breathes" |
| Camera movement | Push in 2 to 4% or static | Densify without breaking the geometry | Lateral travelling, walls that undulate |
If your OTS drifts, go back to this table before touching the grain or the saturation. Most failures come from a badly defined axis, not a bad model.
OTS set sheet (to fill before generation)
Copy this block into notes.txt for each scene:
SCENE_03_OTS
- Character A (back/shoulder): FIXED position on the left side of the frame
- Character B (facing): gaze toward A, eyes at the right third
- Axis: line A-B, camera always on the south side of the axis
- Light: side window key, weak fill, same temperature on A and B
- Forbidden: orbit, camera height change between OTS and face
This sheet is what separates an editable dialogue from a gallery of pretty isolated shots.
Complete workflow: from the pilot to the shot-reverse-shot
Step 1: lock the axis and the positions (not the prompt)
You start with who looks at whom, not with "cinematic dialogue 8K". Write the position of each character relative to the axis. Example: "A seated facing camera left, B standing on the right, B talks, A listens." A single emotional action per shot: listen, reply, reaction.
Choose which character carries the shoulder in the foreground on the OTS shot. In classic cinema, you often film the one who listens in OTS when the other talks (you see the reaction), or the opposite according to the acting. In AI, stay constant over the whole sequence: same logic shot by shot, otherwise the editor no longer knows which reaction to cut.
Define the height of the shoulder in the frame: lower third, no more than 25% of the image. A shoulder that eats half the screen crushes the face of character B and gives a cheap documentary look.
💡 Frank's Cut: first generate a static wide "master" shot of the two characters, even imperfect. It serves as a spatial reference for all the OTS and faces. You compare each new shot to this master before validating.
Step 2: image pilots for OTS and face (same light)
You produce two pilots minimum: one for the OTS (shoulder + B face), one for the face or the reverse shot. Same color temperature, same key direction, same fill level. If the OTS is warm west window and the face is blue neon, the match will scream even if the gazes are correct.
On the OTS pilot, check at zoom: shoulder contour sharp but not over-sharp, B's eye in the right place of the frame, gaze toward the shoulder/off-frame A. On the face pilot, check that the gaze lands exactly toward the location of A in the OTS (same angle, not toward the camera unless it is wanted).
Export PNG, archive prompts and seeds. Name PILOT_scene03_OTS_v01.png and PILOT_scene03_FACE_B_v01.png.
Step 3: modest video, same identity block
Move to video only when the two pilots hold up in mobile reading. Duration 3 to 5 s, weak camera movement, one micro-action (blink, micro nod, visible breathing). Batch of four per shot, brutal A / B / C sorting.
Typical video prompt (English often better read by the engine):
over-the-shoulder shot, character B in focus looking off-screen left toward listener,
soft shoulder foreground left, 40mm lens, natural skin, stable eye line,
no camera orbit, subtle push-in 3%, same window light as reference
For the face of the character who talks:
medium close-up, character B speaking, eyes directed off-screen right toward listener,
same window key light, no direct eye contact with camera, minimal head movement
A single lever per batch: camera amplitude OR head action, not both.
Step 4: edit, sound and gaze QA
Edit in a hard cut between OTS and face. Avoid the AI fade between two different geometries. The sound makes the continuity: common room tone, small breathing or background noise that sticks between the shots.
Gaze QA in playback: at each cut, ask yourself "does B still look toward A?" If the gaze slips toward the camera on every other shot, the dialogue is dead. Correct the pilot or the directional prompt, not only the grade.
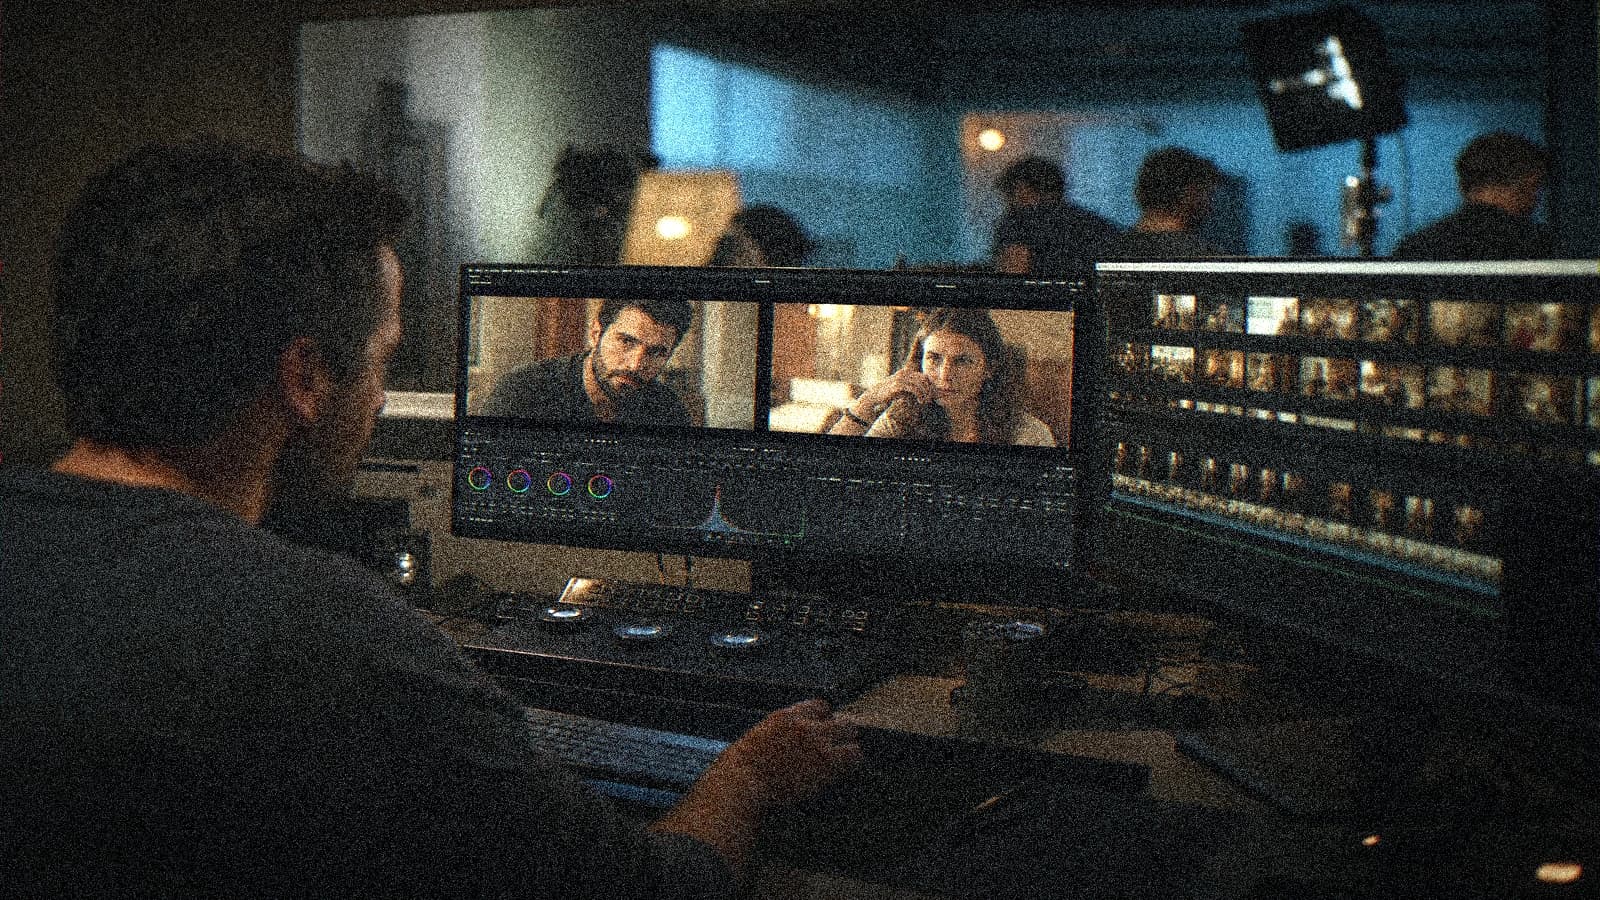
Harmonize the two shots in a common grading session. Same LUT, same curve on the skin. See how to correct the colors of an AI video if your balance diverges.
Three real scenarios
Scenario A: kitchen, intimate argument (tight OTS)
Brief: A seated back to camera (shoulder), B standing facing, morning window light, calm tension.
Pilots: OTS 40 mm, left shoulder 20% frame, B at the right third, gaze toward the left off-frame. B face: same light, gaze toward the right.
Video: 4 s, push 2%, B talks a short sentence (voice recorded separately).
Trap avoided: no travelling, no shoulder change between the two OTS shots of the scene.
Scenario B: glass office, negotiation
Brief: two characters in suits, blurry office background, cold side key + discreet warm fill.
Pilots: lock the same depth of field (B sharp, soft background). The A shoulder must have the same blurry sharpness on both OTS shots.
Edit: alternation OTS A listens / face B talks / OTS B listens / face A replies, always the same side of the axis.
Accepted debt: micro grain. Refused: gaze toward the camera on one shot and off-frame on the other.
Scenario C: vertical social deliverable (9:16)
Brief: 15 s dialogue, tight OTS, mobile readability.
Adaptation: shoulder higher in the frame but B's face stays in the upper-third safe zone. Test TikTok compression before client validation.
Sound: voice priority, no music that masks the micro-reactions.
Troubleshooting: what beginners break
The gaze slips toward the camera. Cause: vague prompt or face pilot too "portrait". Fix: "eyes directed off-screen toward [left/right] listener", never "looking at camera" except intention.
The shoulder changes size between two OTS. Cause: focal length or camera distance different between generations. Fix: same focal-length block in each prompt, same shoulder/frame ratio.
The characters invert left/right. Cause: crossing the 180° line. Fix: redraw the axis, regenerate the whole series from the same side.
The jaw or the eyes drift in movement. Cause: shot too long or amplitude too strong. Fix: 3 s, minimal movement, cut in the edit.
The two shots do not have the same light "time". Cause: contradictory light prompts. Fix: one light paragraph copy-pasted identical on all the pilots.
The dialogue seems edited by an amateur. Cause: no reference master, no common sound. Fix: wide reference shot + room tone + hard cuts.
Cinematic continuity and cinematography remind us that the space shared between the shots is narrative, not decorative. Even in AI, you must build it deliberately.
Useful internal links
- complete Seedance 2 workflow
- two-character dialogue scene with no broken continuity
- transform an AI image into a fluid video
- structure an AI video like a real film
Foire aux questions
Réponses rapides aux questions les plus fréquentes sur cet article.
What is the difference between over-the-shoulder and chest shot in AI?
The over-the-shoulder includes a part of the body (shoulder, hair) of the listened-to character in the foreground, blurry or semi-blurry, and frames the face of the one who talks or reacts. The chest shot isolates a single character with no this spatial anchor. In AI, the OTS requires more discipline on the axis and the gaze, but it often gives more depth and dialogue credibility. If your tool struggles with two faces, start with well-calibrated chest shots then reintroduce the shoulder when the geometry holds.
How to indicate the gaze direction in the prompt?
Use physical terms: "looking off-screen left", "eyes toward listener at frame left", "not looking at camera". Avoid "emotional gaze" with no direction. Align with your sketch: if A is on the left off-frame, B looks toward the left of the frame. Check on each export in a short loop. A gaze that moves a few degrees between frame 12 and 24 is enough to break the match.
Should you use the same seed for all the shots of a scene?
Not mandatory, but the consistency mostly comes from the identical pilots and the identical identity + light block. The seed helps reproduce a texture if you redo the same shot. For a new angle (OTS vs face), change the angle in the prompt, keep identity and light, test one or two seeds close to the validated pilot.
How many shots minimum for a credible dialogue?
Four useful shots: OTS on A, face B, OTS on B, face A, plus possibly a wide master shot. In short AI, you can hold with three if the gaze match is perfect. Better three honest shots than eight shots that contradict each other.
Can I do an OTS with both faces sharp?
Rarely credible in AI on a single shot: the depth of field often lies. Prefer one sharp face (the one whose emotion you read) and a softer shoulder. If you need both sharp, get closer to the documentary style and accept a more "clean" less cinema look.
What to do if the foreground shoulder is distorted?
Lengthen the virtual focal length (50 mm rather than 24 mm), reduce the share of the shoulder in the frame, or generate with no visible shoulder (American shot) and add a blurry shoulder in post only if you master compositing. Often, regenerating with less shoulder is faster than a failed mask.
Does the sound change the perception of the gaze?
Yes. A voice laid early with the right timing makes a micro visual offset acceptable. An absolute silence accentuates each error in the eye direction. Lay the room tone and a draft voice before definitively validating the shots.
How to deliver this to a demanding client?
One-page PDF: axis sketch, pilot captures, list of the shots with A/B/C status, owned debts. Show a 10 s excerpt with sound. Transparency on the method reassures more than a single non-reproducible "wow" clip.
An AI OTS is not saved in post. It is won on the sketch, the pilot, the locked gaze and the edit that respects the axis. When these four pillars are there, your dialogue finally breathes like cinema, not like a compilation of portraits.
Field practice: the working routine
When you work on over-the-shoulder continuity AI in real conditions, the chaos comes from the deadlines, not the tutorials. This section is what I put in the deliverable folder so the team lands on its feet a week later with no me.
Before each batch, reread the brief in five lines. A "quick" prompt change with no rereading the brief creates magnificent but unusable shots in the edit. The editor will thank you if each file carries a logical name and an A/B/C note.
For the validation, impose two screens: bright phone + neutral monitor. Many defects on over-the-shoulder shot: eye-line continuity and depth only appear on one of the two. If it holds on both, you can move on. Otherwise, a single lever changes, not five.
In a client meeting, show a ten-second excerpt with sound, not a gallery of stills. The movement and the audio sell the credibility. The fixed images lie about the final quality of AI videos.
Document the owned debts (grain, micro drift, text composited in post). Transparency avoids the "redo everything" when the creative director sees the master on a big screen.
💡 Frank's Cut: if you do not feel like explaining a technical choice to the client, that choice is probably a debt to own in black and white, not to hide.
Always cross-reference with why my AI videos look fake when you doubt the global realism. Often the problem is not the subject of the article, but a missing pilot or sound upstream.
Typical session (45 min): brief 10 min, generation 20 min, QA 10 min, post 10 min, mobile export 5 min. If you do not have an A shot in one hour, pivot the brief, not the caffeine.
Final checklist: message readable with no sound (if subtitles), message audible with sound (if VO), consistency with the brand guidelines, platform export tested privately, files named and archived.
Related articles
 Tutoriels
Pika Labs vs Runway: Choosing the Right Engine for an Action Shot
A field comparison on movement, hands, duration and post to decide in twenty minutes which engine carries your action shot.
 Tutoriels
Choosing the Right Shot Duration According to AI Intention
A practical guide to calibrate the duration of each shot according to emotion, action and editing rhythm.
 Tutoriels
How to Manage Costume Continuity Across Several AI Scenes
A simple method to lock the costume, materials and accessories across a whole AI sequence without losing hours in retouching.